I bet you thought that I was talking about Pinterest.
Yes, I do love that kind of pinning too!
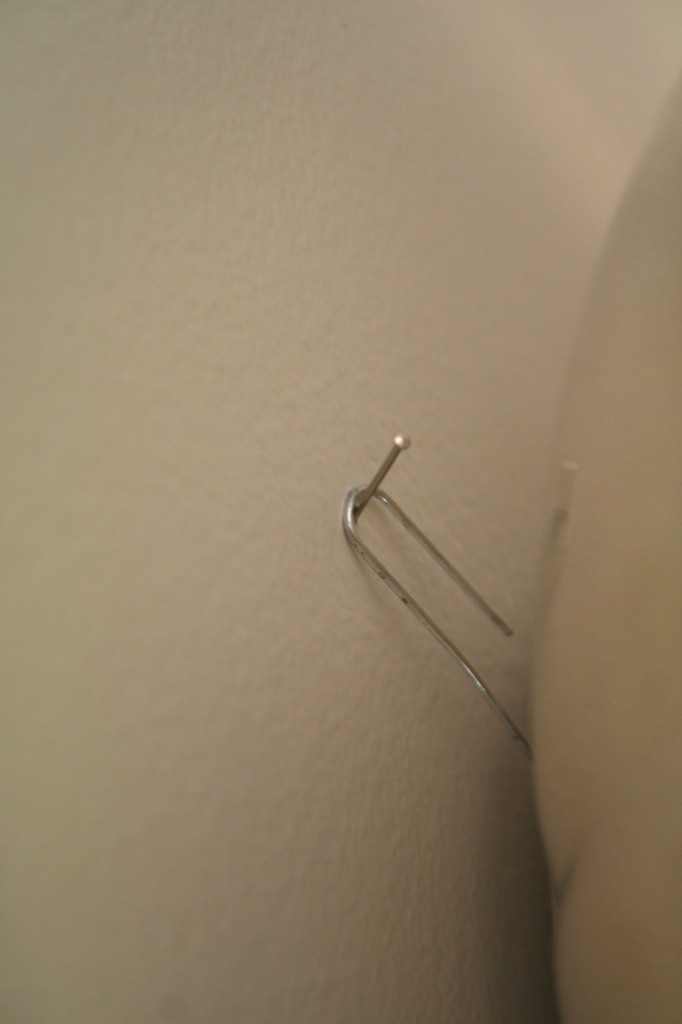
I have a confession to make. I use a technique that I learned about 15 years ago. Pinning, in a different way. I was helping my next door neighbor Ashley paint her daughters bedroom. And I was amazed at the lack of nail holes. She shared her secret and I’ve used it every chance I get.
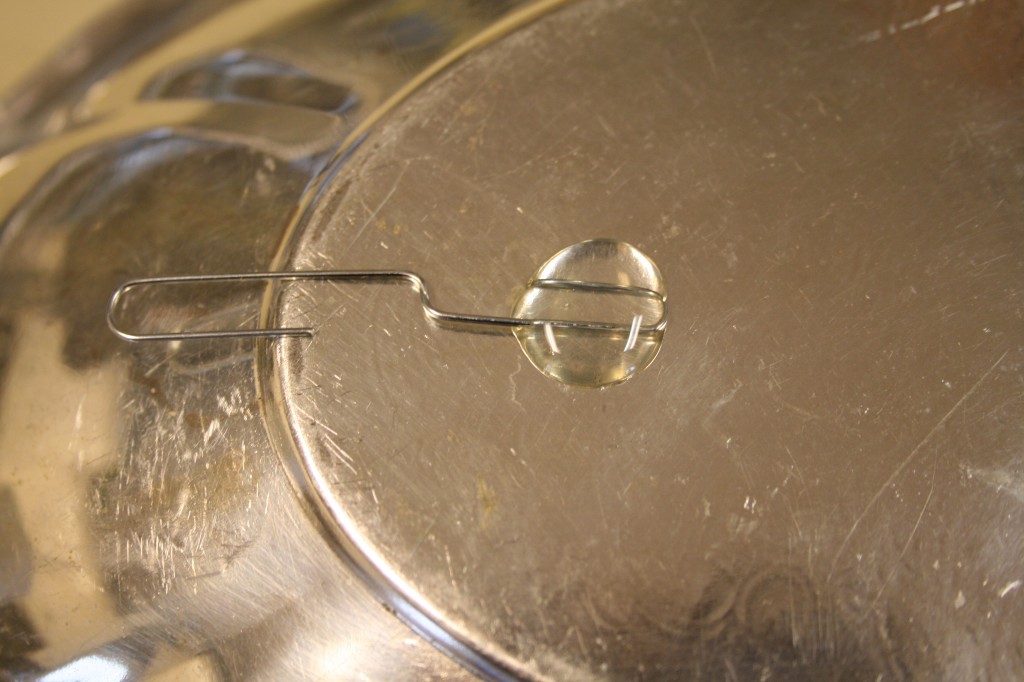
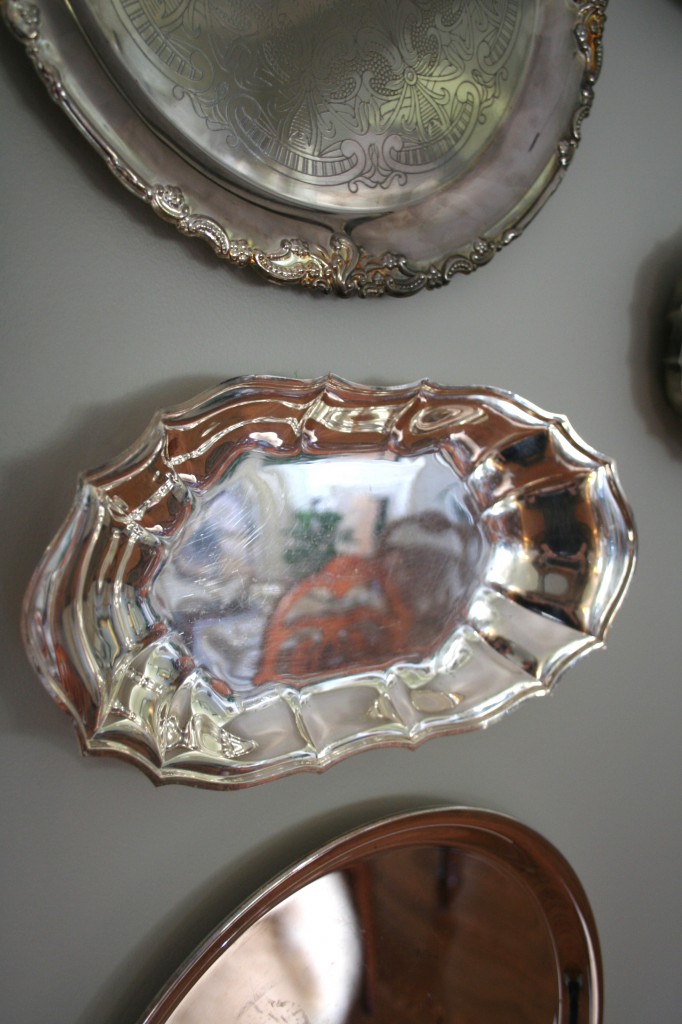
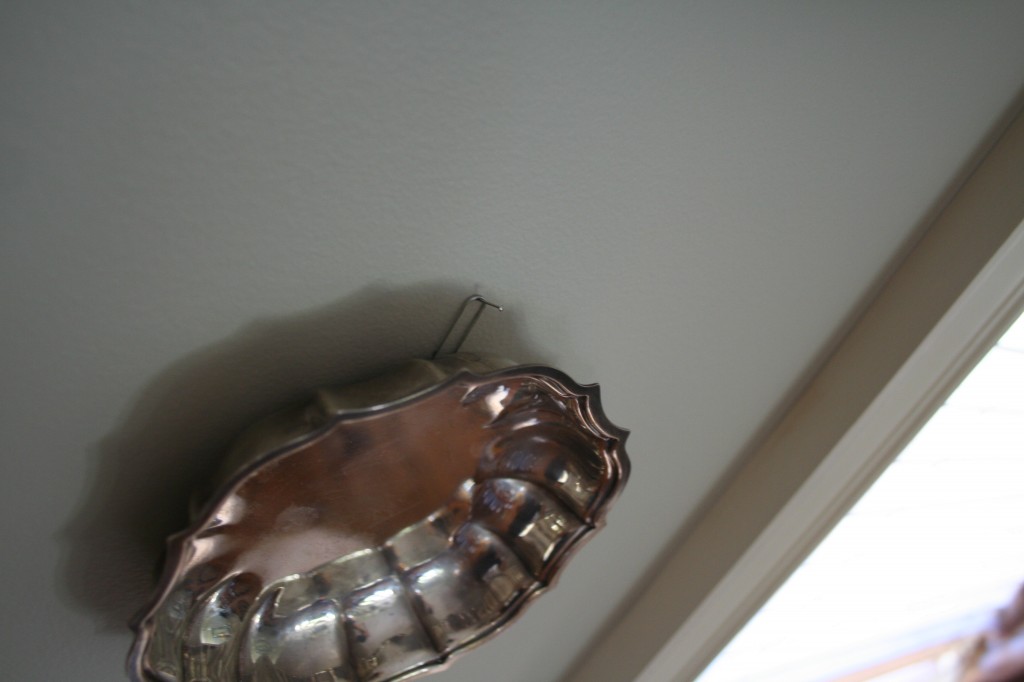
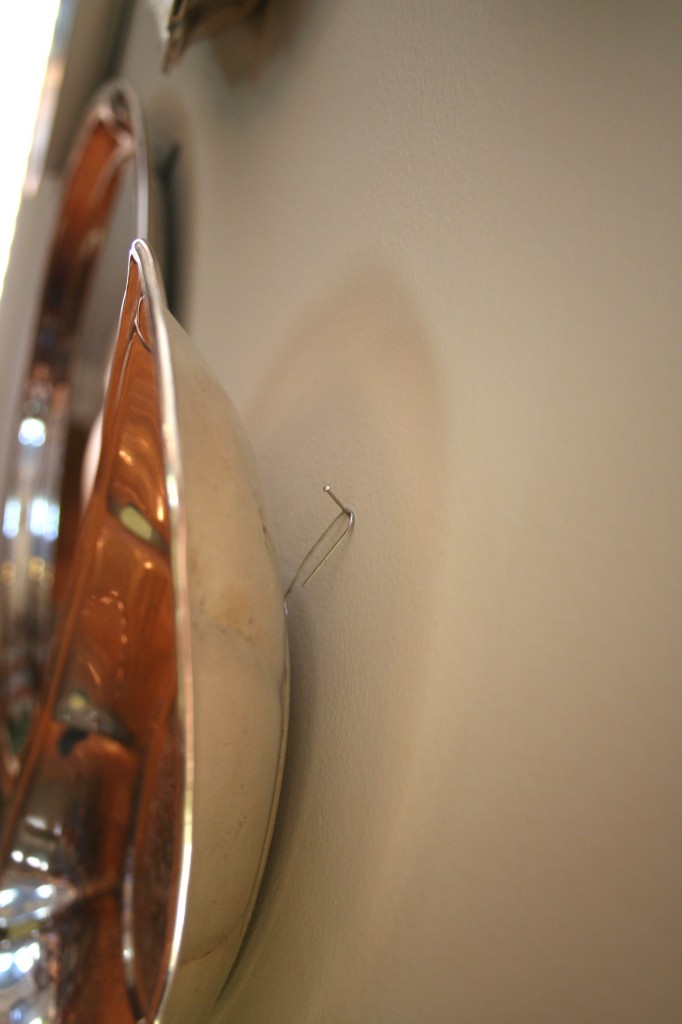
I unfold a paper clip and attach with glue.
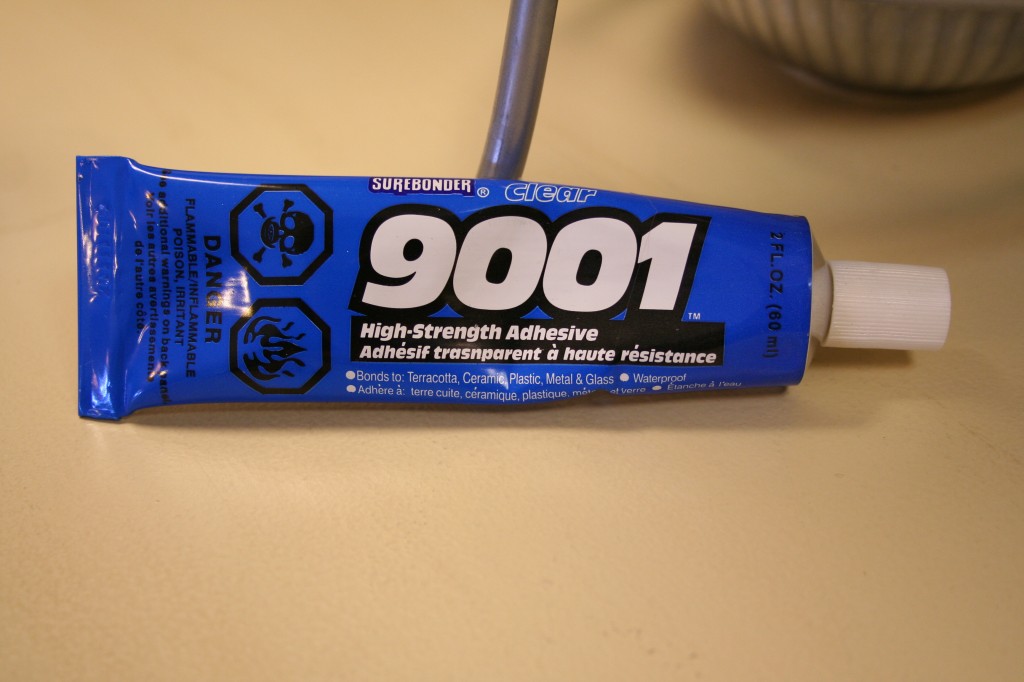
I use this or E6000. It’s been very successful, so far.
This post comes with a warning, do not use this method on heavy expensive items. Use at your own risk or not at all.
I did a little research, just to see if anyone else does this. Here Dear Heloise answers a question about hanging without damage to walls:
The way that I move things around, and paint on a too often basis this method is wonderful. If I put the pins in at an angle, I can usually just use my fingernail to push the area pinned in. Most of the time no spackling required.
Now you know my pinning secret. Do you have any you want to share with me??
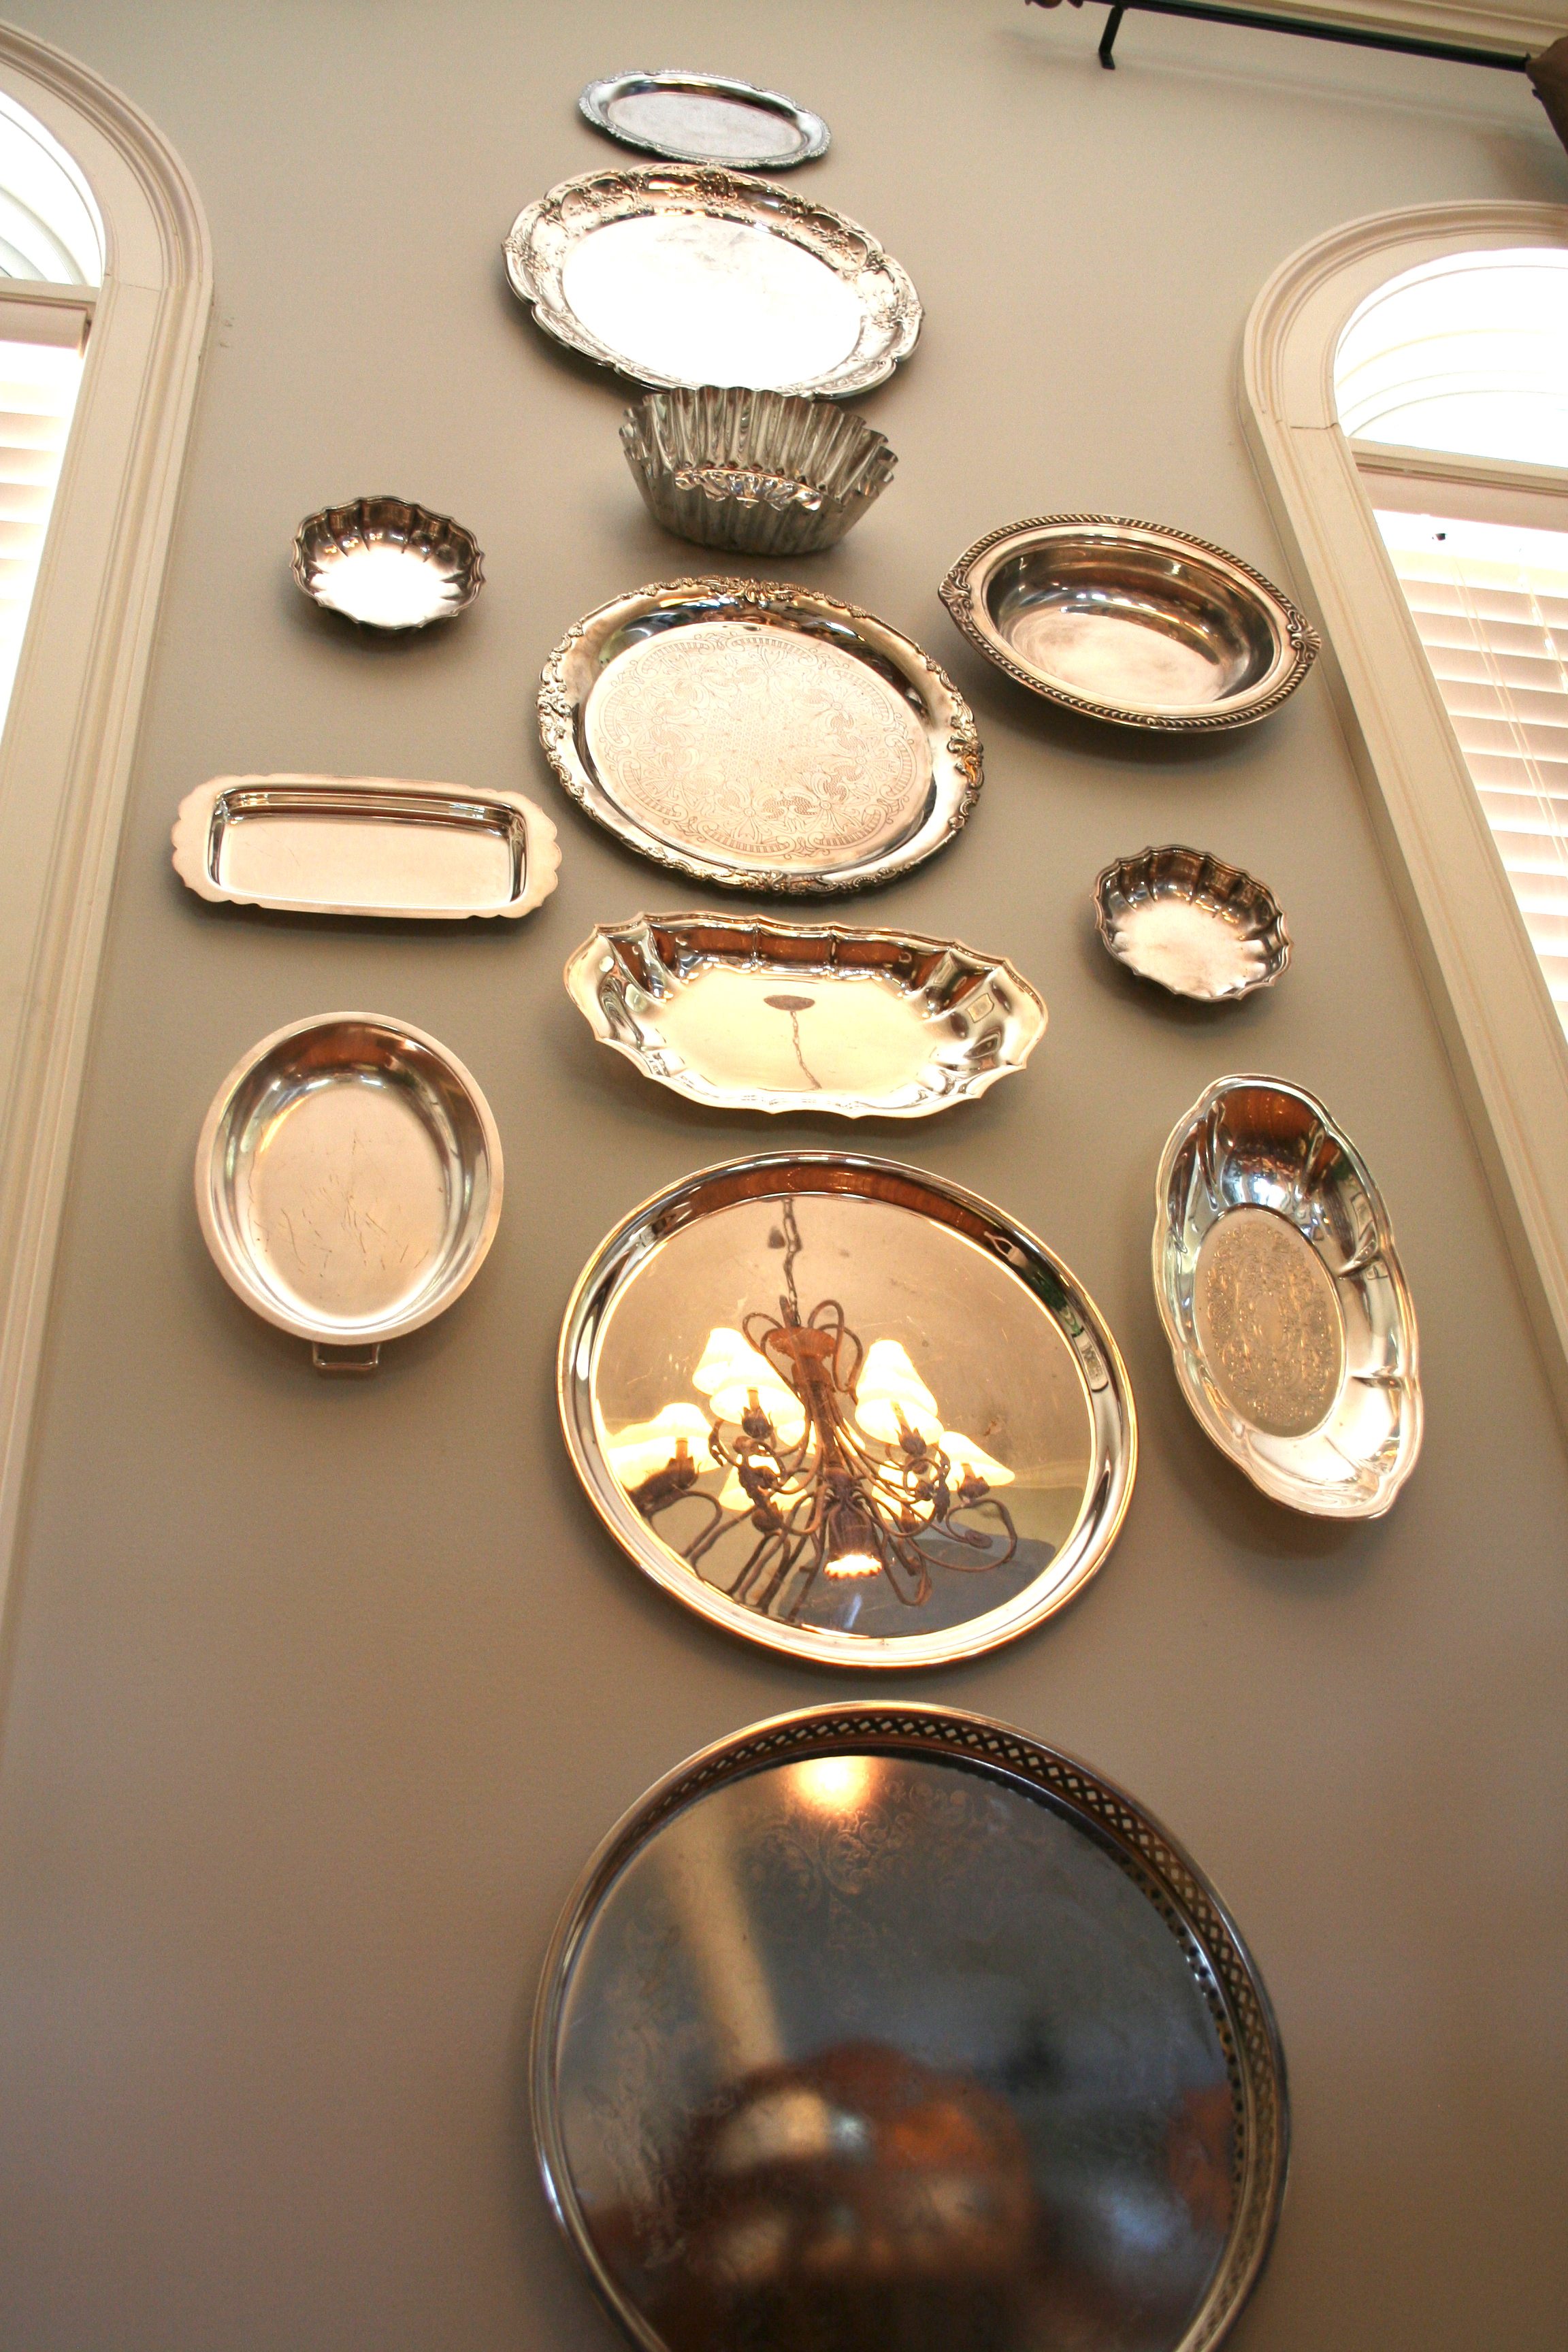
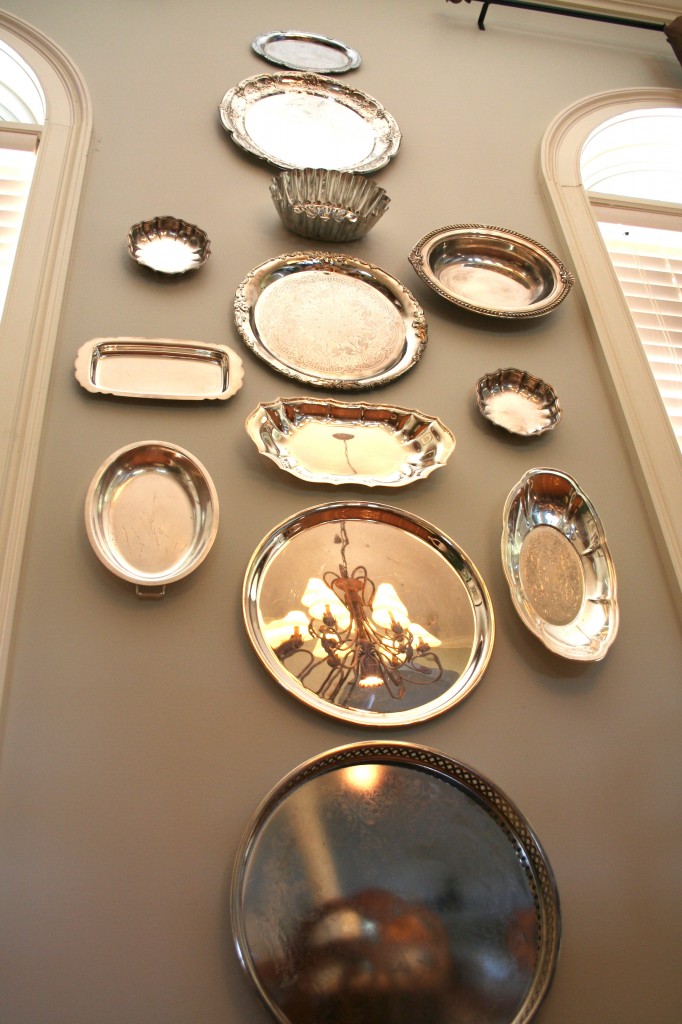
I don’t think I’ll ever change this wall. (yeah right)
I love it so much, I’ve added a few more pieces.
I may just fill up the whole wall.
Sharing at:


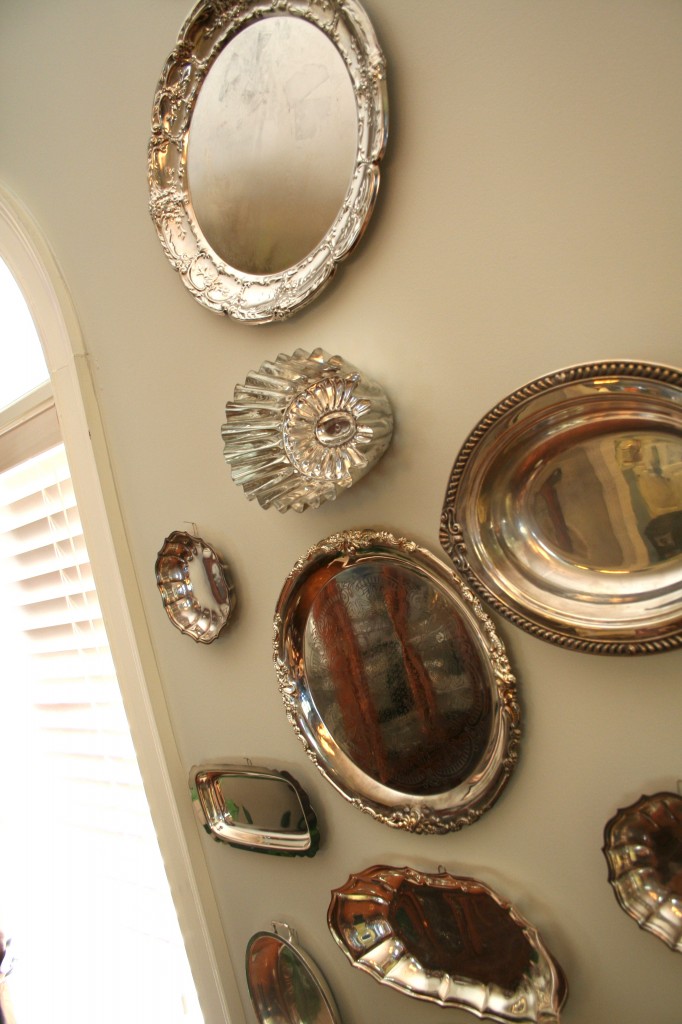
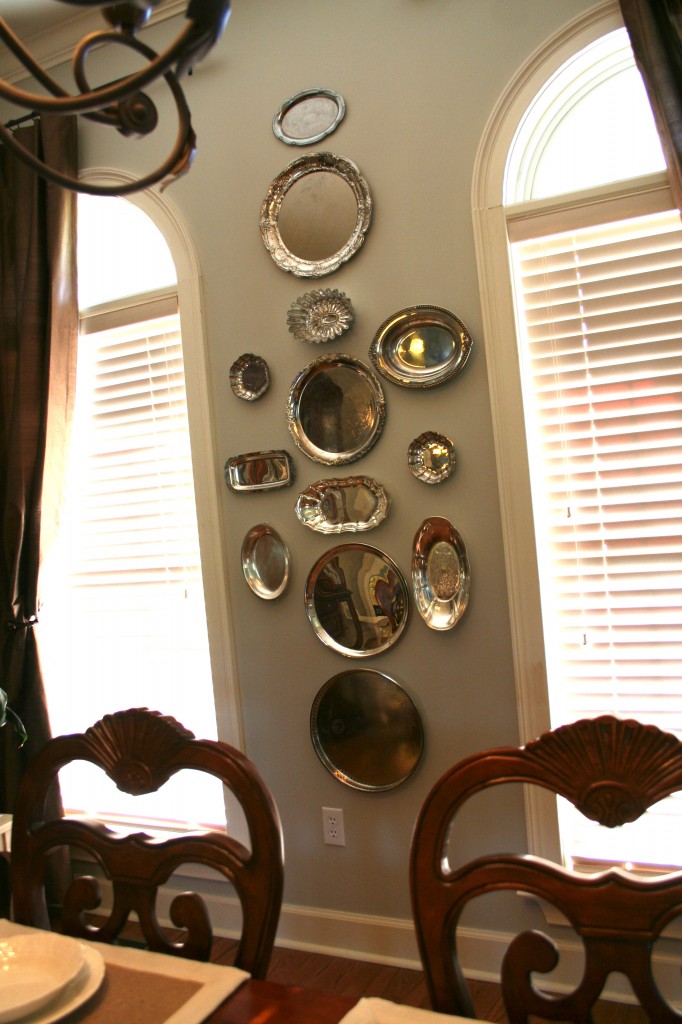
Thank you so much for sharing this tip.
Perfect timing….I plan on doing a silver/tin display in the new house and you have helped with my stress of hanging them. It looks beautiful and can’t wait to try mine out.
MJ
Lucky 7 Design
please don’t ever change that wall!! great pinning idea
Your wall is gorgeous! I will definitely try this.
Here’s my secret. White toothpaste works just as well as messy smelly spackle/filler. It doesn’t dissolve and you can just use your fingers to apply it. Just make sure they’re not wet. =)
Genius!
Your silver wall is just LOVELY. And what a great tip! Thanks for sharing. Never would have thought of that.
Hi Debbie,
I absolutely love with what you have done with your silver pieces. It has the effective of a mirror. Thank you for sharing and thanking you for following my site! Happy Holidays!
Bridget
Great idea! And I LOVE that silver collection. I collect old tarnished silver too. Also love the peppermint bowl – so cute. Following along.
Kelly
Oh my this wall is amazing! Your collection is just gorgeous! Ok my walls usually look like world war 3 once you take everything down. Pretty scary! I love this idea and so am going to adopt it around here, thanks!
Meg
I love this idea! I am tired of holes in the walls! I know my readers would love this too. I found you through “Inspiration Friday” linky party! I would love for you to join in on “Meet Me Monday” linky parties! My readers would love to meet you! Either way, I plan to look around your blog. So glad to meet you! Love, Me http://www.youaretalkingtoomuch.com
http://youaretalkingtoomuch.blogspot.com/2011/11/meet-me-monday-12.html
That’s the best tip I’ve heard in a long time. I suppose the glue on the back of the plate is permanent?
Beautiful, beautiful wall!!!! Love the silver 🙂
Thanks for sharing your secret…visiting from 2805″s party.
I love this idea. The wall is awesome!!!!! I can’t wait for husband to go away…who knows what the house walls will look like until he gets back. (evil laugh….)
Well now, I just may have to copycat this! It is such a good idea. Your wall looks amazing!
🙂 CAS
I LUV all the silver pieces on the wall, it is giving me such inspiration! Thank you for sharing!
Ah-haaa!!! Great idea…no more “swiss cheese” wall 🙂 Thanks, Laurel@chippingwithcharm
Thanks for a great tip, I may actually pin it on pinterest! I LOVE your silver trays and bowls arrangement and thank you for showing a great picture of it all. Your wall color is beautiful too.
Great tip! I use pins often but tip with the glue and paperclip is great. Love the wall! Laura Cottage and Broome
Super wall display! and what a great idea for hanging light objects!!!
Debbie,
Since I love how you have hung all your silver and want to copy you (I hope that’s okay)…thanks for sharing how you glued the paperclip to the back:)
Blessings,
Linda
If Eloise does it then it is O.K. right! Great tip, I have used the discchangers so much but I think I also need to try this too!
When we moved into this house, there were a whole lot of pins stuck in weird positions on the wall. I bet that is what it was from! Great idea. I’ve used those disk things, but they pretty much permanently attach to the backs of the plates and this looks less intrusive if I want to actually use the plates later.
I just shared this pinning tip with a client today. The pin actually holds quite a bit of weight! I don’t blame you for not wanting to change the wall display- it looks gorgeous!
Glad to know this tip!
Wow, those silver trays look fabulous on your wall! It’s hard to tell the wall color but I love it…have you shared it on your blog and maybe I missed it? Years ago I used to use pins, T-pins to be exact. Of course, they items have to be lightweight. Hubby wants to use those wall anchor things on everything which makes huge holes but then he doesn’t have to patch them (he hires that out!).
Judy
Great tip Debbie!!
I used to use pins years ago….can you believe that I forgot!!! Gee whiz!!! Now that I’m decorating my ‘new’ home and have just painting a bunch of walls I was just thinking about all those nail holes. Great reminder for me!!!!
I do have a question. What if you want to use one of those silver trays? Does the glue dot and hanger come off??? Oh I do hope so!!!!
Hi Debbie,
Great idea! Love the collection it looks great! All that sparkle and shine!!
I have a tip, I use my old sewing machine needles that I have recycled many times. When I finally feel that I will no longer use the sewing machine needle. I will use them to hang pictures up on the wall. The construction of a sewing needle is for sewing purposes of course…but when the blade of the needle is inserted by the sharp tip into the drywall it only makes a small hole. The shank of the needle holds the picture wire… When removed there is a minimum hole, similar to your method.
All the Best,
Christine
I love the silver trays on the wall! Thanks for the tip on how to hang them. I will have to try it.
Barb
Very clever! Thanks for sharing.
What a wonderful tip for those not so heavy items! Unfortunately, I have no tips of my own yet..this is my first one to add to my collection 🙂 Thanks!
I LOVE LOVE LOVE this idea! Following all our DIY projects (this house had to practically be gutted), I’m getting ready to do some fun decorating and wall hanging! I can’t wait to use this technique!!! Thanks for sharing!!!
I’m your newest follower,
Aimee @ ItsOverflowing.com
PS Thanks for the sweet note about my Tablescape!!!
Debbie
Thanks so much for sharing this. I have often wondered how to hang trays without a plate rack.
Now I know! Have you ever tried hanging a small plate this way? I have a few, but don’t like
the look of the cheap metal plare racks. I’ve founf them to scrape the dishes too.
Your trays look fabulous!
Wow! You are a certified secret keeper 15 years!! Thanks for sharing it’s a really good idea and tip.
I will have to give some thought to any decorating secrets that I may have. Have a great day.
I have been doing the pin thing for years!! Lonng quilt pins work really good for things a little heavier! Thanks for the hanger tip with the paper clip!! I am going to use that TODAY!! I love to change things around on my wall as well as my furniture, so pins are great for not leaving holes to fill!! Love your posts and Blog!!
I use dischangers but I still have to put a nail in the wall. Did you use a stick pin in the wall?
Thanks Debbie, that’s a great tip! love your wall.
Brilliant!