June 30, 2026 by Debbie Westbrooks
Chalk Couture Chalk Paste Watermelon Door Hanger DIY
Live Videos · DIY · Home Interior
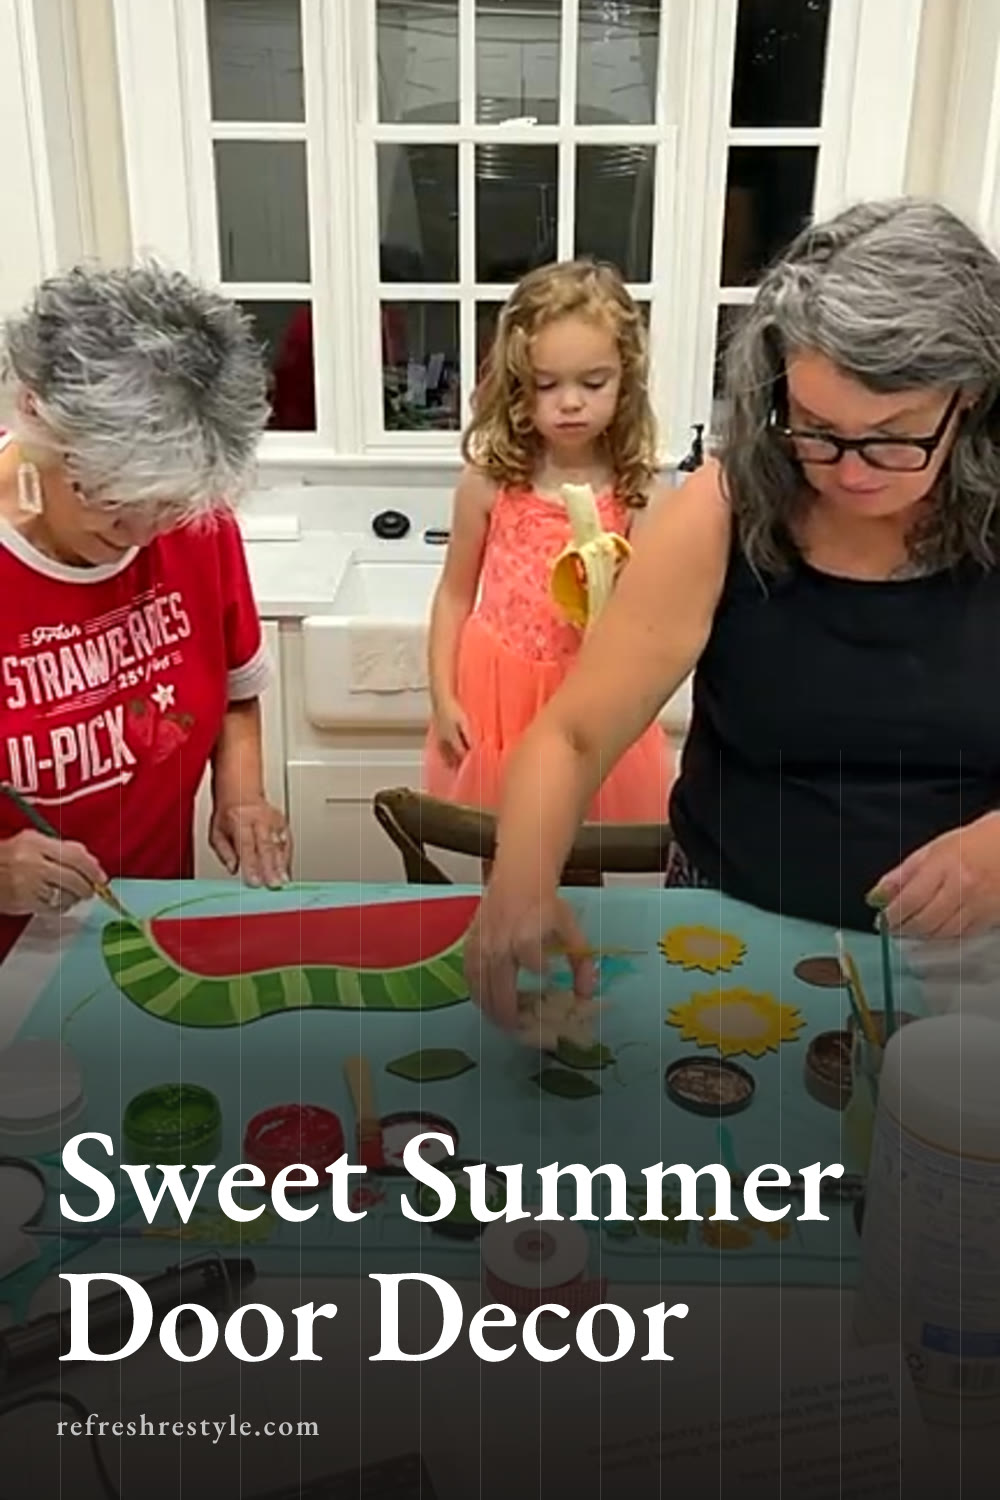
I turned the pieces from my June craft along box into a bright watermelon door hanger filled with sunflowers, leaves, oversized seeds, and the cutest plump little bird. I used Chalk Couture chalk paste as paint, added a little shading and distressing, then finished everything with gingham ribbon.
This project feels like summer from top to bottom. The original June box was a limited release and sold out, but the painting and layering ideas work beautifully for similar unfinished summer pieces you may already have.
What Came in My Craft Along Box
The box included a large watermelon half along with separate sunflower petals, flower centers, leaves, seeds, and a little bird. It also came with instructions, a finished photo, suggested paint colors, and a QR code that led to a project video.
The finished piece is large enough to hang on a front door, add to a wreath, or display on a wall. I love having those options because a seasonal project can move around the house whenever I want a fresh look.
The bird was designed as a blackbird for my project, but the shape could easily become a cardinal, robin, or bluebird depending on the colors you choose. That round little body gives it plenty of personality.
Painting With Chalk Couture Chalk Paste
I used Chalk Couture chalk paste to paint the pieces, working with red, black, Meadow, Bark, Bumblebee, and Bright White. Acrylic craft paint works for this project too, so use what you have and choose colors that fit your summer decor.
I kept water nearby for my brushes and worked on one group of pieces at a time. This helped me use each color in several places before washing the brush.
Paint the Watermelon
I started the watermelon with a bright red center. For the lighter area near the rind, I mixed a little Bright White with Meadow to create a soft green shade. That thin line helps separate the juicy red center from the darker outer rind.
I wanted my watermelon to have stripes, so I mixed a darker green and added lighter streaks for contrast. The stripes can be loose and uneven because real watermelon rinds have plenty of variation.
Once the red area was ready, I painted the large seeds black. Their oversized shape adds a playful detail and makes the watermelon easy to recognize from across the room.
Add Depth to the Leaves
I painted each leaf with Meadow first. While that color was still workable, I mixed in a small amount of Bark and brushed it through portions of the green.
The brown creates a deeper green and brings out the shape of the leaves without requiring a separate shading product. I blended the two colors rather than painting sharp lines, which gave the leaves a soft, natural finish.
Paint the Sunflowers
I used Bark for the sunflower centers and Bumblebee for the petals. To give the yellow petals more dimension, I mixed a small amount of brown into the yellow and brushed it along a few areas.
I kept the shading loose. A little color variation was enough to make the petals look layered once the flowers were assembled.
For extra texture, I dipped the handle end of a paintbrush into black paste and dotted small specks onto the brown flower centers. This is an easy way to create even dots without needing a special tool.
Give the Bird Some Personality
I painted my bird black and dotted on an eye with the end of a paintbrush. Its rounded belly made it look as though it had already eaten one of those big watermelon seeds, which made me love it even more.
A red bird would create a bold cardinal, while brown and orange could turn the same piece into a robin. The simple shape leaves plenty of room to make it fit your own style.
Distress the Painted Pieces
After the painted pieces dried, I lightly sanded the edges with a small sander. Distressing breaks up the solid color around the edges and helps each layer stand out once everything is glued together.
I usually enjoy adding Distress Oxide to projects like this, but I used the brown color for shading instead. It gave me the aged detail I wanted while keeping the process simple.
Go lightly when sanding. You can always remove more paint, so start with the edges and check the look as you work.
Arrange Everything Before Gluing
I placed the flowers, leaves, bird, and seeds on the watermelon before adding glue. Moving the pieces around first helped me balance the large and small sunflowers and leave enough room for the bird.
I layered the leaves behind the sunflower petals, then added the brown centers on top. The bird sat near the flowers with the seeds spread across the red portion of the watermelon.
You can also simplify the arrangement by using one sunflower or one bird. Every piece adds charm, but the design still works with fewer layers.
Once I liked the placement, I attached the pieces with hot glue. I worked one section at a time so the arrangement stayed in place.
Finish With Gingham Ribbon
For the hanger, I used black and white gingham ribbon. The checked pattern looks wonderful with the red watermelon, yellow sunflowers, and black bird, and it gives the project a classic summer picnic feel.
I attached the ribbon at the top and made sure the finished piece hung evenly. From there, it was ready for a front door, wreath, or sunny spot on the wall.
Chalk Couture supplies I used
You can shop my full Chalk Couture store here.
I am an independent Chalk Couture designer, so I earn a commission on these links. See my disclosure for more.