June 18, 2026 by Debbie Westbrooks
Chalk Couture Chalkology Paste Watermelon Craft
Live Videos · DIY · Crafts
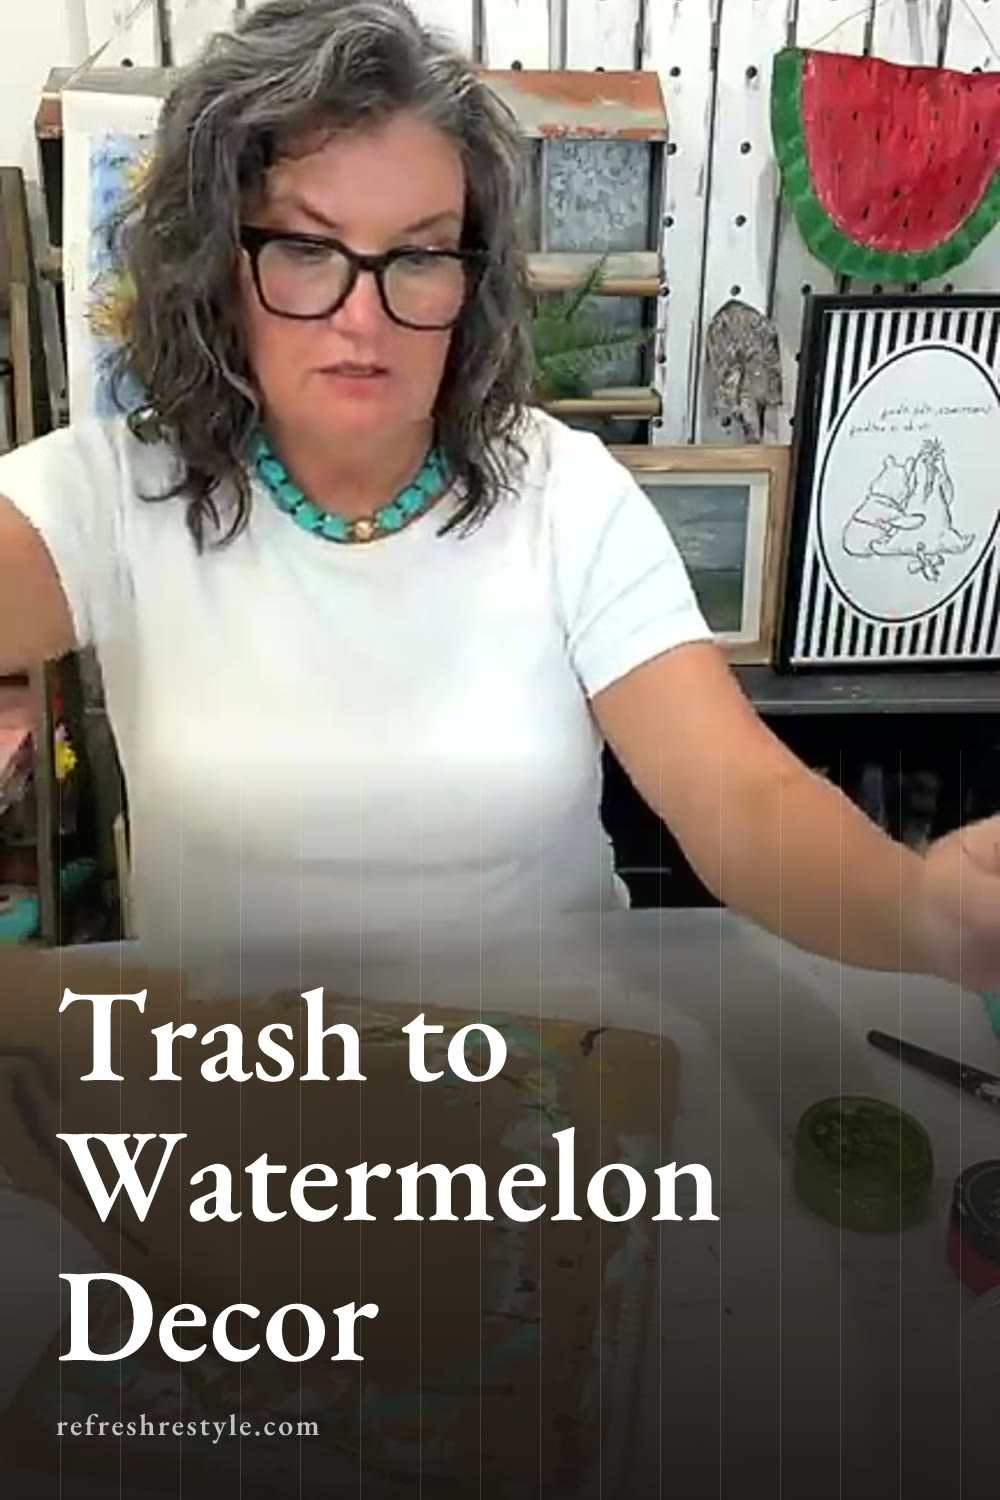
I turned a padded Amazon shipping envelope into a plump watermelon door hanger, and this is such a fun way to reuse packaging that would usually get tossed. Chalk Couture Chalkology Paste gave me the juicy red center and striped green rind, while recycled shopping bags added the shape.
Supplies I Used
This project starts with a padded paper shipping envelope. Mine had a brown paper surface with a soft layer inside, which gave the finished watermelon a little extra dimension before I even stuffed it.
I also used these supplies
- Scissors
- Paintbrushes
- Pesto paste
- Limeade paste
- Cherry paste
- Peachy Keen paste
- Distilled water
- A plate for mixing
- A black Posca paint pen
- Hot glue and a glue gun
- Recycled shopping bags
- Rusty wire
- Wire cutters
Acrylic craft paint works for this project too. I used acrylic paint on my first watermelon, so you can work with the paint you already have.
Cutting the Shipping Envelope
I started by cutting a large half circle from the envelope. A watermelon slice can be a little wonky, so I cut mine freehand and let the shape develop as I went.
Once I had the first piece, I used it as the guide for the second piece. These two shapes became the front and back of my stuffed watermelon.
I painted only the front piece because the back would face the door. You can paint the back a solid color or repeat the watermelon design if both sides will show.
Painting with Chalk Couture Chalkology Paste
Adding the Green Rind
I started with Pesto along the curved edge to form the rind. I also brushed the green around the cut edge because the soft layer inside the mailer was white and visible in a few spots.
While the Pesto was still a little damp, I added Limeade in loose zigzag lines. I like watermelons with striped rinds, and those uneven lines help the painted surface feel more natural. Some lines were darker and some were lighter, which gave the rind more movement.
The padded paper takes the color well, but you can add another coat anywhere the original mailer shows through.
Painting the Watermelon Flesh
Next, I used Cherry paste for the red center. I added a small amount of distilled water so it would spread easily across the paper surface.
I worked toward the rind but left myself a little room for the lighter area that watermelons have between the red flesh and green skin. Keeping the Cherry paste damp also helped with the next blending step.
I thinned Peachy Keen with water and mixed in a little Cherry. Then I dabbed that lighter color along the inside edge of the rind and blended it into the red. A small, slightly rough brush worked well for dabbing and softening the line.
You can make this band as narrow or bold as you like. I kept working the two colors together until the change from light to red looked right to me.
Drawing the Watermelon Seeds
After the painted surface dried, I used a black Posca paint pen to draw the seeds. I scattered them across the red section and changed the angles so they looked hand painted rather than measured.
Paint pens need a little drying time. I let the seeds dry before moving the piece around so my arm wouldn’t smear the wet black paint.
Gluing and Stuffing the Watermelon
I placed the painted piece over the second envelope piece and lined up the edges. Then I ran hot glue along the edge in sections and pressed the two layers together.
I left an opening large enough for stuffing. Recycled shopping bags worked perfectly because they were light, easy to shape, and already sitting around the house. I loosely crumpled the bags and tucked them inside until the watermelon felt plump and squishy.
Cotton balls or extra plastic bags can also fill small areas. Once I liked the shape, I glued the remaining opening closed.
If the edges shift while you glue, trim them with scissors or touch them up with green paint. I brushed a little more green around mine to cover the light edges and give the rind a finished look.
Adding the Rusty Wire Hanger
To make the hanger, I carefully pushed the scissors through all the layers near the top and made two small holes. I threaded rusty wire through the holes, secured it, and curled the ends into little pigtails.
I love the contrast between that rusty wire and the bright watermelon colors. Flowers, greenery, or sunflowers could also be added near the wire if you want a fuller door arrangement.
Where to Display It
Because the shipping envelope has a paper surface, I’d display this watermelon on a covered porch or behind a storm door. Protection from rain will help the painted paper and recycled stuffing hold up.
It would also work indoors on a pantry door, kitchen wall, or summer display. The padded envelope and shopping bag filling make it lightweight, so the rusty wire is all it needs for hanging.
Chalk Couture supplies I used
You can shop my full Chalk Couture store here.
I am an independent Chalk Couture designer, so I earn a commission on these links. See my disclosure for more.