July 28, 2026 by Debbie Westbrooks
Chalk Couture Chicken Recipe Card Holder DIY
Live Videos · Crafts · Home Interior
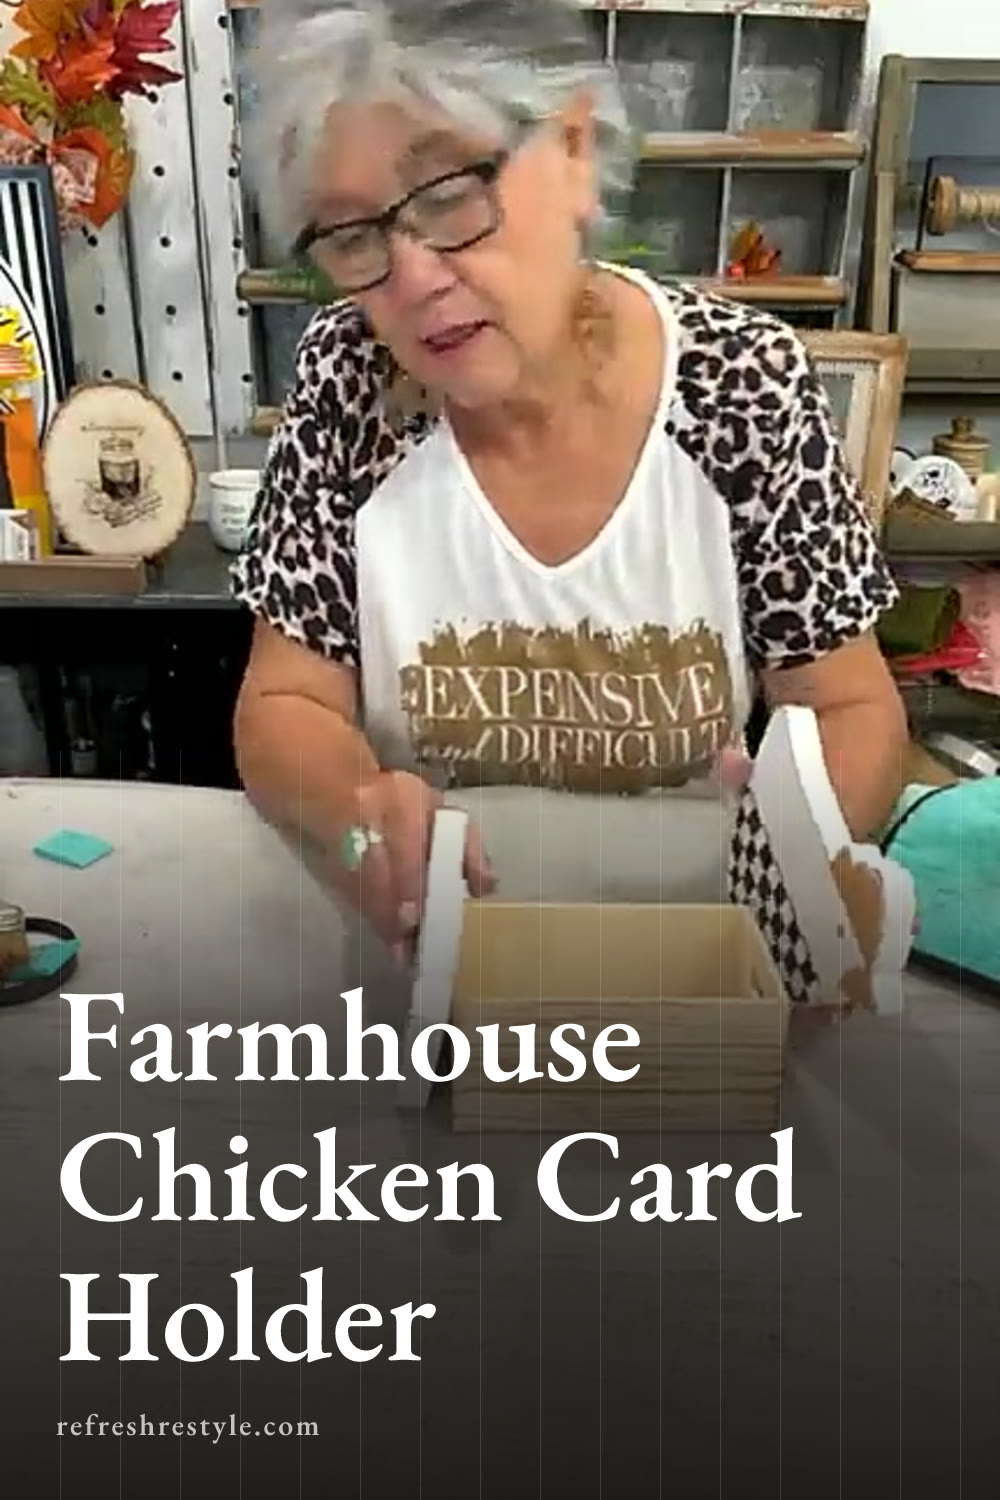
I turned a small Dollar Tree container and a pair of chicken cutouts into the cutest farmhouse recipe card holder. The Chalk Couture chicken transfer gave me the checkerboard details, and a neutral wash with little touches of gold brought the whole project together.
My Chalk Couture Chicken Supplies
I kept the supplies simple and used pieces I already had in my craft room. The little container came from Dollar Tree, and it was just the right size for recipe cards.
For this project I used
- Chicken cutouts from the July Club kit
- Chalk Couture reusable transfers
- Camel paste
- Black paste for the checkerboard pattern
- Nominee gold
- A small Dollar Tree container
- Squeegees
- A paintbrush and liner brush
- Water
- A sanding block
- Hot glue
- Decorative filler and small egg shaped pieces
The reusable transfers have a silkscreen area, so I always lift the transfer while the paste is still wet. That keeps the paste from drying in the screen and helps me get a clean design.
Starting With the Chicken Cutouts
Adding the Camel Details
I started with the top portion of each chicken and used Camel paste for the head details. Camel is a warm neutral that works beautifully with farmhouse decor, but you could choose any color that fits your kitchen.
The transfers are partly transparent, which makes placement much easier. I could see the chicken underneath and line up the design before pressing it down. Once everything looked right, I spread the paste over the silkscreen with a squeegee and lifted the transfer while the paste was wet.
I dried each section before moving on. One of my designs sat a little lower than I wanted, so I filled in the small open area with paste. Little touch ups like that blend right into a rustic project.
Creating the Checkerboard Pattern
Next came the checkerboard design. My original plan was to use a different pattern on one side, but I placed the checkerboard transfer on the wrong side. I decided to repeat the checkerboard on both sides instead, and it worked out just fine.
That is one of my favorite things about crafting. A change in the plan can lead to a finished piece that looks even better than the idea I started with.
I lined up the transfer by looking through it and comparing the placement on both chicken pieces. The distressed checkerboard squares already had an imperfect look, so exact placement wasn’t necessary. I applied the paste with my squeegee, lifted the transfer, and dried the design before turning the piece.
Giving the Container a Rustic Finish
The Dollar Tree container needed a little color, but I still wanted some of the original surface to show. I placed a small amount of Camel paste in the lid, added water, and mixed it into a thin wash.
Using a paintbrush, I started each stroke off the edge and brushed the watery color over the container. This gave it an aged farmhouse finish without covering the entire surface. You could brush the color all over if you prefer a more even look.
Once the wash dried, I used a rough sanding block around the edges. The sanding removed small areas of color and made the container look worn in the best way. I also sanded the chicken pieces where I wanted a little more texture.
Adding the Gold Accents
I wanted to give the black checkerboard a little extra detail, so I added Nominee gold with a small liner brush. I brushed tiny touches of gold over parts of the black squares, using the distressed checks and gold details found on McKenzie-Childs pieces as my inspiration.
A gold marker would also work for this step. I used a brush because that was what I had nearby, and the hand painted lines fit the relaxed finish of the checks.
After adding gold to the chickens, I dry brushed a little more onto the container. I kept the brush fairly dry and added the color here and there. The goal was a scattered accent rather than a solid gold finish.
Assembling the Recipe Card Holder
When all the paste and gold details were dry, I attached the finished chicken pieces to the outside of the Dollar Tree container with hot glue. A stronger adhesive would also work if you want a more permanent hold.
I didn’t measure the placement. I lined up the pieces by eye and pressed them into place, which worked well with the handmade style of the project.
The container is a great size for recipe cards, so you can keep favorite family recipes close while you cook. I added decorative filler and a few small egg shaped pieces for display, but you can leave the inside open and fill it with cards instead.
More Ways to Use It
This farmhouse chicken container can hold more than recipes. You could use it for tea bags, K cups, salt and pepper shakers, or other small kitchen items. It would also make a cute countertop organizer filled with the things you reach for every day.
The same Chalk Couture chicken transfer could work on a dish towel or another kitchen surface too. Paste worked well for my cutouts, while permanent ink is another option when you are creating on a surface that calls for it.
Chalk Couture supplies I used
You can shop my full Chalk Couture store here.
I am an independent Chalk Couture designer, so I earn a commission on these links. See my disclosure for more.