October 7, 2026 by Debbie Westbrooks
Chalk Couture Christmas Door Tags With Plaid
Live Videos · DIY · Crafts
I made a layered Christmas door decoration with two wooden tags, Chalk Couture transfers, and chalk paste in warm farmhouse colors. The green plaid background and red lettering work so well together, and a loose stacked bow gives the whole project that comfortable handmade look I love.
Starting With Two Simple Tags
The base of this project is a pair of Simple Tags that measure nine by twelve inches. You could use each tag on its own, but I wanted to stack mine so both painted finishes would show.
These tags can also be used just as they come. I wanted a rustic finish for this project, so I painted both pieces before adding the designs.
For the first tag, I started with Storm and mixed in a little Bright White. I also worked in another neutral shade and added a small amount of water to my brush as I painted. This gave the surface a streaky finish that reminded me of weathered wood.
I reversed the process for the second tag by starting lighter and adding gray. That small change helped the two pieces coordinate while keeping them from looking exactly alike. One became a little darker and moodier, while the other stayed soft and light.
Creating the Weathered Background
Chalk paste covers these surfaces well, and I like being able to blend the colors directly on the tag. If an area gets darker than I want, I go back over it with a little of the lighter color to tone it down.
I kept the paint loose and slightly uneven because I wanted the finished tags to feel worn and comfortable. Once I liked the blend, I dried both pieces completely.
I also ran a sanding block lightly across the surface and around the edges. This softened the finish and brought out more of that rustic wood look. Wipe away the sanding dust before adding a transfer so it can sit flat against the surface.
Making Plaid With a Chalk Couture Transfer
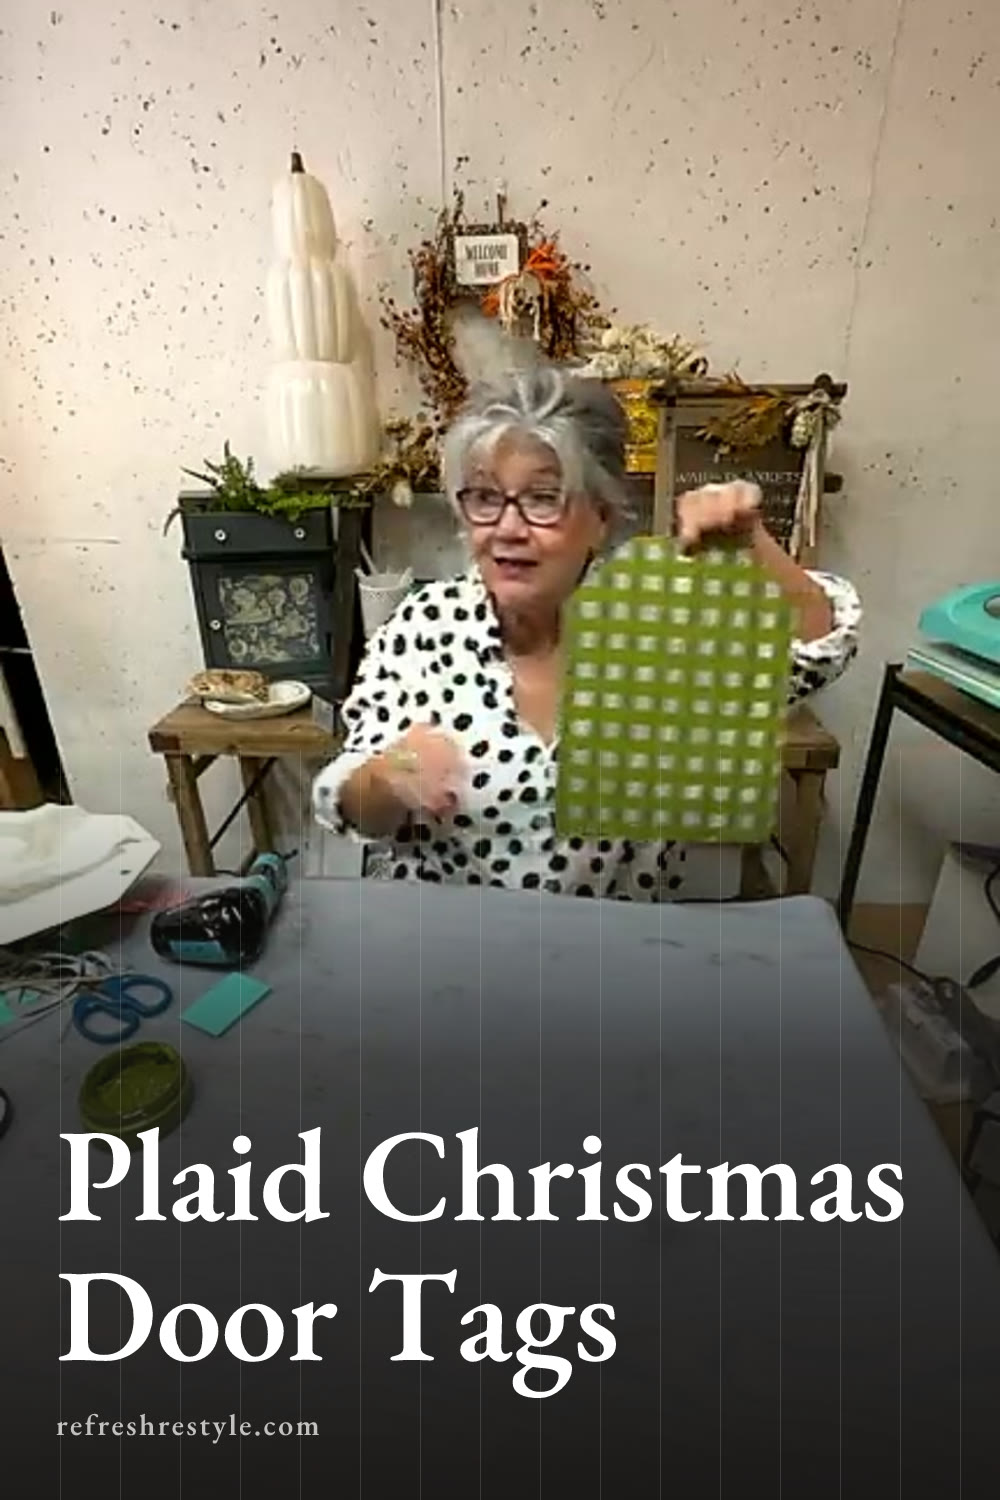
The plaid started with the Chalk Couture Textured Stripes transfer. It is a large stripe pattern, which makes it useful for covering a bigger background without having to move a small design over and over.
I placed the transfer across the darker tag and applied Pesto chalk paste. Pesto is a mellow green, and it looked so pretty with the weathered gray background and the fabric I had set aside for the bow.
After pulling up the transfer, I dried the first set of stripes. Drying between layers matters because the next step places the transfer back over the finished design.
Then I turned the stripe transfer in the other direction and applied Pesto again. Crossing the lines changed the simple stripe pattern into a large plaid. You could also use two different colors for this step, but I liked the softer look of green layered over green.
This same technique would work in red and white for Christmas, black and white for a classic look, or pink and red for holiday and Valentine projects. The wide spacing gives the plaid plenty of impact without making the background feel too busy.
Adding the Weary World Rejoices Design
For the front tag, I used the Weary World Rejoices transfer with Cherry chalk paste. At the time I made this project, the design and the two Simple Tags were offered together as a gift with purchase.
I fuzzed the new transfer before placing it on the painted surface. Fuzzing takes away a little of the initial stickiness and helps a new transfer release more easily.
Once the design was in place, I pressed it down well and spread Cherry paste across the open areas. I worked from the top and made sure the paste covered the full design before pulling the transfer away.
Removing the transfer is always one of my favorite parts. The rich red lettering looked beautiful against the lighter tag, and it tied in with the Christmas colors I wanted to use in the finishing details.
Layering the Christmas Door Tags
I arranged the lighter tag over the plaid tag, leaving enough of the green pattern visible along the side and bottom. I moved the pieces around until the spacing looked balanced, then glued them together.
My glue gun stopped working while I was making this, so I used the glue I had available and held the pieces in place while it set. Craft projects have a way of changing the plan, and this method still gave me the layered look I wanted.
Before securing anything, take a moment to test the placement. A small shift can show more of the plaid or put greater focus on the lettering, so move the tags until the layers look right to you.
Finishing With a Stacked Bow
I pulled together several strips of fabric and ribbon for a casual stacked bow. One burgundy piece felt off beside the Cherry lettering, so I removed it and chose colors that worked better with the green plaid and the other fabrics.
To make the bow, I crisscrossed the strips and added as many layers as I wanted. This kind of bow works especially well on rustic decor because the pieces can stay loose and relaxed. I tied the bundle together and attached it at the top of the tags.
The finished project has several simple layers working together. The weathered paint gives it age, the Pesto stripes create a bold plaid, and the Cherry design brings in a traditional Christmas color. Stacking the tags lets each part show while the fabric bow pulls all the colors together.
Chalk Couture supplies I used
You can shop my full Chalk Couture store here.
I am an independent Chalk Couture designer, so I earn a commission on these links. See my disclosure for more.