June 17, 2026 by Debbie Westbrooks
Chalk Couture Strawberry Transfer Canvas Sign
Live Videos · Crafts · DIY
I made the sweetest little strawberry sign with a plain canvas, a wood berry cutout, and a Chalk Couture strawberry transfer. The Wayfinder shimmer stripes gave the background a fresh teal color, while the red and green berry added that cheerful summer look I love. It came together with a few simple supplies and plenty of room to make it your own.
Supplies I used
For the background, I used a basic white 8 by 10 canvas. I would have enjoyed a slightly larger size, but this one worked once I decided to skip part of the outer design and concentrate on the words and strawberry.
I also used painter’s tape, Wayfinder shimmer color of the month, a strawberry wood cutout, white paint, Candy Apple chalk paste, black chalk paste, green chalk paste, a Chalk Couture transfer, squeegees, and my glue gun.
The canvas was already white, so I let that original color become part of the striped pattern. That saved a step and gave me a nice bright contrast with the teal shimmer.
Painting the striped canvas
I started by placing strips of tape across the canvas. You can measure each stripe with a ruler if you want everything evenly spaced. I usually place mine by eye and adjust the tape until the spacing looks good to me.
Once the tape was in place, I pressed along every edge. Canvas has texture, so taking a moment to press the tape down helps keep the paint where it belongs. You can also brush Mod Podge along the taped edges if you want an extra barrier against paint bleeding.
I painted the open stripes with Wayfinder, which is a beautiful teal shimmer color. I love red and teal together, and I knew the color would look good behind the strawberry. The shimmer also gave the simple canvas a little extra interest without taking attention away from the design.
I dried the first coat and added a little more color where I wanted better coverage. I still allowed some of the canvas texture to show because handmade projects have their own character. After the paint dried, I pulled away the tape and revealed the teal and white stripes.
Preparing the strawberry cutout
The strawberry wood cutout needed a white background before I added the design. I checked that I had the correct side facing up, painted it white, and dried it well.
Paint can raise the fibers on MDF and unfinished wood, leaving the surface a little rough. I smoothed mine with paper before adding the transfer. A paper bag, sturdy paper towel, or piece of very fine grit sandpaper can handle this step. A smoother surface helps the transfer sit flat and gives the paste a cleaner finish.
Using the Chalk Couture strawberry transfer
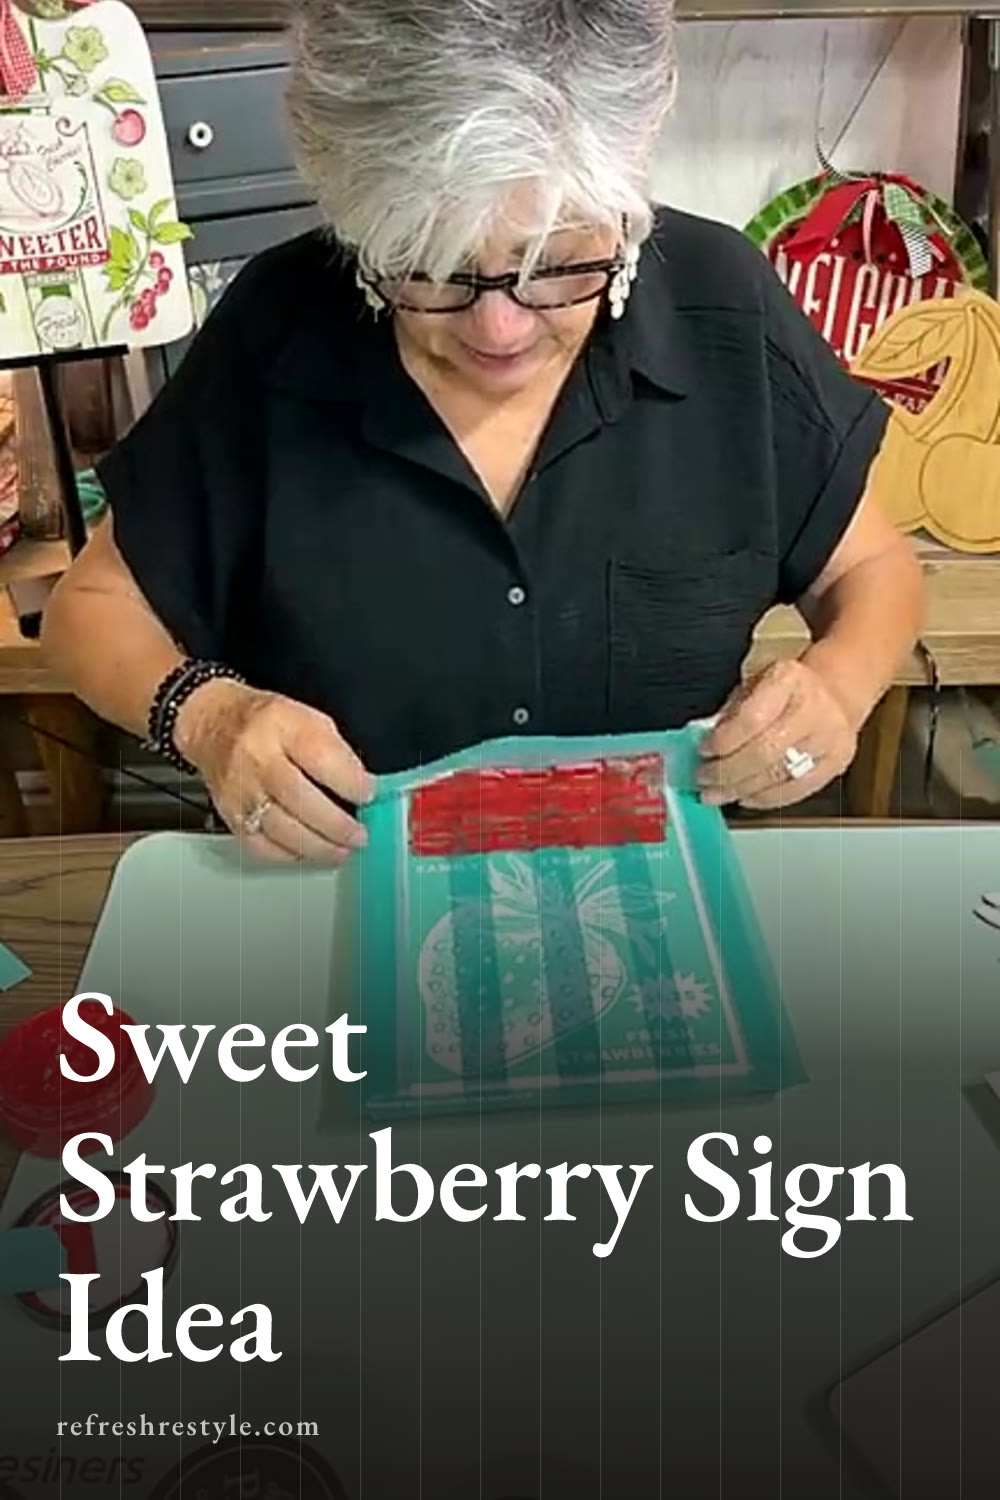
I placed the lettering portion of the transfer on the striped canvas and decided to use red and black paste. Candy Apple gave me the bright red I wanted for the strawberry theme, and the black helped part of the wording stand out against the teal and white background.
When you spread chalk paste through a transfer, use a light hand. The paste has a thick consistency and moves easily with a squeegee, so heavy pressure isn’t needed. I worked through one color at a time and lifted the transfer while the paste was still wet.
That peel and reveal is always one of my favorite parts. The lettering looked crisp against the stripes, and the red tied the background to the berry cutout.
I left off the outer portion of the design because the canvas was a little small. Choosing only the parts that fit made the design work for the surface I had.
Adding color to the strawberry
After the lettering was finished, I lined up the strawberry transfer over the white wood cutout. The transfer was see through, which made it easier to place the design where I wanted it.
I used Candy Apple for the berry and green paste for the leafy top. I worked carefully where the colors met, but a little overlap wouldn’t have bothered me. I liked the strawberry with its open white details, so I left those areas unfilled.
The red, green, white, and teal created such a fun color combination. It feels summery and fresh, and the stripes keep the whole project playful.
Fixing a missed spot
I missed part of one letter while I was talking and working. Since the transfer was see through, I lined it back up and filled in the missing section.
You have a few options when this happens. You can carefully place the transfer back down right away, or you can finish the project, dry the paste, clean the transfer, and line it up again. A small paintbrush also works well for touching up a tiny area after everything dries.
Chalk Couture transfers are reusable, so I clean mine in the sink after the project. Keeping the transfer clean helps preserve the details for future signs and other surfaces.
Putting the strawberry sign together
Once the canvas, lettering, and wood cutout were dry, I heated my glue gun and attached the strawberry to the front of the canvas. The raised wood piece added dimension and made the berry the center of the design.
This same idea would work on a piece of scrap wood or a chalkboard if you don’t want to use canvas. You could also add a magnet to the back of the strawberry cutout and use it by itself as refrigerator decor.
I love how the shimmer stripes frame the red and green strawberry. It’s a cheerful little sign for summer decorating, and every part can be changed to fit the colors and surface you already have.
Chalk Couture supplies I used
You can shop my full Chalk Couture store here.
I am an independent Chalk Couture designer, so I earn a commission on these links. See my disclosure for more.