I know you’ve heard this over and over from me 🙂
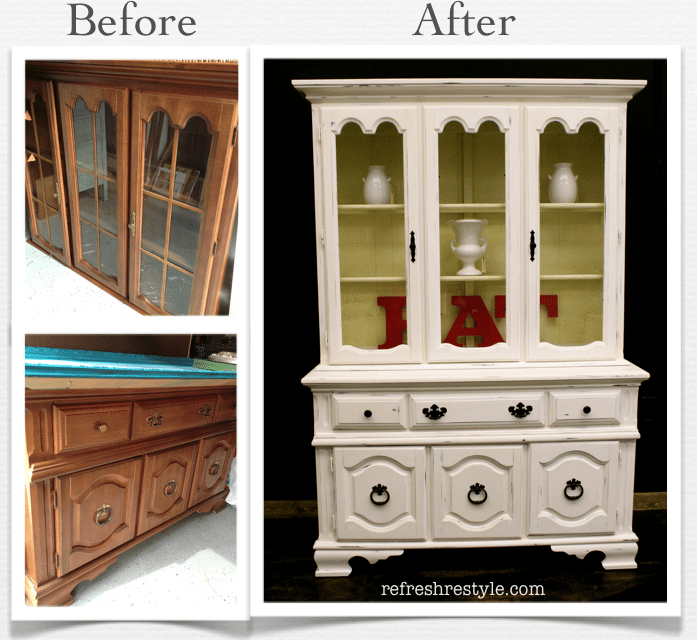
From boring brown to light and bright! Here I go again…
What can I say, I just like light, bright and refreshing.
As you can see she started out kind of ho-hum, but functional.
Steps:
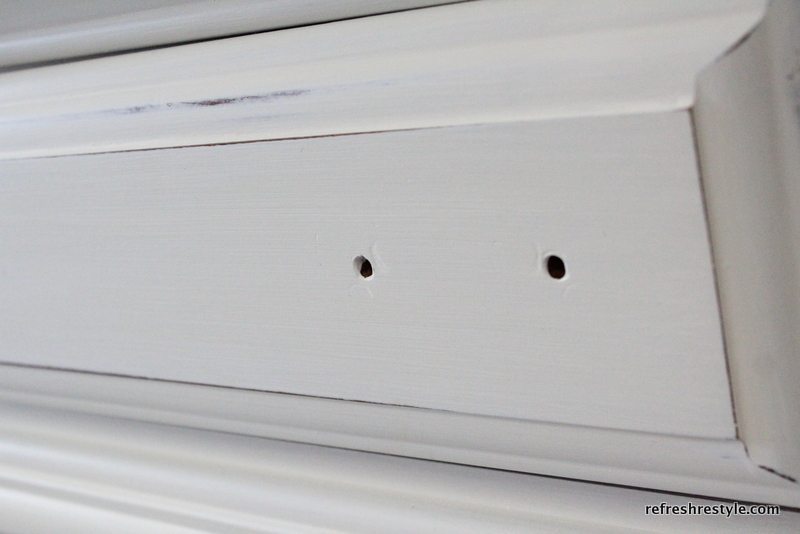
1. Remove: glass, shelves, hardware, etc.
2. Clean your piece with water and vinegar, let dry.
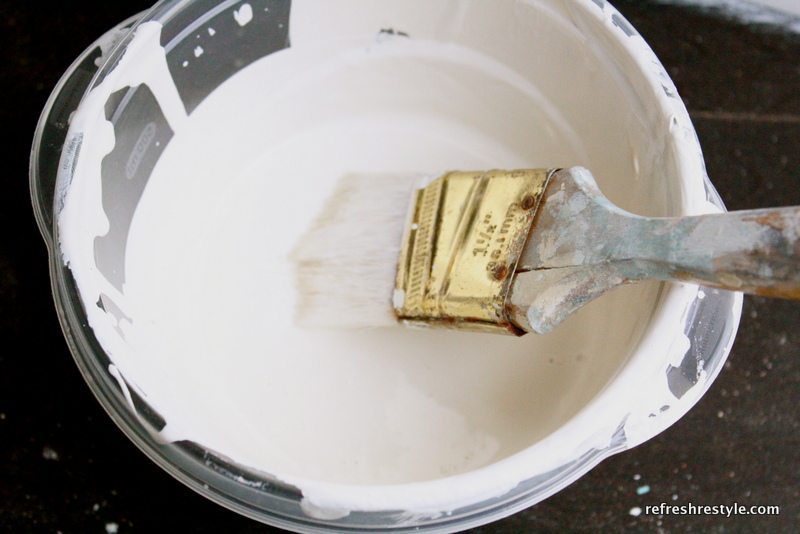
3. Choose your paint colors. I like to use chalk based paints, so there’s little to no prep work.
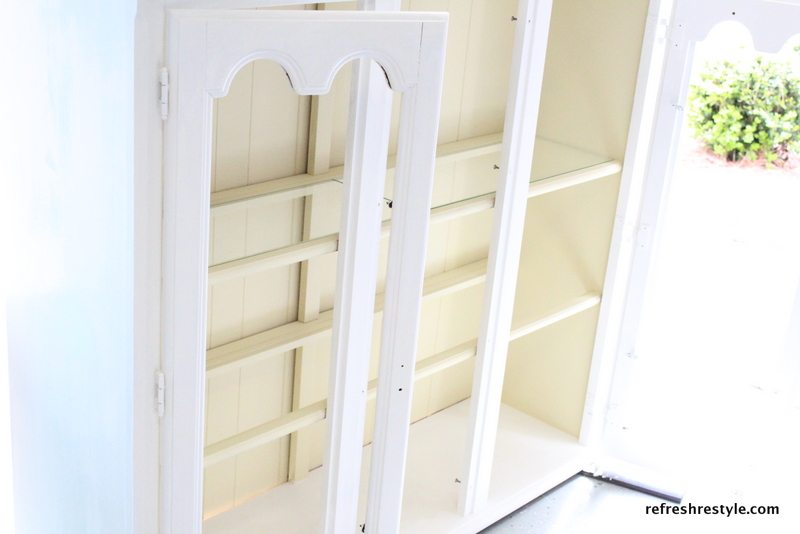
4. Paint the inside first, frame edge, drawer fronts and then the cabinet itself. By the time you’ve finished with one coat, you can start over with the second coat.
5. For this piece I applied a glaze, let that dry.
6. Add a top-coat to your piece. I used a soft wax on this one. You could use a water based poly, also.
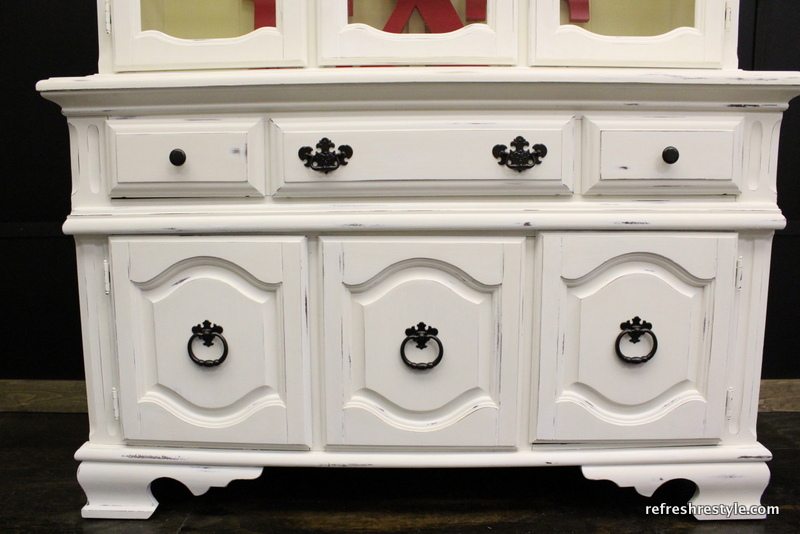
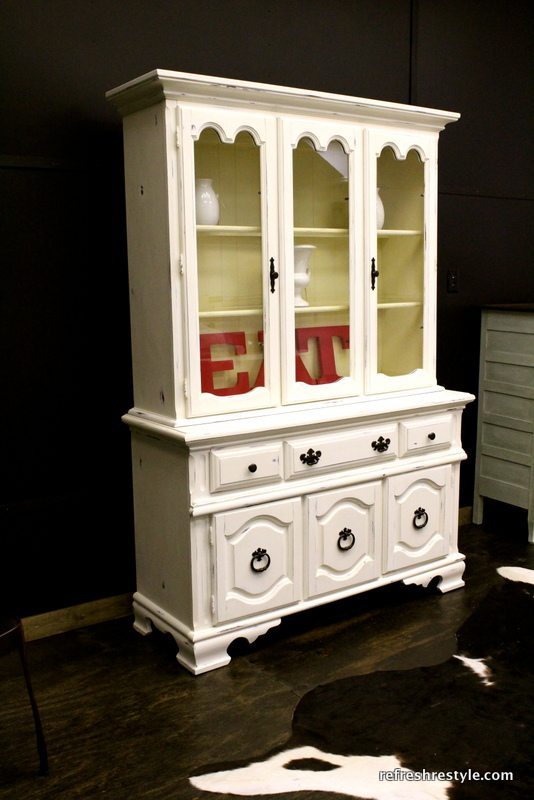
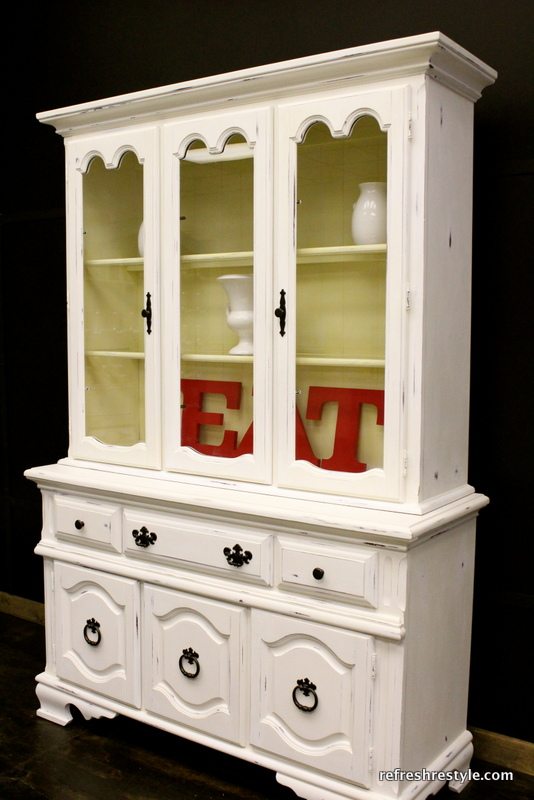
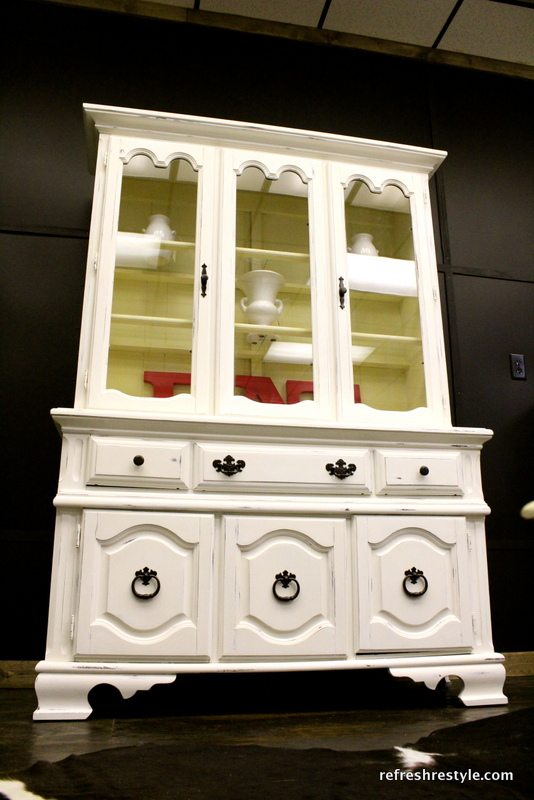
After I painted and distressed, I decided to add a more interest.
I created a glaze that I called Vanilla, not much color, but just enough to tone her down.
This is before glaze and distressing, what a refreshing change!
I’ll just show you way too many pictures now, I love the way she turned out.
How do you like her now?

It’s pretty good job!!What paint brand can I use?
Deb, Did you hand paint or use sprayer? Can you spray with chalk paint?
Hey Chris, I had painted this one. Yes you can spray chalk paint, in fact that’s about all I ever use in my sprayer 🙂 Have a great day! Debbie
I love It! I recently did my own DIY hutch makeover similar to yours! Check it out and let me know what you think! http://imperfectlychic.com/?p=312
merci pour les explications mais serait il possible de les traduire en français svp si c est possible…joli travail et beau resultat…
I notice that you didn’t sand it down at all. Isn’t that a necessary step? Beautiful work, by the way! 🙂
Thanks Gina, the paint I used is Maison Blanche Furniture Paint and it requires no sanding!
Debbie
Did you use chalk paint or regular paint?
Oh yes! Love it. I’m doing my first hutch makeover now and they do take some time. Especially when you’re doing inside all the cupboards, etc. Nice job.
Oops, here’s my correct link!
I LOVE the lines on this hutch. What a refreshing transformation!!
I love how fresh this looks! The colors are bright and cheery!
So Lovely! (I need to find a big ol’ hutch now…)
That hutch turned out gorgeous!!
Do I *like* her? I LOVE her, Debbie! And, she looks fabulous parked right up against the dark wall … pops beautifully! Love the red “EAT” letters … she’s not going to be around long, I’m sure!
So pretty!
The glaze is perfect – so is the inside color choice!
Another beauty! I repainted a hutch similar to that one for a friend a few years ago (prior to blogging) – it was a lot of work! I like your vanilla glaze.
So cute!! I especially love the pop of color on the inside. Great work!
She’s awesome!!
xo Heidi
I love her now, Debbie! You did an excellent job on her!
Looks great debbie!Just goes to show that even an old fashioned style “Early American” piece can really look so fresh with just some paint!
Great redo! I like the bright and cheery too,
Deb
Love it!!!! beautiful turn out. 🙂
So very fresh and pretty! I’m in the mood for some bright whites these days…as long as it’s not the frozen bright white stuff!
Love it!
I have a hutch (my grandmothers) very similar to this that I would love to paint. I am new to distressed and glaze. Do you have a tutorial or can you recommend one?
I saw something similar on the side of the road the other day…but really had no way to put it…it would have looked good painted
Light and bright it was on this one Debbie! So pretty. Hope all is going well for you. I am pinning this pretty now.
what a difference! it was outdated and now it’s beach cottage perfect!
Oh yes I do love how she turned out. I also like light and bright furniture makeovers. Nicely done!
I like how this turned out. Very pretty and the glaze did tone it down just right! How do you keep it clean though? I have two big dogs that would have it a mess in no time 🙁
Bev, you would just clean it with a damp rag. I have a 70 lb. dog too, but she doesn’t really bump again any furniture in the kitchen 🙂