
Do you have a large wall and need large affordable art? Make this DIY SHOWER CURTAIN WALL DECOR:
I decorated a loft style apartment recently and needed an affordable option for a large piece of art. I remembered seeing this idea a few years ago and thought it would be a great opportunity to create my own version of shower curtain art. There are so many cute shower curtain options available, I will list a few at the bottom of the post. 
 This is the first piece of wall decor that I made and I had so many people asking how I did it, I decided to share this simple DIY. I created this one on site in Decatur and I’m about five hours away so I recreated one with Christmas art.
  I purchased both of these shower curtains from Amazon but be on the look-out in other stores, I’ve seen some really cute ones. I have included affiliate links for some of the products used.
DIY SHOWER CURTAIN WALL DECOR INSTRUCTIONS:
SUPPLIES NEEDED:
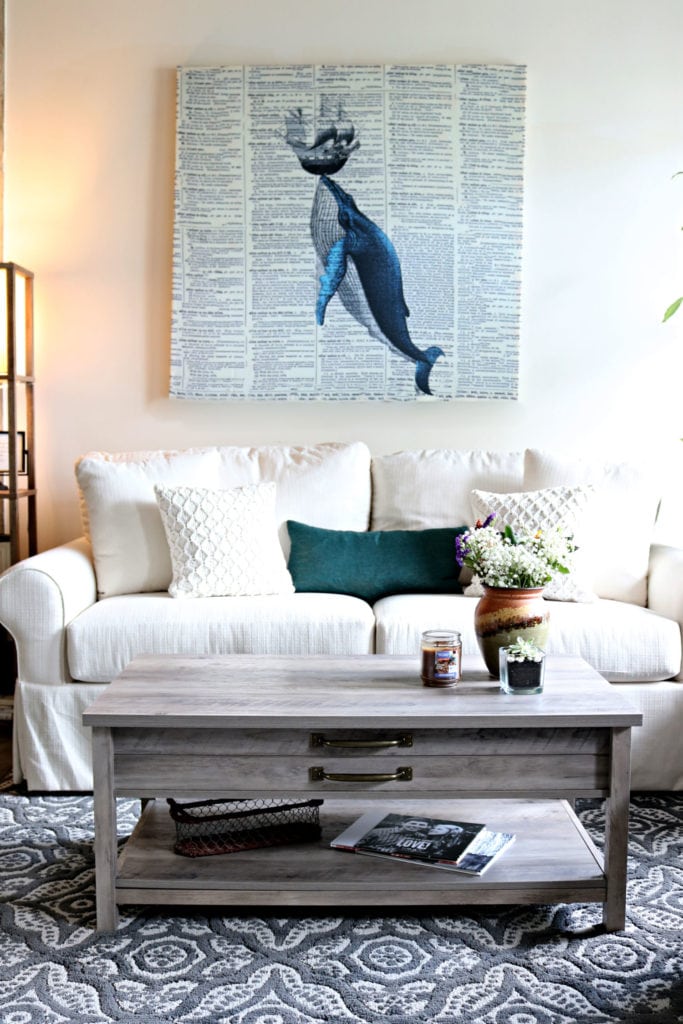
- Shower curtain (click for the Whale, or click for Car Christmas Tree)
- Staple gun and staples
- 1” x 2” boards (these come in several lengths)
- Miter saw
- Scissors
Using the miter saw cut the 1” x 2” boards to length. I made straight cuts, the frame is not visible so a miter cut is not necessary. You can use a miter box and hand saw or have it cut at the hardware store also. For the whale art, I cut them at 4’ each. For the Christmas shower curtain, I cut the boards at 5’. Basically, you can cut your frame based on the design of the curtain. Most shower curtains are at least 70” x 70” and depending on the printed areas you can adjust your frame size. 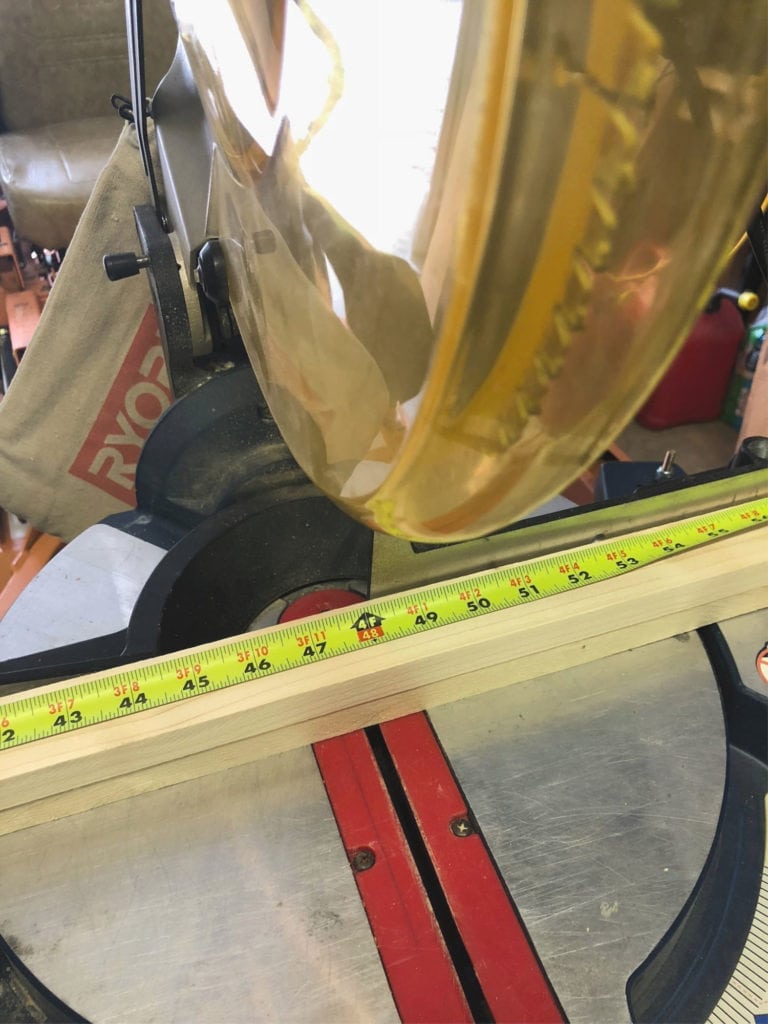 Attach the 1” x 2” boards at the corners. For the whale art, I used screws at each corner. Today I used gorilla glue and long staples in my staple gun.
 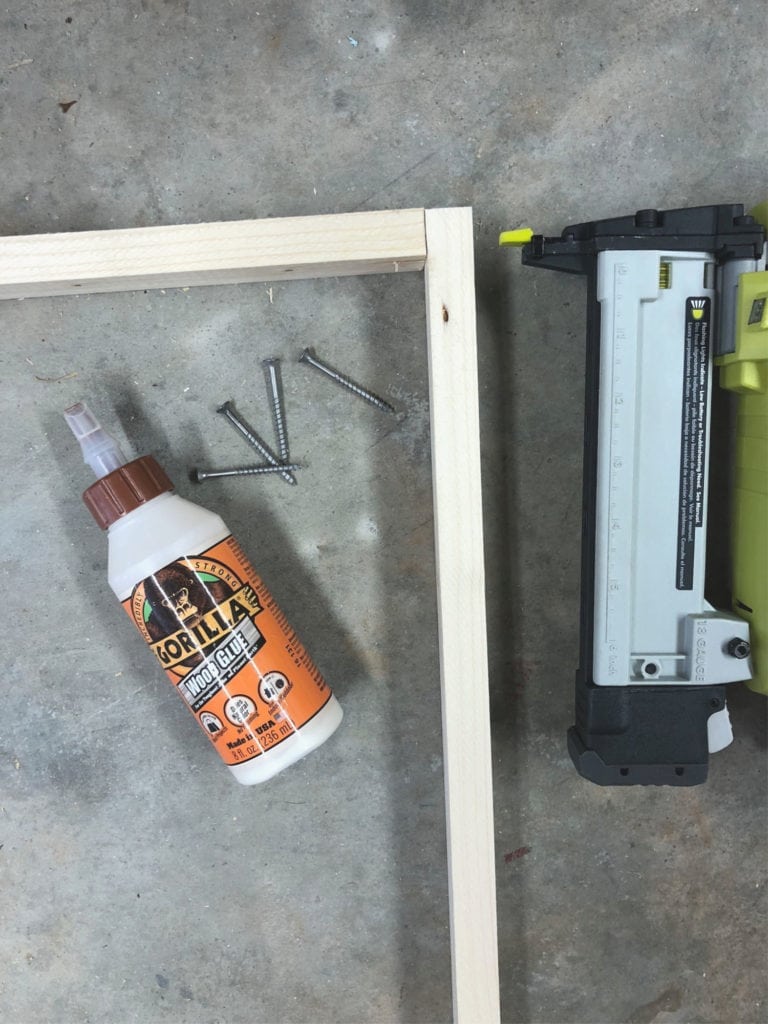 Here you can see how I positioned the boards before gluing and stapling.
 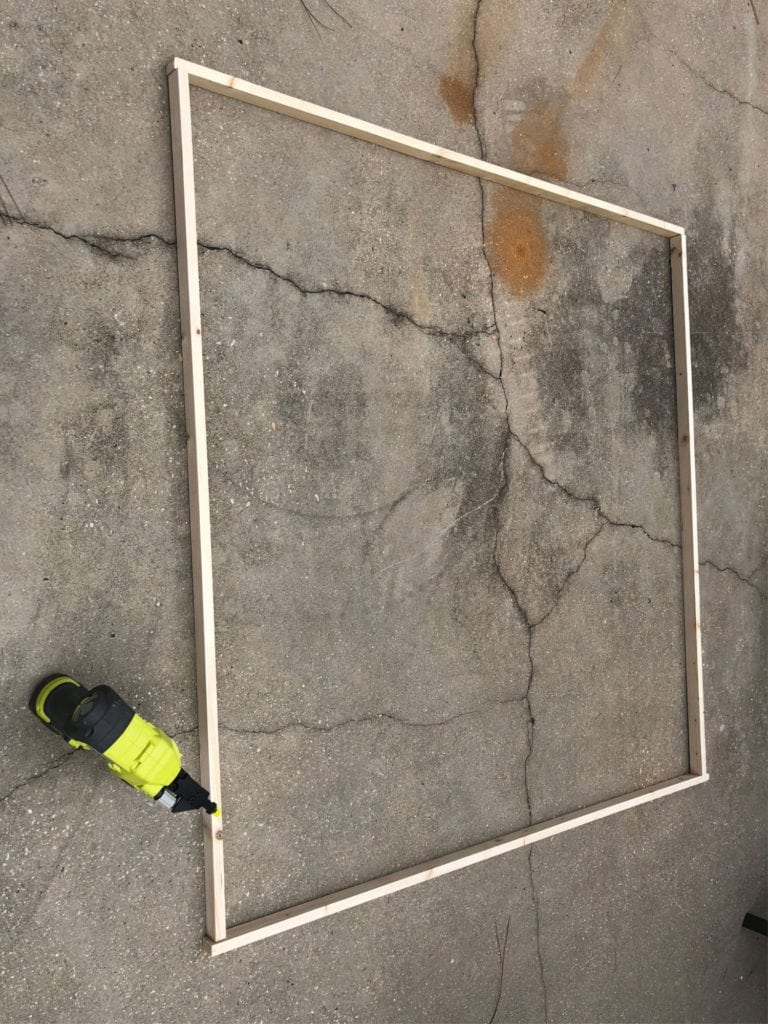 For the 5’ frame, I added two center braces. To make sure it fit well, I created the outside of the frame first and measured for the braces. I used two scrap pieces of wood for this, if you don’t have scrap wood, buy extra 1” x 2” boards.
 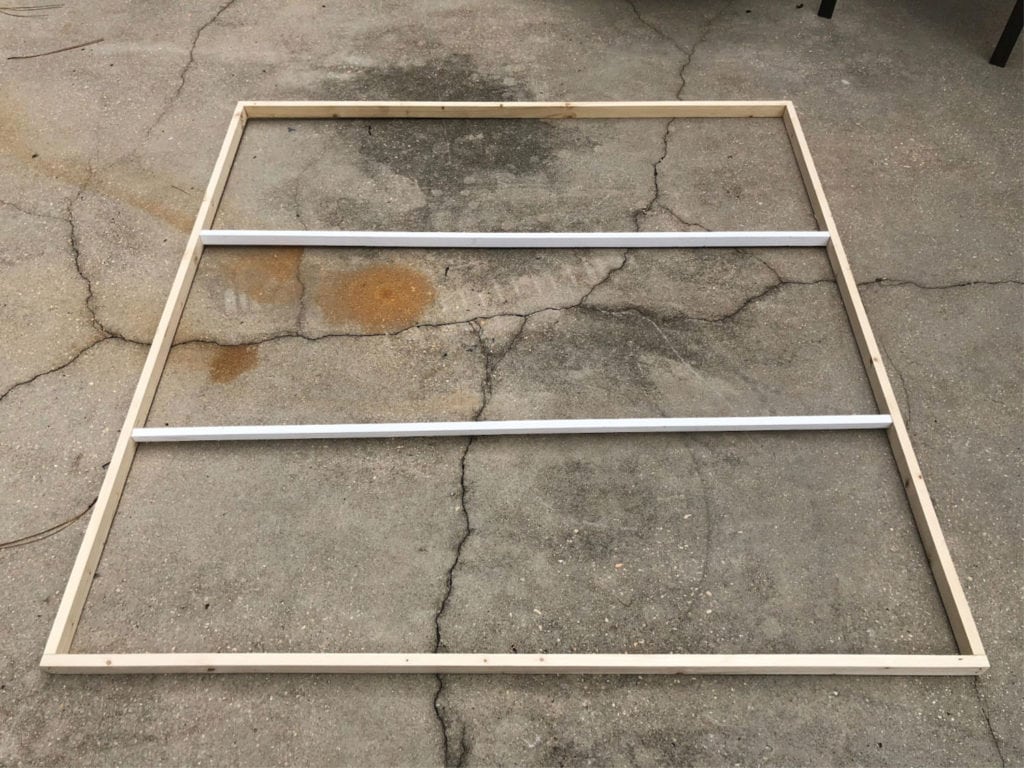 As you can see for the smaller frame (4’) I didn’t add a center support and it turned out great.
 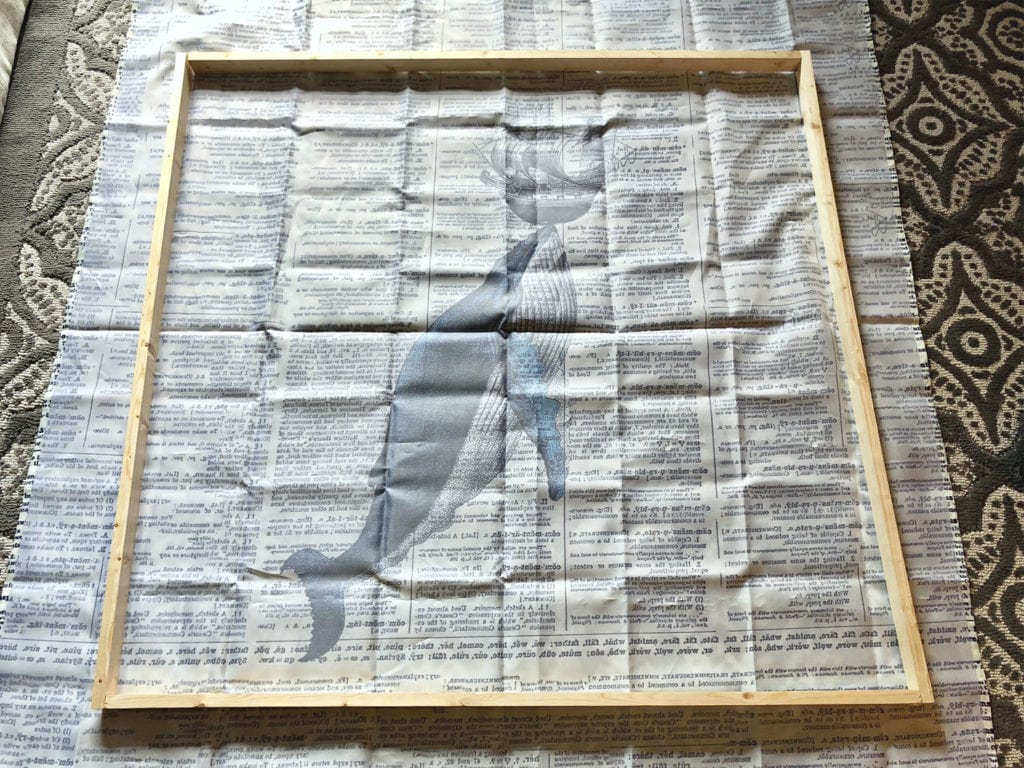 For the 5’ frame I added extra support.
 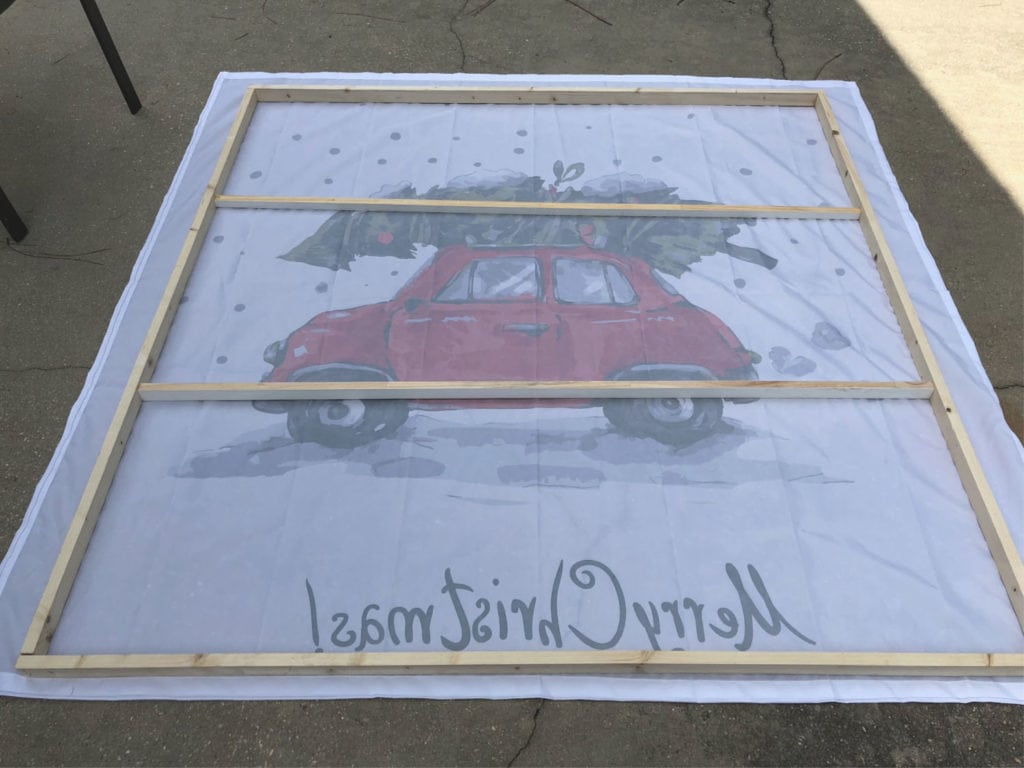 After you position the shower curtain, use a stapler to add staples at the center of the bottom middle and top middle. I finish the top and bottom first, starting in the middle and working toward the outside pulling to stretch the shower curtain and then I move to the sides starting in middle first.
 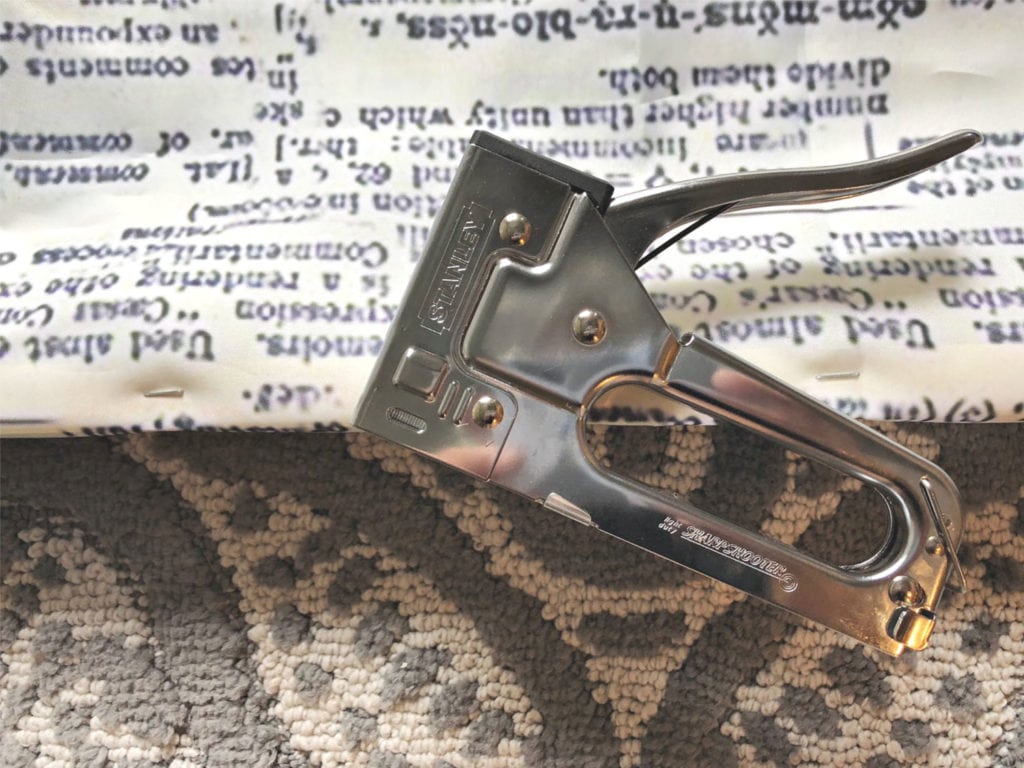 You can see that I used two different staple guns, if the wood is soft, any stapler will work.
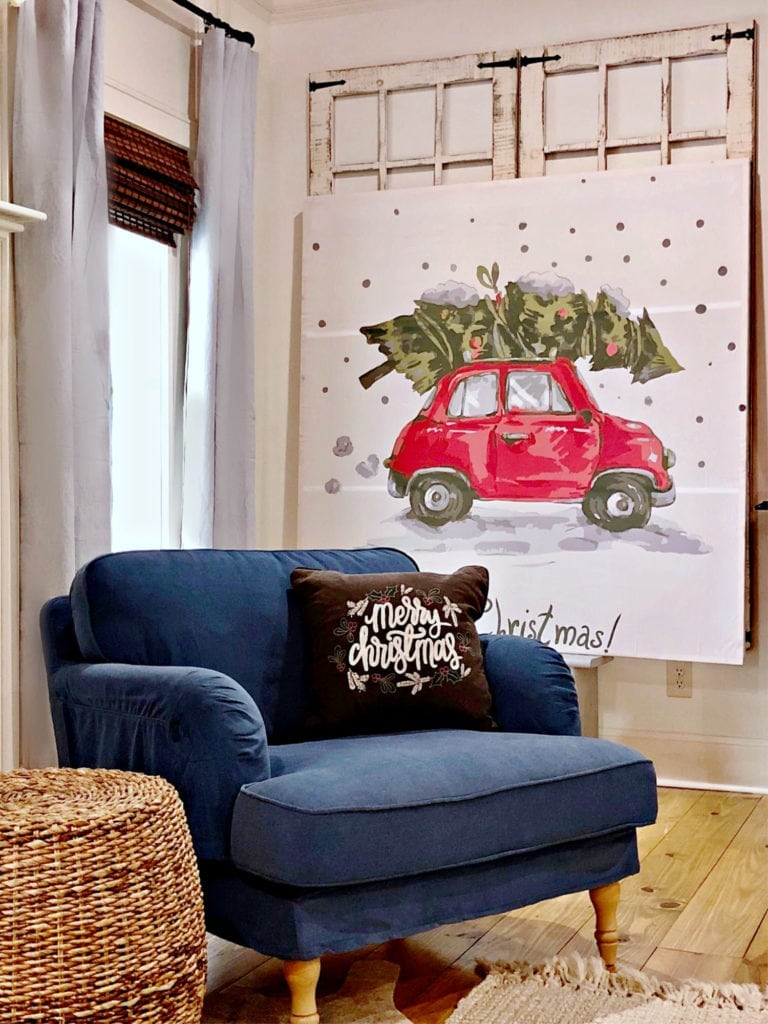
If you have any questions, ask in the comments! This was a quick and easy project, let me know if you try the DIY Shower curtain wall decor!

15 Comments
ArchiveThis is such a great idea!!
Thank you Kirby :)
Love this for seasonal looks to hang!
Thanks Pam, I agree!!
wow! I LOVE this idea! You are so clever!
Thank you for stopping by!
These are fantastic, Debbie!
Thanks so much Ann :)
LOVE this idea! Do the wrinkles disappear when you pull the shower curtain taught and staple?
Hey Janet, the wrinkles pull out when you stretch the shower curtain.
Super idea! I love it - quick and easy and affordable! Thank you. :)
Love this idea! how did you get the fold creases out of the shower curtain?
Joan, the wrinkles just pull out when you stretch the curtain, if they don't just steam them.
Awesome idea for oversized artwork!
Very creative, and I am in love with this cute idea.