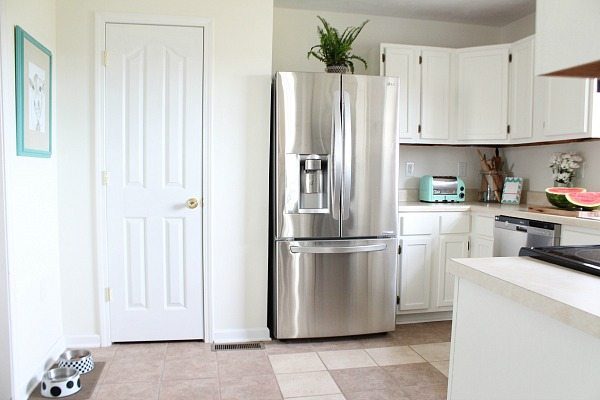
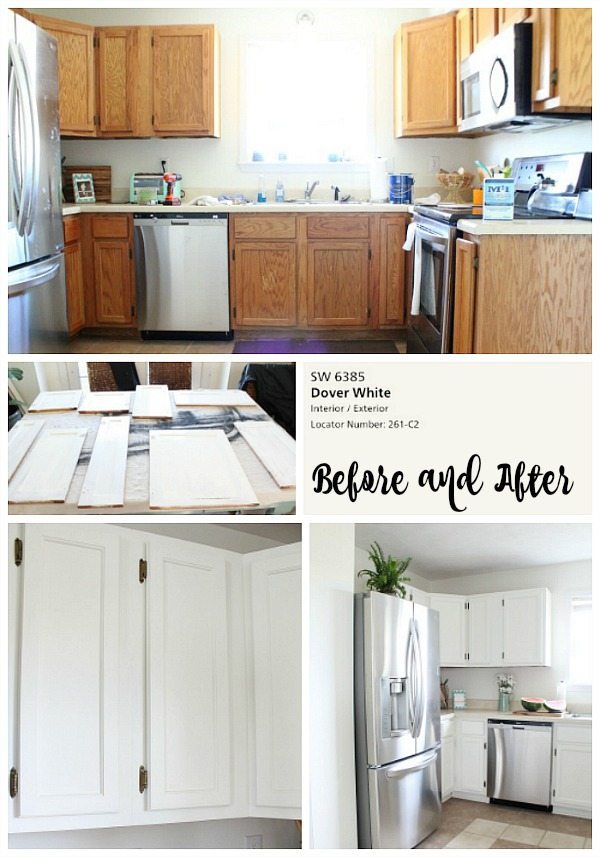
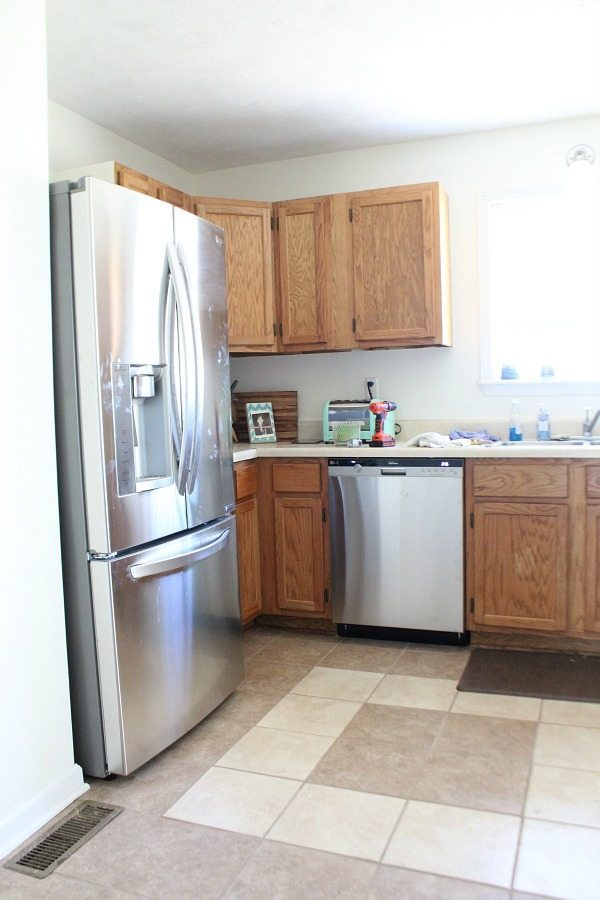
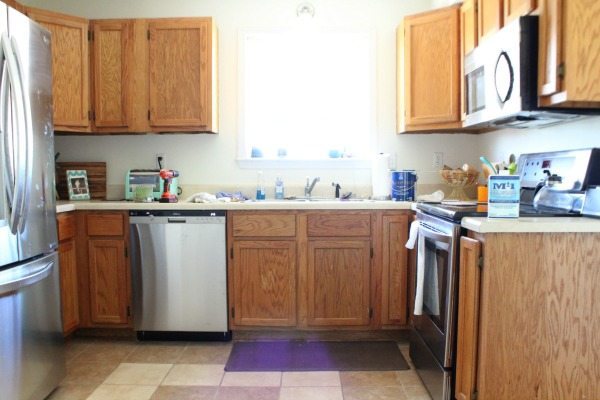
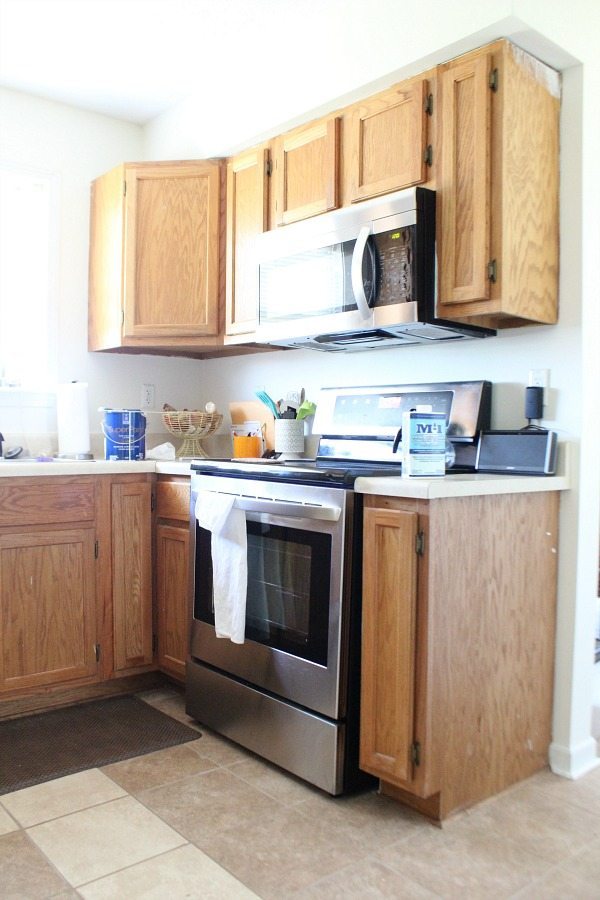
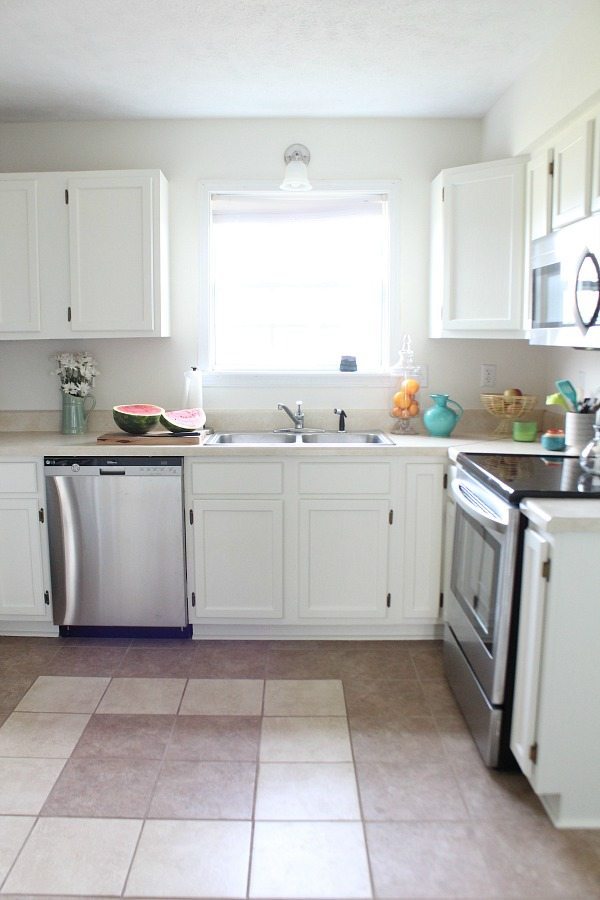
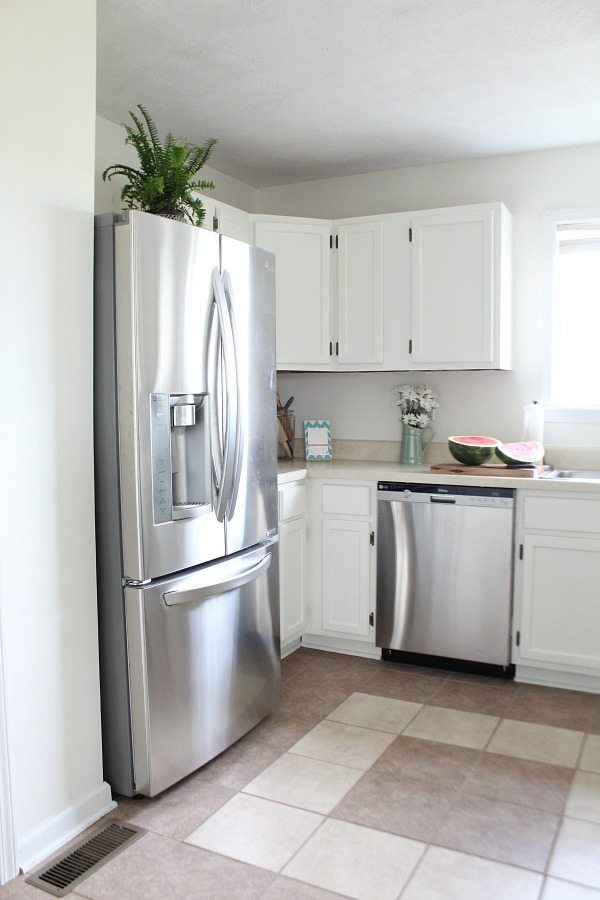
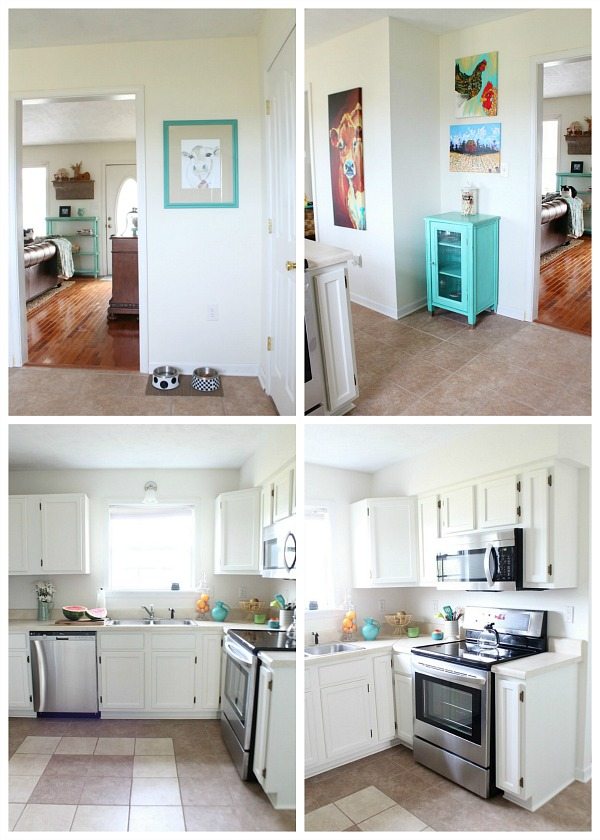
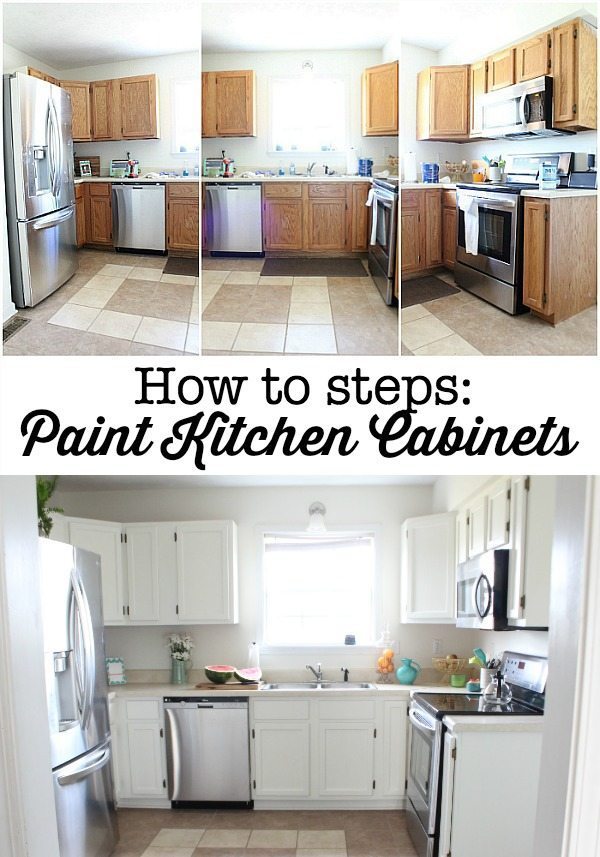
My daughter just bought a cozy cottage and she’s been working hard to make it her own. Between moving, unpacking and taking care of my grandsons, she’s been very busy. We decided to tackle the kitchen cabinets this week, while I was visiting! Let me introduce you to the refreshed Dover White kitchen cabinets!
Paint is the easiest way to change any space, just ask her, she painted every room!
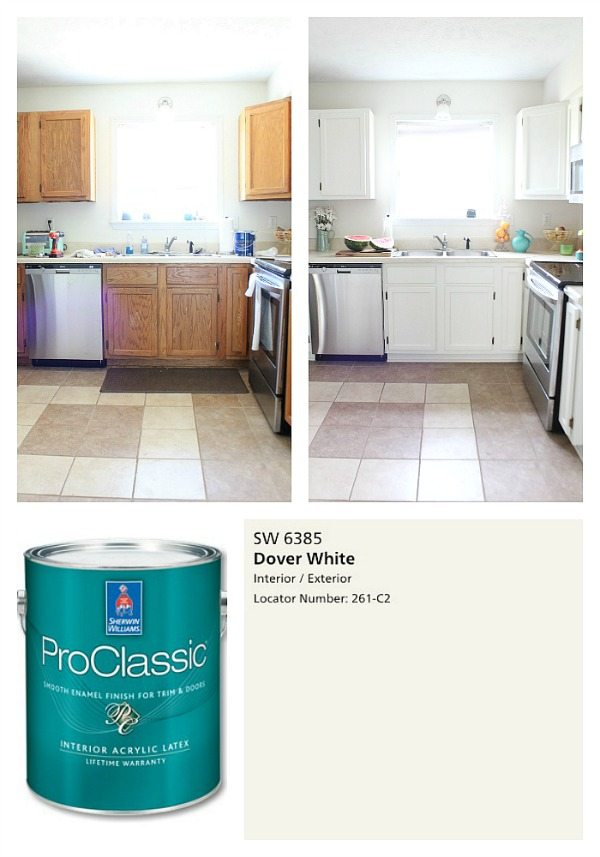
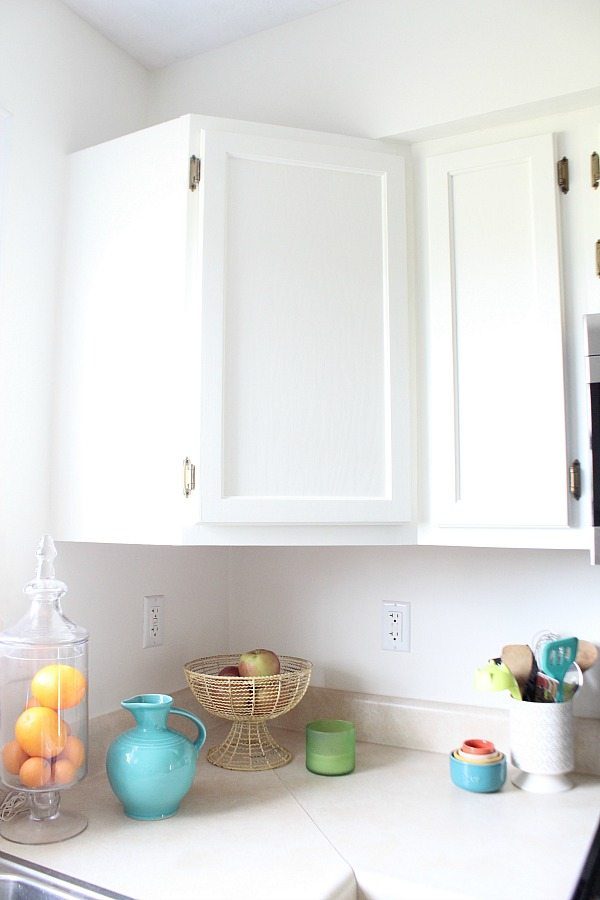
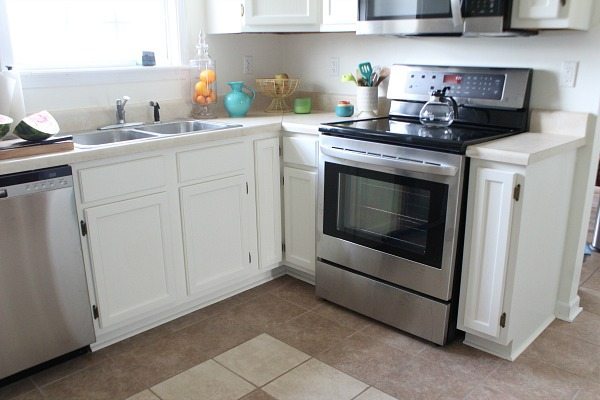
Sherwin Williams Dover White Kitchen Cabinets

Supplies:
- M-1 Paint Deglosser & Pre-Paint Cleaner
- Purdy paint brushes
- Foam covers/roller
- SW ProClassic Smooth Enamel Paint
- Sand paper (220 Grit)
- Lint-free cloth
- Screw driver/drill to remove hardware
- Plastic sandwich bag for hardware
- Caulk
- Remove cabinets and drawers, remove hardware (place hardware in plastic bags).
- Sand and clean – we used M-1 Paint Paint Deglosser & Pre-Paint Cleaner. You will need to wear gloves when applying the deglosser.
- Prime cabinets, drawer fronts and cabinet bases. (Zinsser 123 Water Based or Kilz Latex Primer.
- Caulk where needed to fill gaps.
- Paint with SW Dover White (Satin) ProClassic Smooth Enamel Finish.
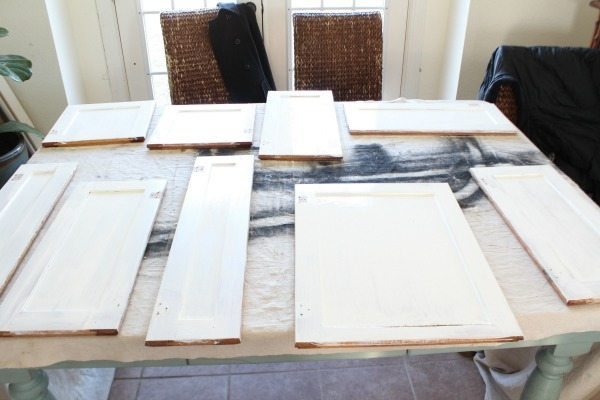
Our cabinets required very little sanding, they barely had any finish on them at all. We purchased the paint and M-1 deglosser at Sherwin Williams. Follow the directions as listed on the de-glosser/cleaner. By the time we wiped everything down, it was time to paint. We set up the dining table for our paint station, the height of the table helped with the back breaking process ;). We created drying stations in the living room. Rotating in/out as we finished each door. It was a cabinet door maze for about a week. Once we had one coat on the backs of the doors, we moved to the kitchen. Jenni started with the bottom base cabinets, me at the top. Follow drying directions for the primer and paint that you use.
The hardest part of this project is getting started. Make sure you prep your surface well, follow directions for each product that you use. We used Purdy paint brushes and foam rollers. The SW ProClassic smooth finish paint is great. It dries smooth with very little evidence of brush strokes.
For our application the Dover White looks lighter than the sample color above. It is truly an amazing color!
To keep the costs down, we cleaned and reused the brass hinges. Jenni is on the hunt for drawer pulls. She will be replacing the window shade, adding a backsplash – maybe on my next visit 😉 Her wish-list also includes new light fixtures. You know how it is, one project leads to another.
If you’re looking for an inexpensive way to update your kitchen, I suggest painting the cabinets. We love the color SW Dover White, but any color that you love would work. Yes, it’s time consuming and you need to be patient….you will be sitting around waiting for paint to dry! If you’re like me, you may need a few ibuprofens 😉
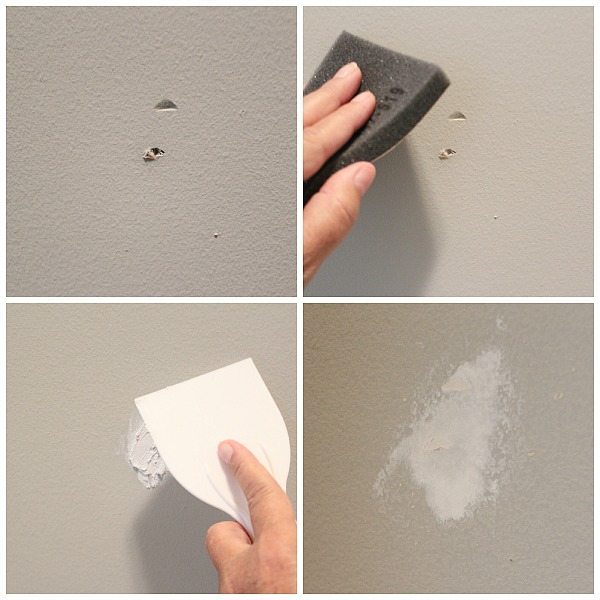
Are you ready to paint your walls? Do these things first:
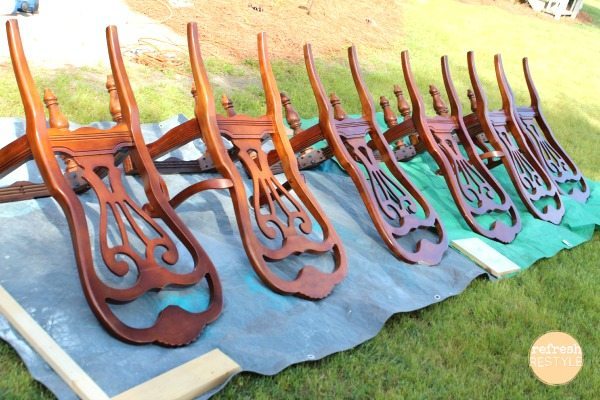
Want to paint your dining chairs?


Great job!!! Turned out beautiful
what color did you paint on kitchen walls? I do have Dover White kitchen cabinets
Thanks
Hazel
Hi Hazel, the walls are Dover White also.
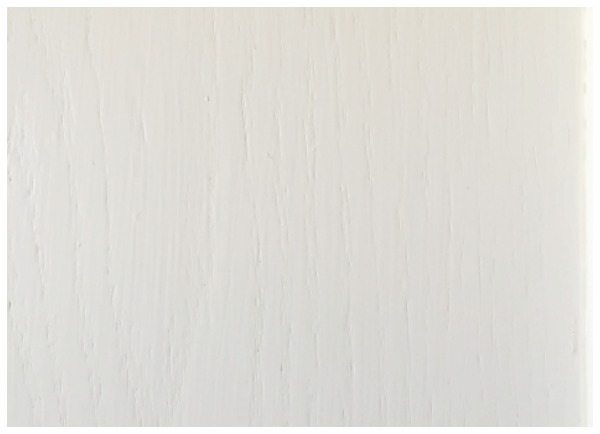
I’m considering painting my oak cupboards. I have a question. My friend brought this up. I wouldn’t have thought of it. Does it bother you to see the oak grain through the paint? I don’t think it will bother me. I just would like your opinion. I’ll be so glad to be rid of the honey oak.
I did a close up of the painted grain, it doesn’t bother us at all. It’s natural wood and I love painted wood 🙂
Do you have to have a final coat of some special paint to stop the “nicks” or paint coming off if the cabinet is hit by a toy? Thanks.
Hi Susan,
We consulted the pros at Sherwin Williams and a top coat is not required. If you want to add one, I would check with your local store to see what they suggest. I’ve had painted cabinets since the 80’s, there’s always a possibility of nicks, in fact I’ve nicked them myself.
Thanks,
Debbie
I’ve seen that some people apply a wax coating after painting. It makes sense to me.
They look great, Debbie! So fresh and pretty.
So amazing!!
What a mom!
Thank you Bliss!
woohoo! Y’all did a fabulous job on this kitchen cabinet makeover Debbie. The kitchen looks fabulous!
You are amazing, and a great mom!
gail
Thank you Gail!
So thankful for my mom! The kitchen looks so good and I have not had one bit of trouble with the paint coming off…I’ve already had to wipe a few down due to having boys ages 9 & 11. This paint was really amazing, I’ll be honest, during the painting I was so nervous that you would be able to see all of our brush strokes, but when it dried it was so amazingly smooth!!! Now I’m getting ready to paint my cabinets in the bathrooms!
I love helping you with projects, so glad we bit the bullet and painted them!
Great job!
Thanks so much Walter! I love following you on IG, you’re so creative!
Beautiful! I have offered to paint my mother’s kitchen cabinets this fall. Her kitchen looks very similar to your daughter’s.
Have you ever used a paint extender when painting cabinets or furniture to help even more with brush strokes?
Also, did you mark your doors so you remembered where each one came from? If so, how did you do that if you painted both sides of the cabinet doors?
And, I would love to see a photo of what the inside of the cabinet looks like with the cabinet door open. How far back did you paint on the inside?
Your projects always inspire me, and I will be saving this post to refer to when I go to my mom’s in the fall. Would love to hear any tips or feedback you can give! Thanks so much!
Thanks MK, with this ProClassic there is no need for adding an extender. There are virtually no brush strokes. You will love this paint! I only painted the edge of the inside of the cabinets. I am not at her house but I will post a photo of my own. We marked the doors on the inside where the hinge goes, a little spot that we left unpainted that was covered when we put the hinges back on.
Thanks so much for your questions!
Debbie
her kitchen looks amazing!
Thanks Laura it was truly an amazing transformation!