Driftwood Weathered Finish
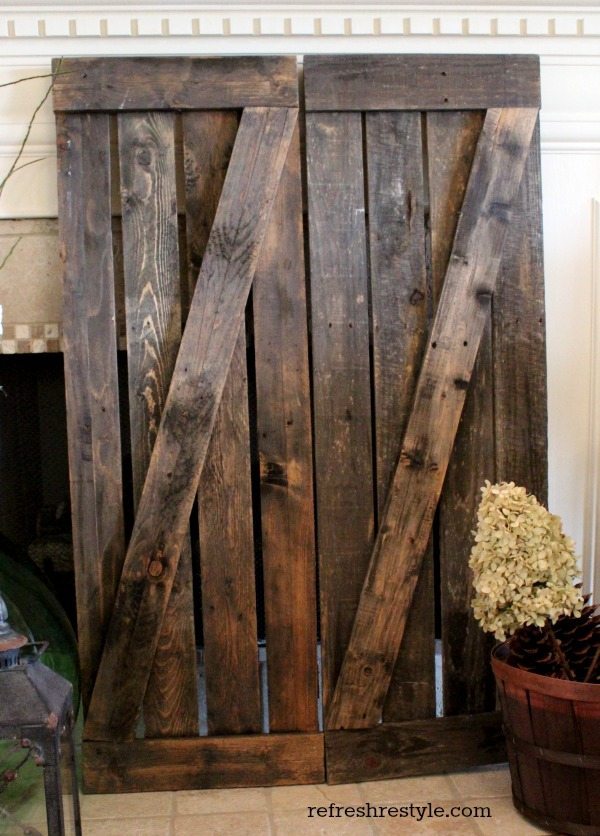
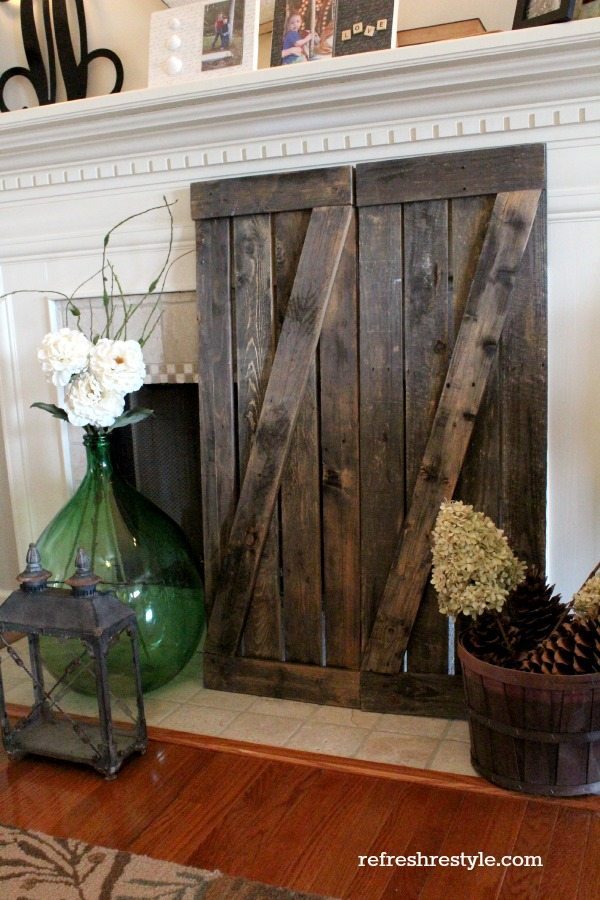
Today I’m sharing a driftwood weathered finish that I used on 2 pallet wood shutters.
I was asked to do a product review for Driftwood Weathered Wood Finish
and I knew exactly what I was going to try it on!
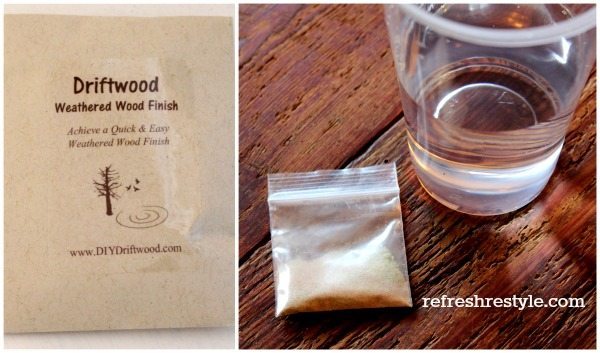
I received a package and it contained 2 small packages. Of course I was concerned that it wouldn’t be enough to finish the shutters 🙂
The directions said to mix one package with one cup of water. That’s what I did and it was enough to finish both shutters. Each package when mixed as directed will cover 25-35 square feet. Driftwood weathered wood finish is all natural and should be used on unfinished, untreated wood. It’s takes all the guess work out of creating a driftwood look. This was one of the fastest projects that I’ve ever done and I still one package left 😉
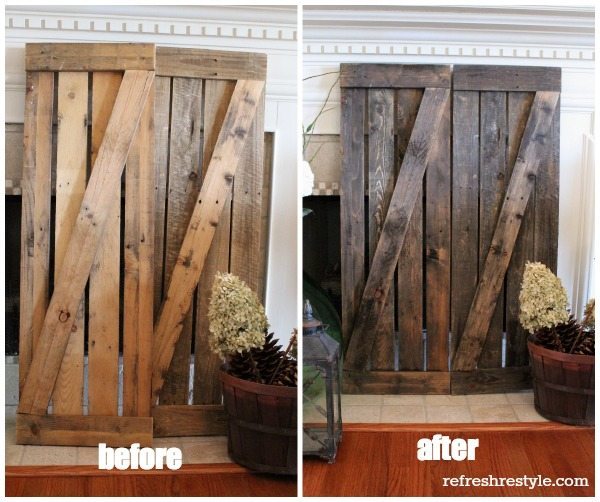
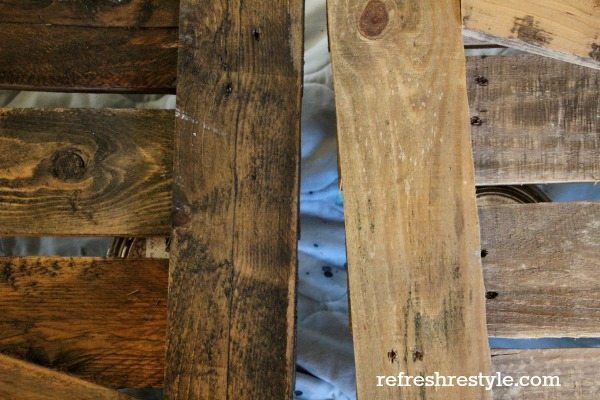
Here’s a shot of the during, the process happens pretty fast! It darkens even more over the next 24 hours.
The gray tones are perfect, achieved in one afternoon.
I am very pleased with the outcome and I would recommend it.
I received one package of Driftwood Weathered Wood Finish Product to Achieve Natural Driftwood Furniture with Aged Wood Appearance – enough to do 50 square feet.
I have included my Amazon affiliate above.

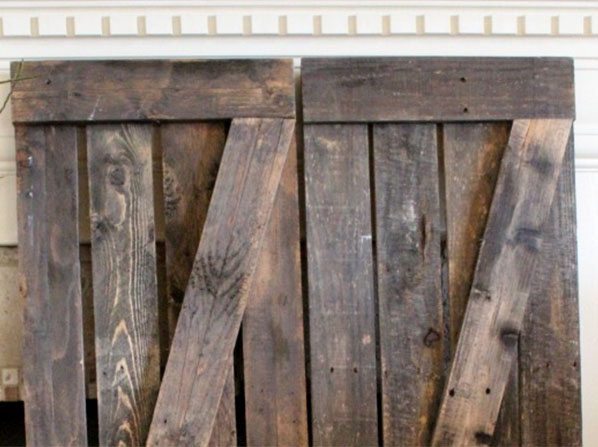
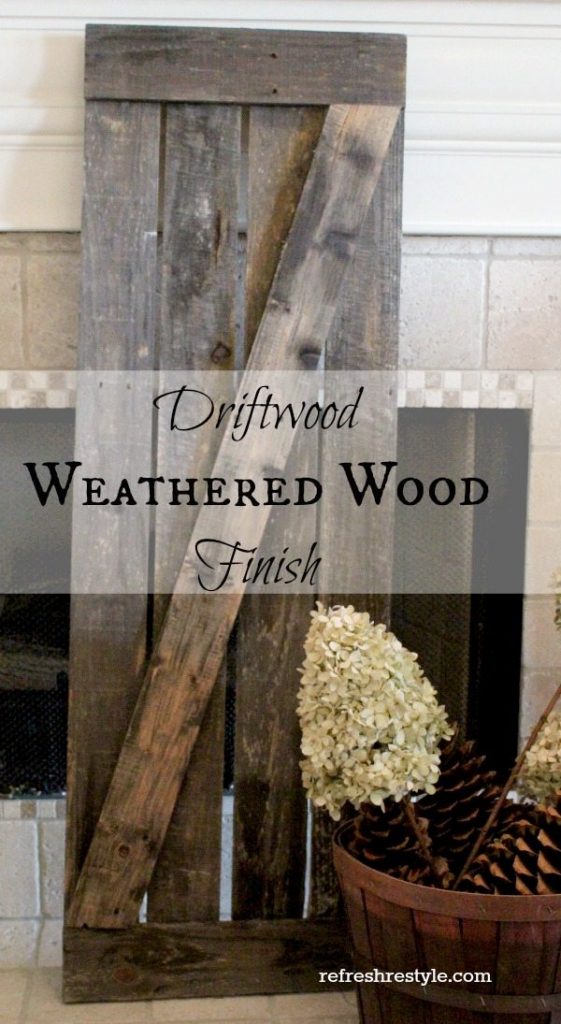
I will have to try this! I love how the shutters turned out!
I love that product and how authentic the weathered look is! And your shutters are wonderful, can’t wait to see what you do with them:)
Thanks Wendi, I totally agree, it looks ver authentic! Have a great week!
Debbie
I just tried a process I found online and it worked and came out beautiful!;
I used Skater’s Pond quick drying Gladden paint
Minwax Dark Walnut Stain
I purchased raw pine 1x6x12 and used a heavy chain and beat it slightly
I painted the board a thin coat of the Skater’s Pond.Let dry, and sanded lightly.
I took an old tank top and ripped it up and used one piece to dip in the stain and wiped on and with a nice flat large piece in my left hand, wiped it off. The results were amazing!
I want to try this, it seems so easy and the driftwood finish would fit perfectly in our home!
Would this be good for a kitchen table, do you think? I’d need to seal it, I would imagine…
xo Heidi
It would be great on a tabletop! Diane from In My Own Style did her table, right here http://inmyownstyle.com/2013/09/furniture-makeover-weathered-driftwood-furniture-finish.html
LOVE!
Jen, this was so easy! You would love it 🙂
What an awesome product–I’ll have to give it a try. Thanks for sharing your review!
Not to mention your shutters are terrific. Think I will pin to remember both the shutters and the process to weather them.
Trying to click on your Pinterest link but there is no page there…
Bex, try to pin it again…my boards were down for a few minutes…due to an error that I made 🙂
wow. that’s amazing. they look so authentic. What are you going to do with the shutters?
Good question Laura…what am I going to do with those shutters. That how I roll 😉