If you can dream it, you can make it! If you have a computer, a printer, a pencil and paint…oh and a piece of wood or any surface that you’d like to personalize, you can do this. Let’s start with how to make a farm fresh sign, you might have a quote or name that you like better so change the wording to fit your style!
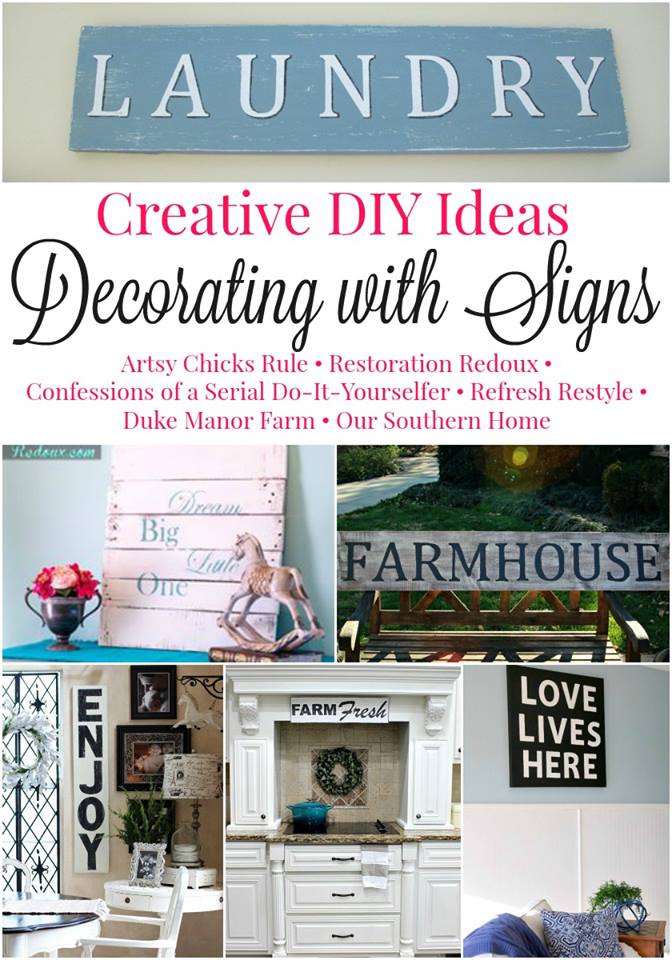
Today our Decor Enthusiasts Group is sharing fun ideas for decorating and creating signs! Be sure to see more sign ideas below! And info on joining in on Facebook and Instagram fun!
How to Make a Farm Fresh Sign or any Sign!
Back in the 80’s my home was filled pine furniture, powder blue and all things country. Not much has changed, in fact my daughter has my pine table and I still have the jelly cabinet from back in the day. It’s no wonder that I’m drawn to all things farmhouse, when you grow up in the country and you don’t have an ounce of fancy in you…well that’s me…the old country girl has gone Farmhouse 😉
Wood board or surface to create your masterpiece
- Print your design
- Use transfer paper if you have it or see below for an el-cheapo method that I use
- Pen and Pencil
- Paint 2 or more colors. Click here for Americana Decor Chalky Paint
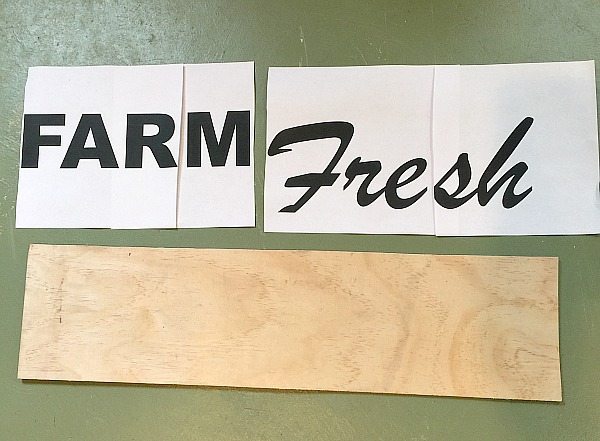
Size design to fit your board. As you can see mine printed on 4 sheets of paper. For my board I used a left over piece of 1/4″ plywood. I used Arial Black 288 – font size for FARM and Brush Script MT – 500 font size for Fresh. You can grab mine here: Farm Fresh click -> farm fresh sign pdf – I have a Mac and use Pages to create.
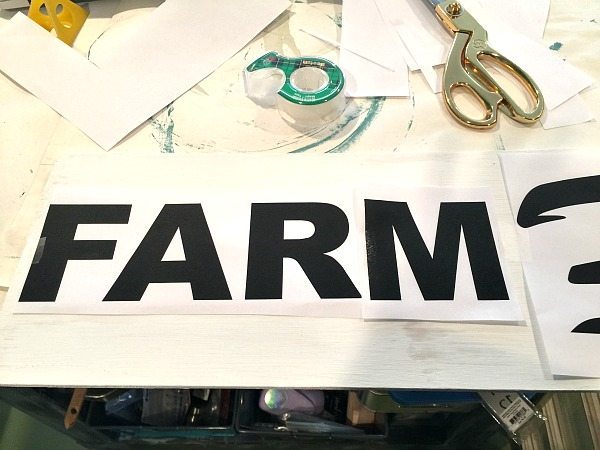
- Trim your print out to size, fit to your board, for your finished look.
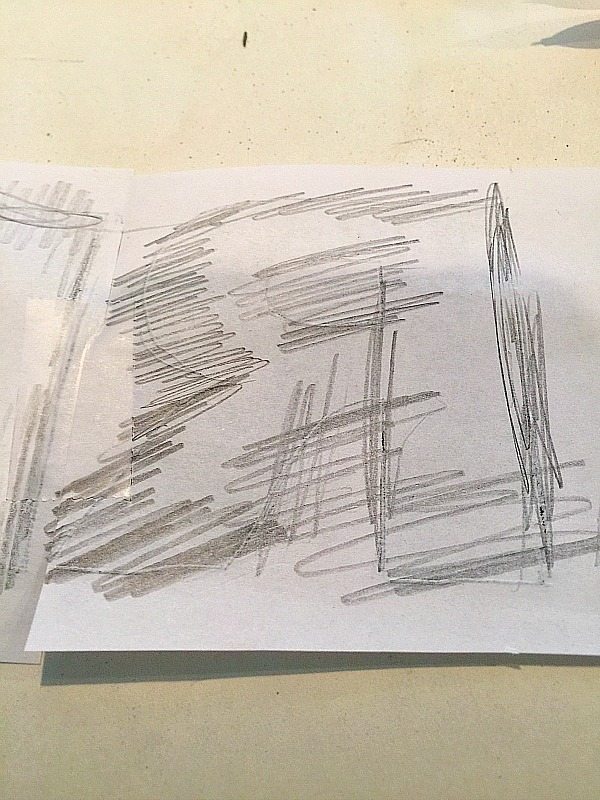
Tip: If you don’t have tracing paper, you can flip your design over and use a pencil. See how I just placed the pencil marks on the outer edge of the letters. There’s no point in coloring in the whole thing.
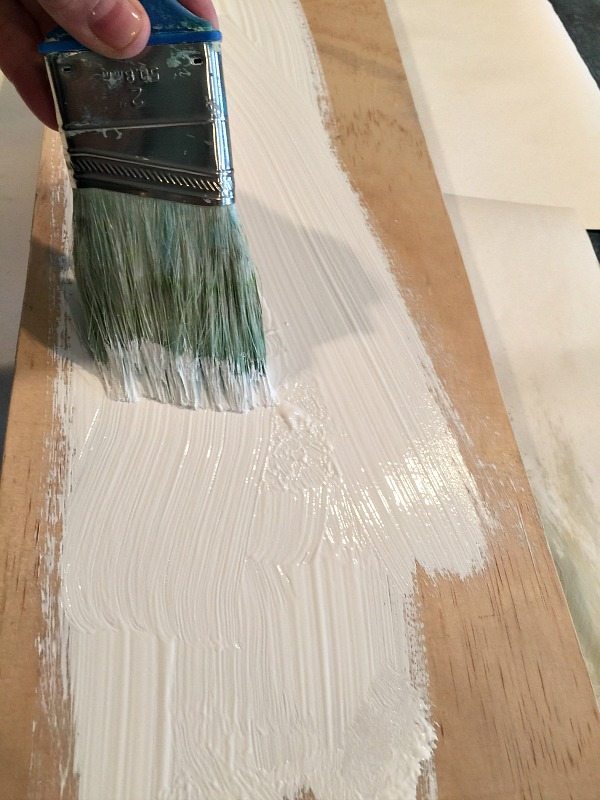
- Paint your surface with one or two coats of paint. I used Americana Decor Chalky Finish (I had this on hand) You can use any paint, house paint or craft paint that you have!
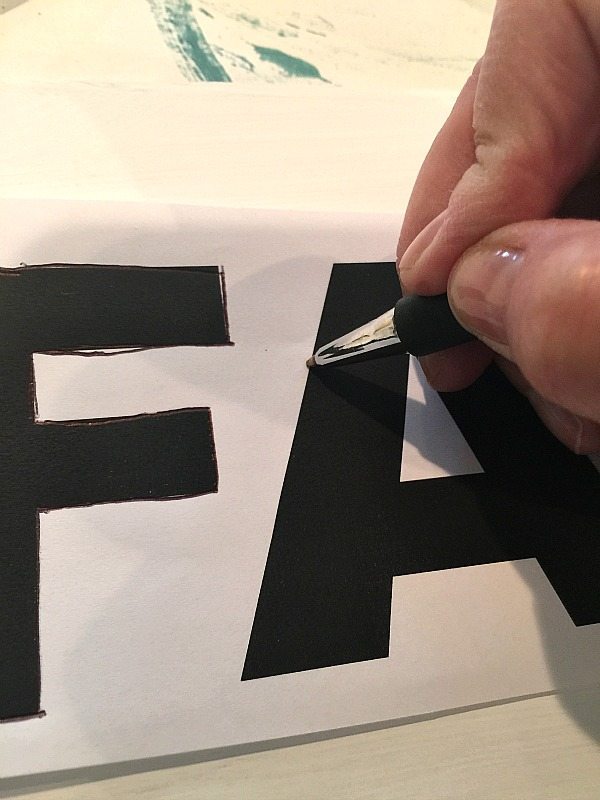
- After the surface has dried, align your graphics and trace the edges with a ball point pen.
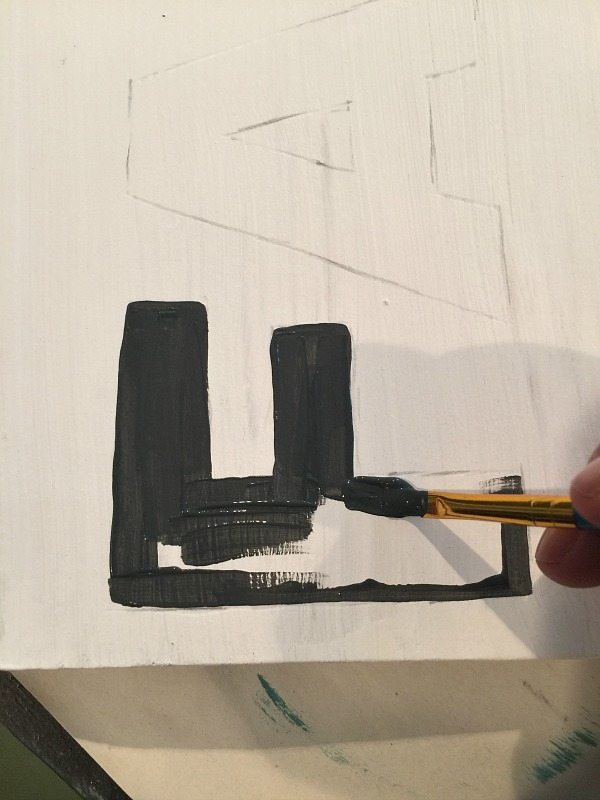
- Here you can see where I traced the letters. Grab you favorite craft brush and start painting your letters.
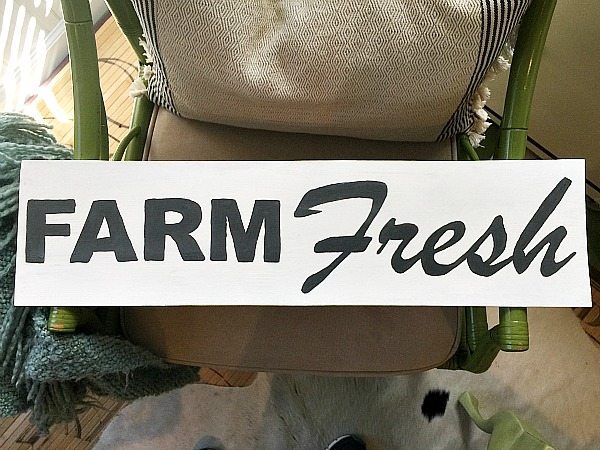
Here’s my sign before I sanded. (I also went back and added a rough painted edge)
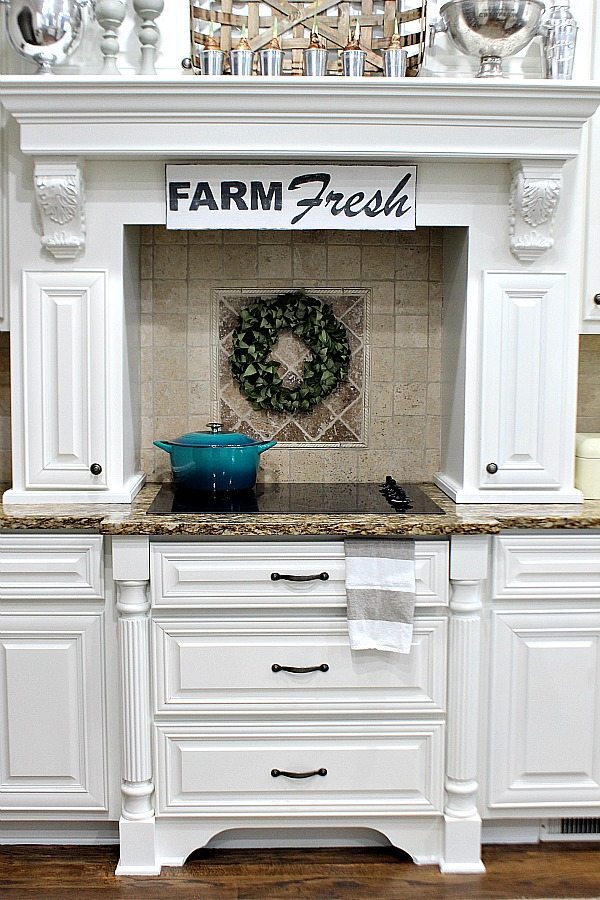
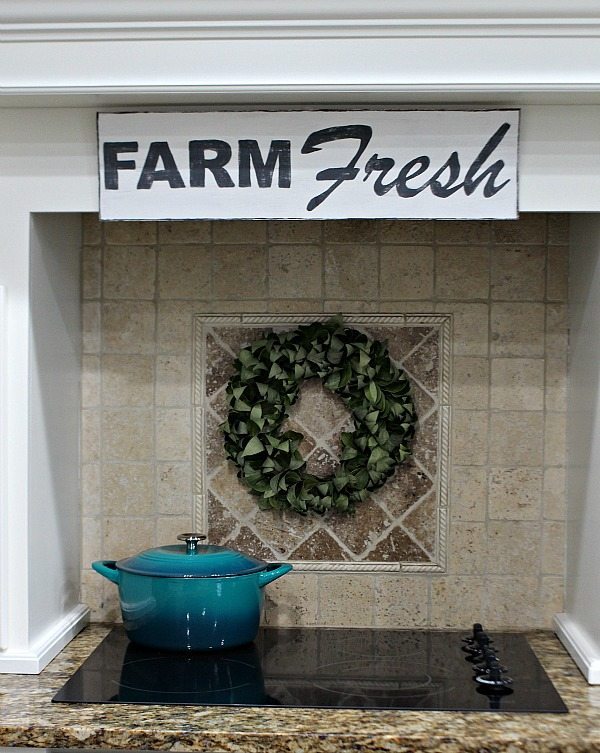
After sanding to my liking, I hung it over my cooktop. (ps. don’t you love that bay leaf wreath – it smells so good)
This country girl is one step closer to my farmhouse dream space!
Now check out the other fabulous Decorating with Signs ideas!
Our Southern Home
Confessions of a Serial Do-It-yourselfer
Refresh Restyle
Duke Manor Farm
Artsy Chicks Rule
Restoration Redoux
Join us on Instagram (click on each name):
Our Southern Home – Confessions of a Serial Do-It-Yourselfer
Refresh Restyle – Duke Manor Farm
Artsy Chicks Rule – Restoration Redoux
We have an amazing forum on Facebook, please click to join:
Join Decor Enthusiasts Forum on Facebook


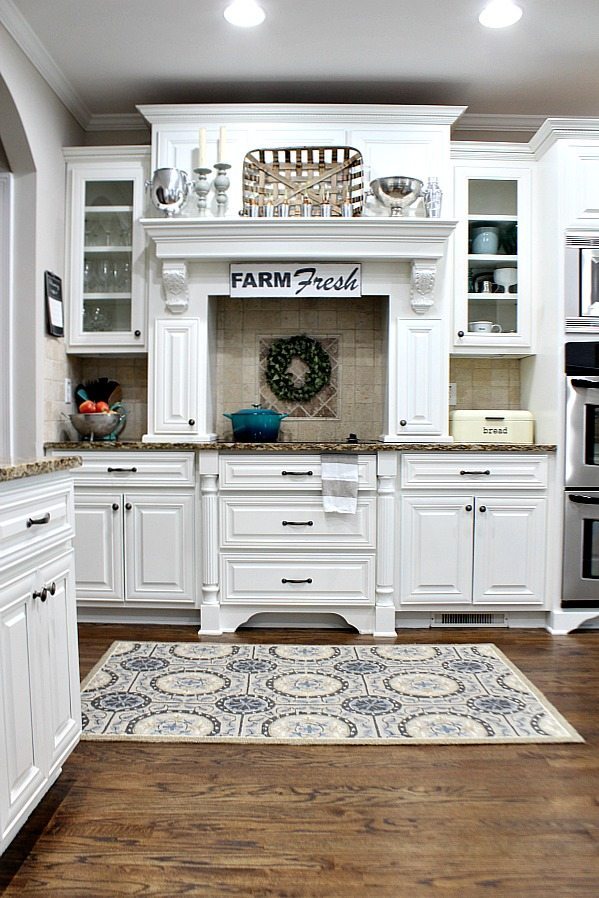
Thanks for the great tutorial, the sign is great and your kitchen looks fabulous! Love the rug too may I ask where you purchased it?
Thanks Candy, I got it at the Ballard Design outlet. I love it too!
I love your sign, Debbie! I’ll be featuring your project on The Scoop this Monday night. Thank you for linking up!
I am loving your new sign, Debbie! It is such a wonderful addition to your beautiful kitchen. I have a bare space over my sink windows that is calling out for a sign but I think it would have to say “Cottage Fresh!”
I love your sign Debbie (and your beautiful kitchen). You did a great tutorial on an easy farm sign!
I’m off to check out the other projects.
gail
Your sign looks great! I love that simple method. You ladies have inspired me to make a sign for our house! Thanks for the ideas!
These are darling! I love them all and your tutorial is perfect! I’m always struggling with transfer methods. I need easy! Pinning 🙂
Thanks Wendi – this was very easy!
I love your Farm Fresh Sign Debbie! Your kitchen is just amazing too. 🙂
xo
Nancy
I adore your freshly painted kitchen. The sign is the perfect finishing touch!
I just want to give you a little hint- before you print your wording on the computer you can choose outline for your lettering. This saves so much ink and at $8000. a gallon really adds up. I use this option anytime I’m printing out large or bold lettering works the same when tracing.
You are so right, I will be doing this next time! Thank you!
Looks awesome! It’s been ages since I painted anything using this method, but now I want to revisit it!! Thanks for sharing!
xo Heidi
Can’t wait to see yours!!
xo
Debbie
Now this is my kind of group challenge. Love your sign, and I’m heading to check out everyone elses too.
Thanks so much Bliss! I hope you’re having a great day being your awesome self! xo
Your kitchen is amazing! I am having serious kitchen mantel envy and that sign is the perfect finishing touch!! XOXO
Thanks so much Christy! I need some of your signs to hang around in the other rooms 😉
your sign is awesome country girl. What size font and program do you use when printing out your letters?
Thanks so much! I added the info to the blog post! Why didn’t I think you’d need that! 🙂 I used Arial Black 288 – font size for FARM and Brush Script MT – 500 font size for Fresh. I have a Mac and use Pages to create. (There is a clickable link in the post now so you can use mine). Have a great day!