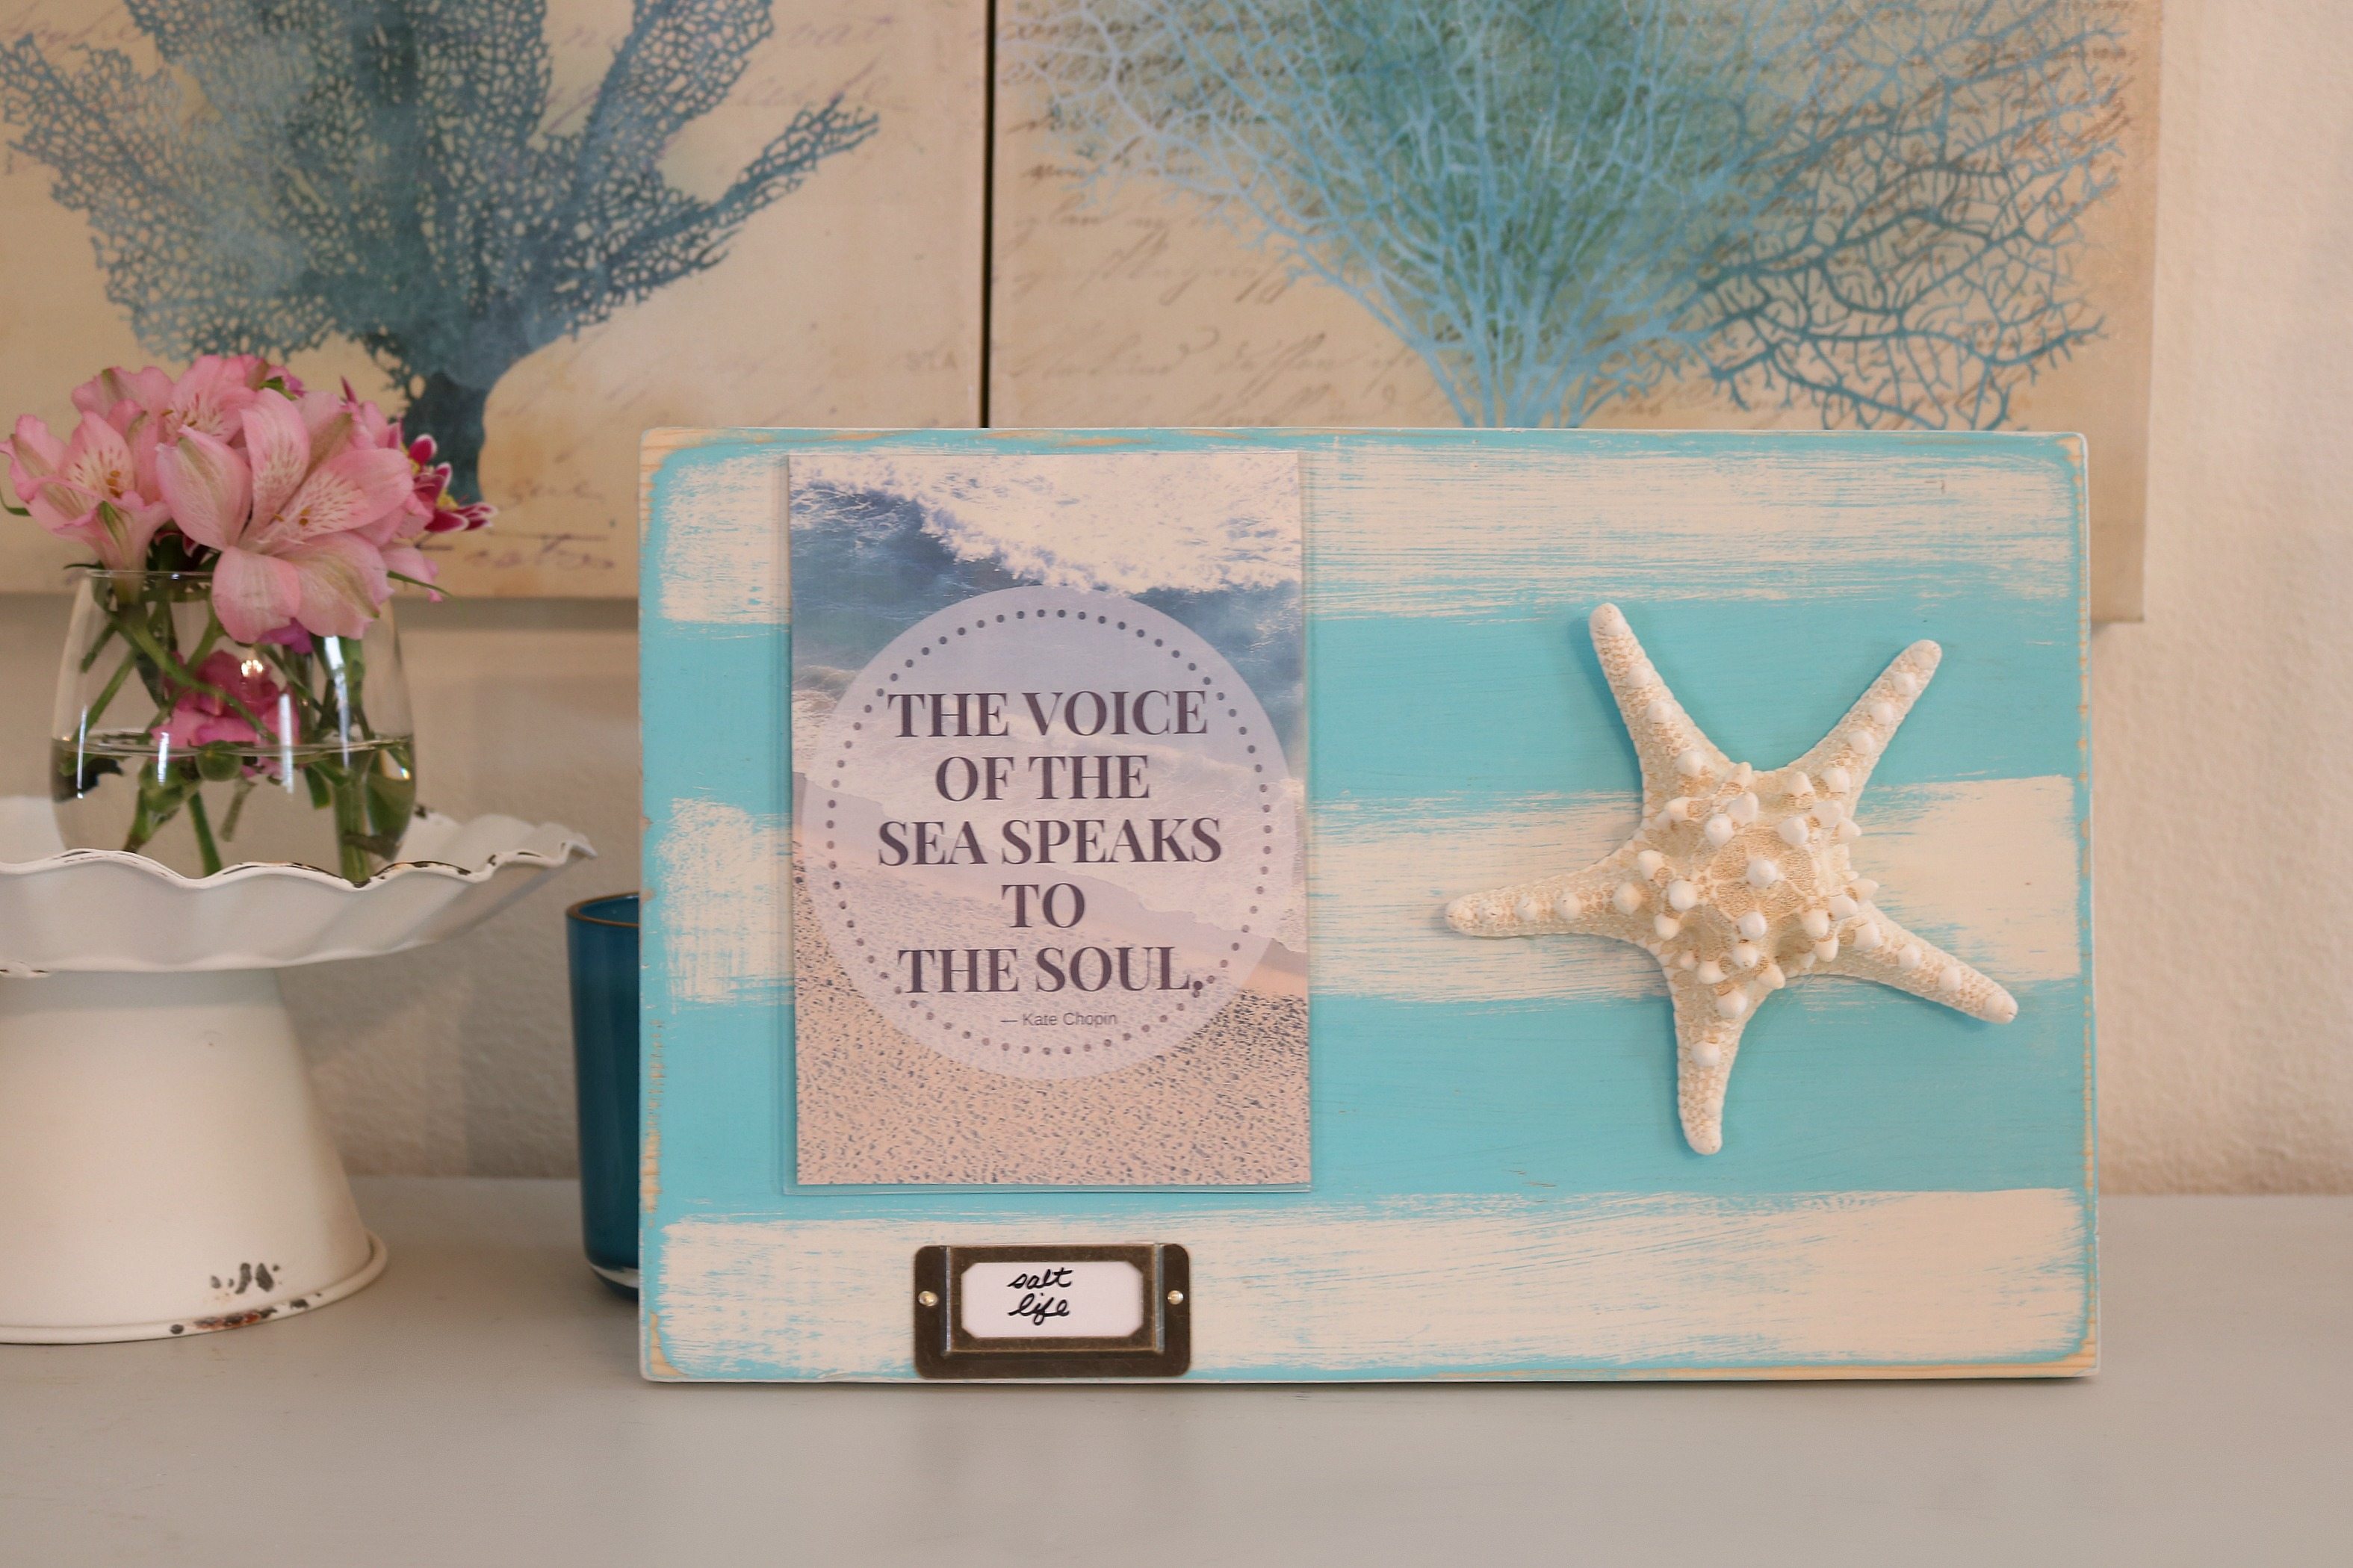
How to Make a Photo Display with a free printable.
Today we’re sharing simply woodworking projects, frames and photo display ideas that you can make. I finally jumped in with both feet to use my power tool gifts from Christmas. I am excited to join in with my Power Tool Challenge Group. 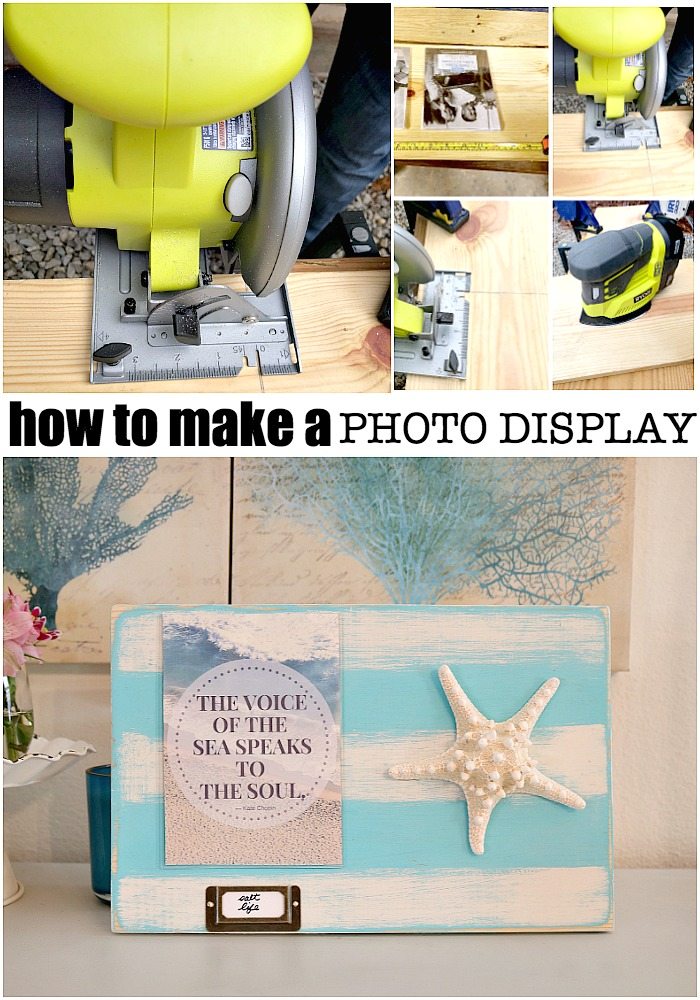
Affiliate links included.
You will need:
- 1” x 10” common board ( I used a scrap piece cut at 14” wide)
- clamps to hold board down
- acrylic frame (these are from the dollar store)
- embellishments (label holder and beach find)
- paint
- sander
- saw
- hot glue gun
- safety goggles
- ear plugs
- hanger
- hammer
- Put on your safety gear.
- Measure and mark your board, mine is 14” wide.
- Securely clamp the board to a saw horse.
- Trim the board down to size. I used my compact RYOBI circular saw.
- Sand board to prepare for painting or staining
- Paint the board, any color to match your decor, even stripes if you’d like ;)
- Glue acrylic frame and embellishment to the wood frame.
 After I scrounged through my scrap wood and found the perfect piece, I placed the acrylic frames on the wood to determine where my cut should be. My plan was to use two photo frames for this project but for some reason when I glued the first one down I realized I had put it on backwards. I tried to pry it off but I damaged the frame. So, I improvised I added one of my beach finds instead. There are a variety of saws that I could have used for this easy project. Not wanting to drag out the table saw or miter saw, I remembered I had just gotten this RYOBI circular saw. Perfect when you only have a few pieces of wood to cut.
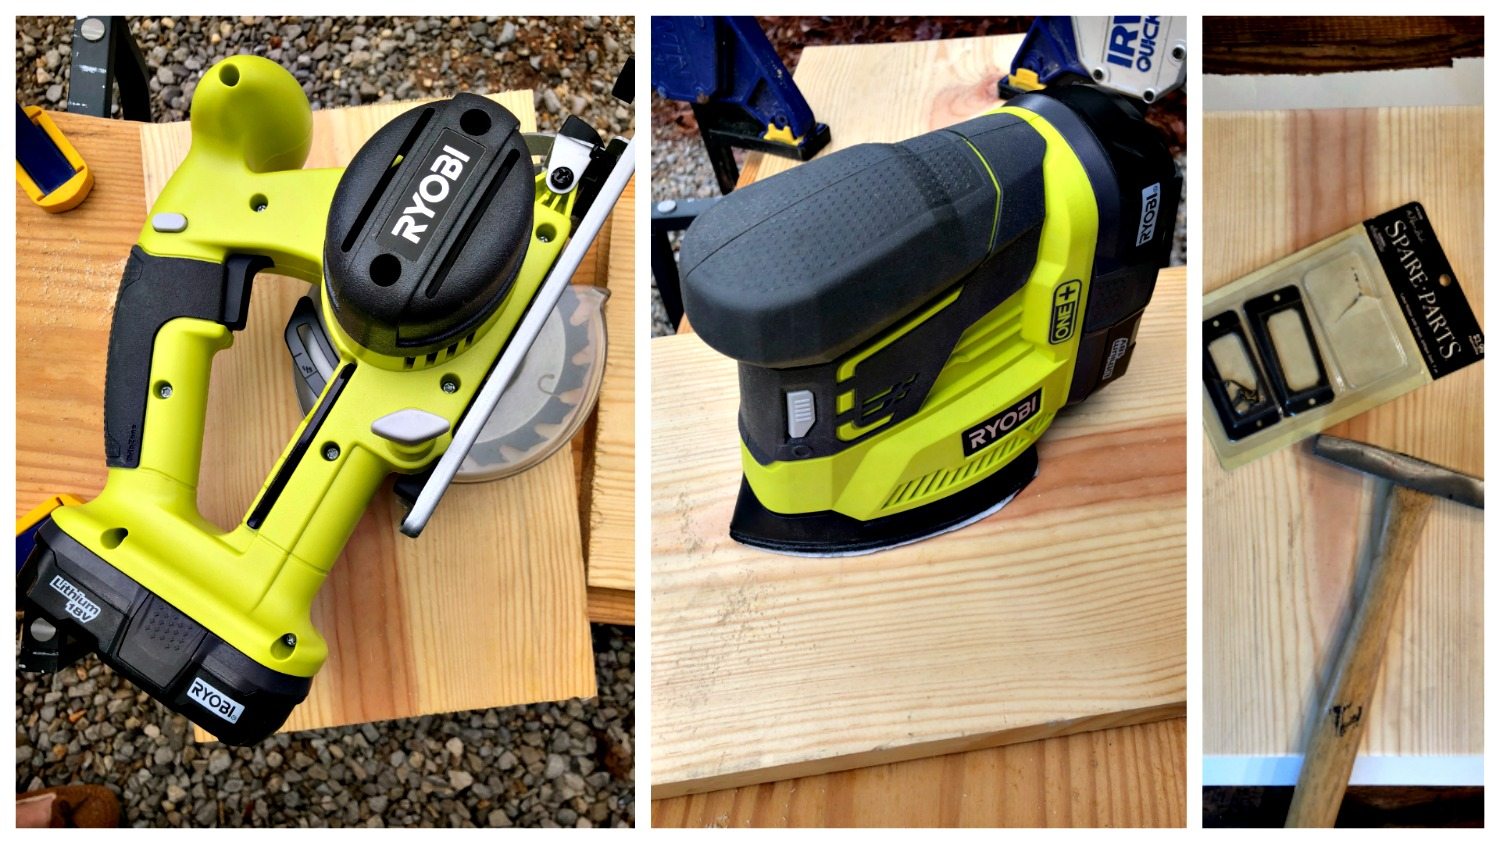
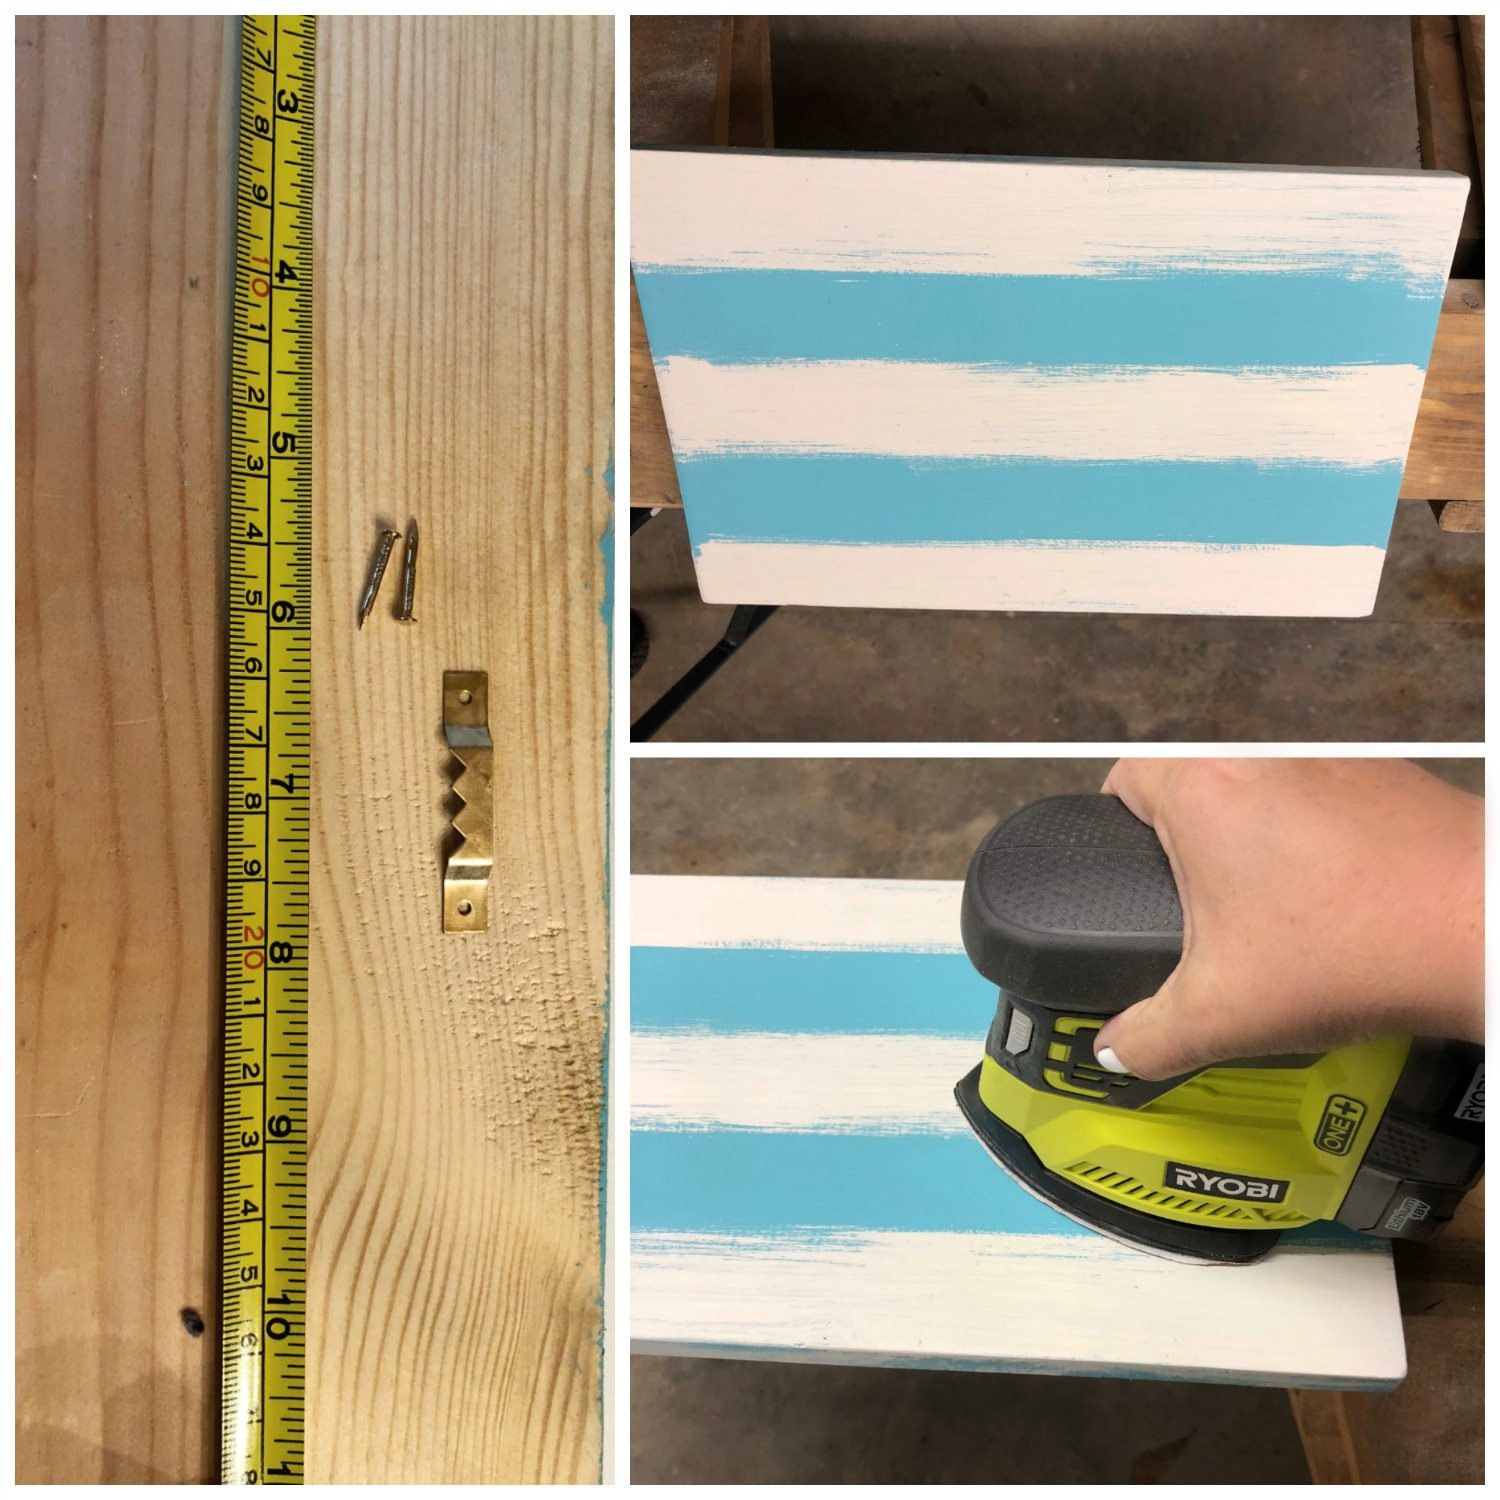 After painting and sanding, I added a picture hanger to the back. Another option would be to drill two holes and add a rope. I see these types of photo displays at specialty stores. Most of the time, you will find them with burlap, rope, just about anything that you can think of. The options are endless; easy to coordinate with your decor. They would make great gifts also!
You can use your photo display for these free printables if you’d like. Click to download: Free Sea Printables.


If you use the frame for a photo, you could put the date or location in the placket. It’s a fun way to create a memorable frame. Click over and see these!
More Printable Frames & Free Printables:
H2OBungalow - Easy Rustic Picture Frame Create and Babble - How to Make a Magnetic Scrapbook Display Just the Woods - How to Make a Printable Display for Kids Chore Charts The DIY Village - DIY Wood Shim Picture Frame The Kim Six Fix - Acrylic and Perforated Metal Floating Frame My Repurposed Life - Printable Pallet Frame Refresh Restyle - How to Make a Photo Display 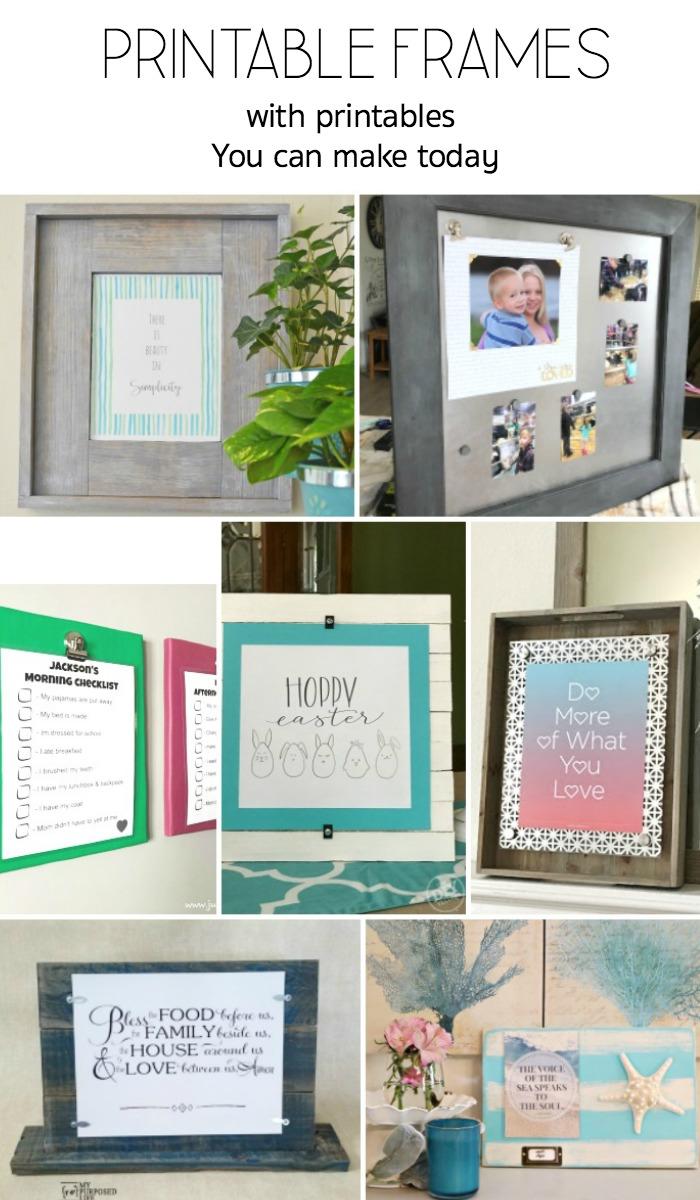
2 Comments
Archivecute beachy frame Debbie! I love that circular saw. I've always been afraid of larger saws, but this one is perfect.
great save with adding the star where the "oops" was!
gail
Hi Debbie! This is darling. Love the beachy colors. So happy to have to back! Pinned:)