June 5, 2026 by Debbie Westbrooks
Sublimation on Fabric for Cottage Wall Art
Live Videos · DIY · Home Interior
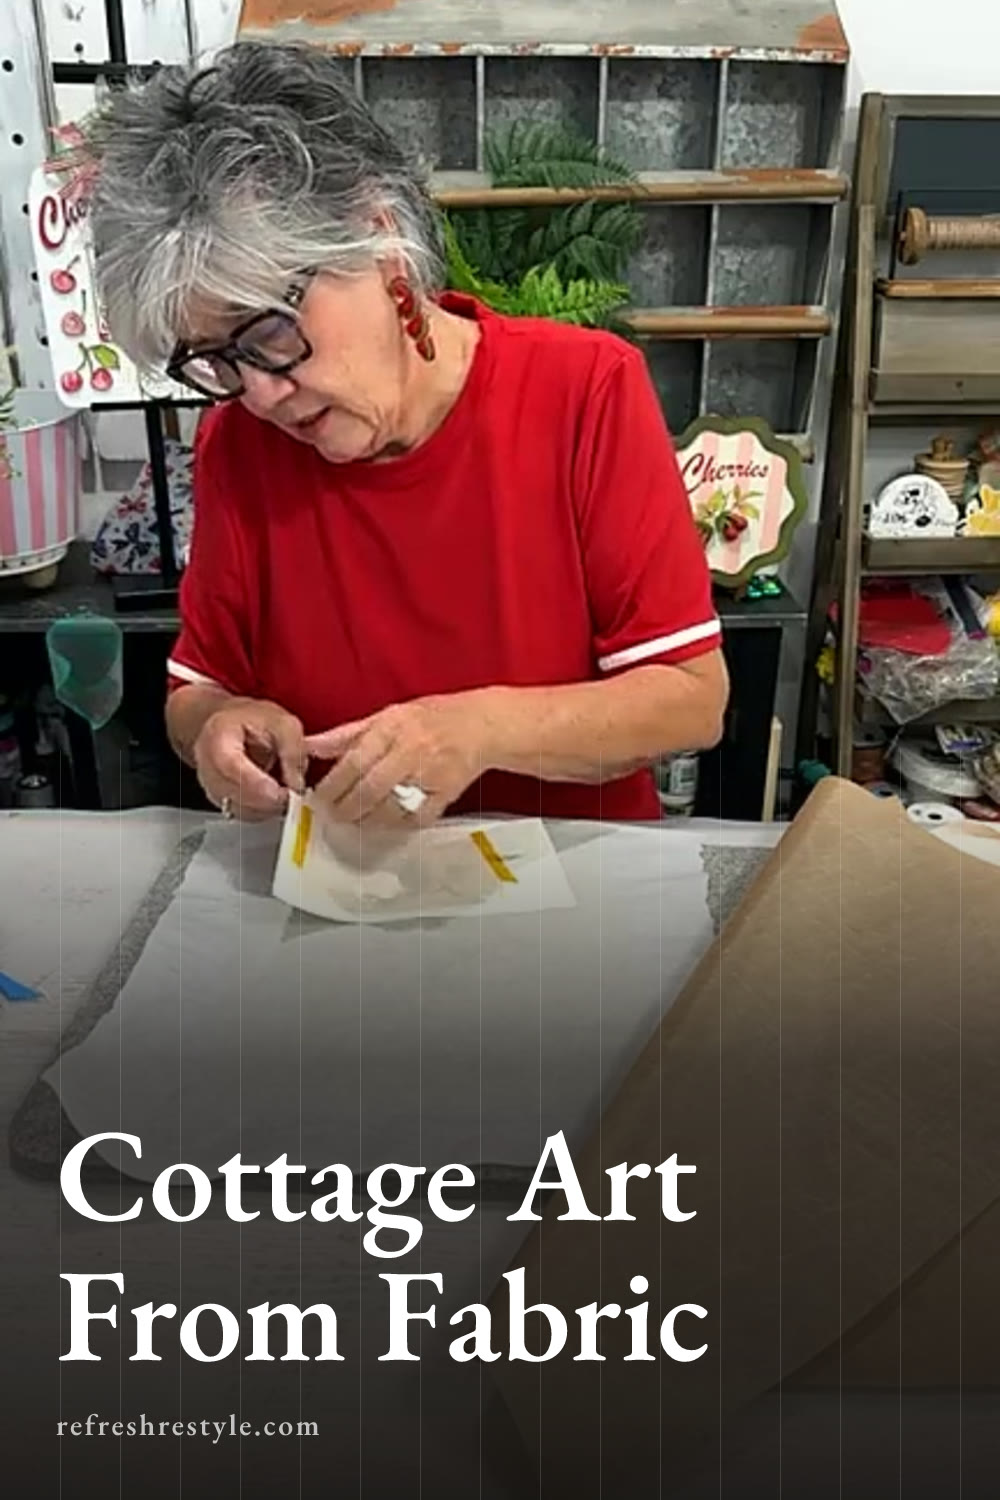
I made three cottage wall art pieces by sublimating vintage style designs onto fabric and placing them in stained frames. The birds, butterflies, flowers, and farm scene look like little fabric paintings, and the mix of frame shapes gives the group that collected cottage look I love.
My Cottage Wall Art Plan
I started with three different pieces. One was a Dollar Tree beaded board, one was a wavy frame cutout, and the largest was a chalkboard with a removable back. A regular picture frame would work for this project too, as long as you can remove the back and fit your fabric inside.
My plan was to make all three frames look related without making them exactly alike. I wanted a farmhouse cottage finish, so I used the same stain on each one and added a little white dry brushing where it felt right.
For the fabric designs, I chose birds, a flower with butterflies, and a larger farm scene. They work beautifully as a group, but each piece can also stand on its own.
Preparing the Frames
Removing the Backs
I removed the backing from each frame before staining. The chalkboard insert took a little effort to get out, but removing it made the frame much easier to finish.
If you’re using thrift store frames, take out the glass, artwork, and backing before you begin. Save every piece until you decide how you want to assemble your fabric art.
Adding Gel Stain
I used a gel stain from Hobby Lobby and brushed it over the frames. You can use any stain you already have. I wanted some of the original wood to show through, so I wiped away the extra stain instead of building a dark finish.
You can add another coat if you want deeper color. I liked the lighter, worn look because it worked well with the soft fabric prints.
Once I saw the frames together, I decided they needed a touch of white. I loaded a brush with white paint, wiped most of it off, and lightly brushed it over the stained surfaces. I also tapped a few tiny dots onto the finish to make it look older and more rustic.
The frames ended up slightly different, which gave the finished group more character.
Choosing Fabric for Sublimation
I tested the designs on two fabrics before making the final pieces. One was drop cloth, and the other was a cream colored fabric from my stash.
The drop cloth produced a pale, faded print that looked very cottage inspired. I loved that softer result, but the cream fabric gave me stronger color, so I used it for these three projects.
These pieces are wall decor and won’t go through the washing machine. That gave me more freedom to test the fabric I already had. When I make a shirt, tote bag, or another washable item, I use polyester fabric or prepare the material with sublimation spray.
Always test a small scrap first. Fabrics can give you very different results, and a quick test lets you see the color and detail before using your full design.
Cutting the Fabric
I cut one piece of fabric for each frame, leaving enough around the edges to attach it to the backing. For the wavy cutout, I trimmed the fabric so the decorative frame would cover the raw edges.
Before cutting, I placed each backing over the fabric to check the size. This helped me divide the fabric among all three projects without coming up short.
I kept the backing boards unpainted because the fabric covered them completely.
Sublimating the Cottage Designs
I turned my heat press to 360 degrees and pressed each design for 60 seconds. I worked on one piece at a time so I could position every image inside its frame area.
For the bird design, I moved the image slightly so the birds would remain visible after framing, even though a few of the lower leaves would be covered. I secured the design, added paper to protect my press, and pressed it.
The result looked like a rustic painting on fabric. The flower and butterfly design came out just as pretty, and the larger farm scene had beautiful color and detail.
The fabric was very hot when it came out of the press, so I handled it carefully and gave it time to cool before attaching it to the backing.
Assembling Each Fabric Art Piece
The Dollar Tree Frame
For the bird print, I wrapped the fabric around the backing and held it with masking tape. I placed the tape where it stayed hidden inside the frame.
This method lets me remove the fabric and reuse the frame later. Spray adhesive would also work if you want the fabric attached more firmly.
I left the glass out because glass can create glare and hide some of the fabric texture. The open frame made the print feel more like a small piece of original art.
The Wavy Frame Cutout
I added a little glue around the edges of the backing, smoothed the flower and butterfly fabric over it, and glued the stained wavy frame on top. The frame covered the cut fabric edges and gave the piece a finished shape.
This cutout also came with a stand, so it can sit on a table. You could add a hanger to the back if you want it on the wall.
The Large Farm Scene
I tried securing the large farm scene with tape so I could reuse the chalkboard later. The fabric needed a firmer hold to stay smooth while I placed it inside the frame, so spray adhesive was the better choice for this piece.
A light, even coat on the backing will keep the fabric from shifting while you fit everything back into the frame.
Displaying the Cottage Wall Art
I love these pieces displayed as a small cottage group. The two smaller frames can hang together while the larger farm scene sits on a table, shelf, or cabinet.
You can recreate the look with Dollar Tree finds, cutout frames, old chalkboards, or thrift store picture frames. Using the same stain and similar fabric designs will tie different frame styles together and make the whole group feel collected over time.
Chalk Couture supplies
Browse Chalk Couture heat transfers, or shop my full store here.
I am an independent Chalk Couture designer, so I earn a commission on these links. See my disclosure for more.