November 16, 2026 by Debbie Westbrooks
How to Use Wood Burning Gel on a Serving Board
Live Videos · DIY · Home Interior
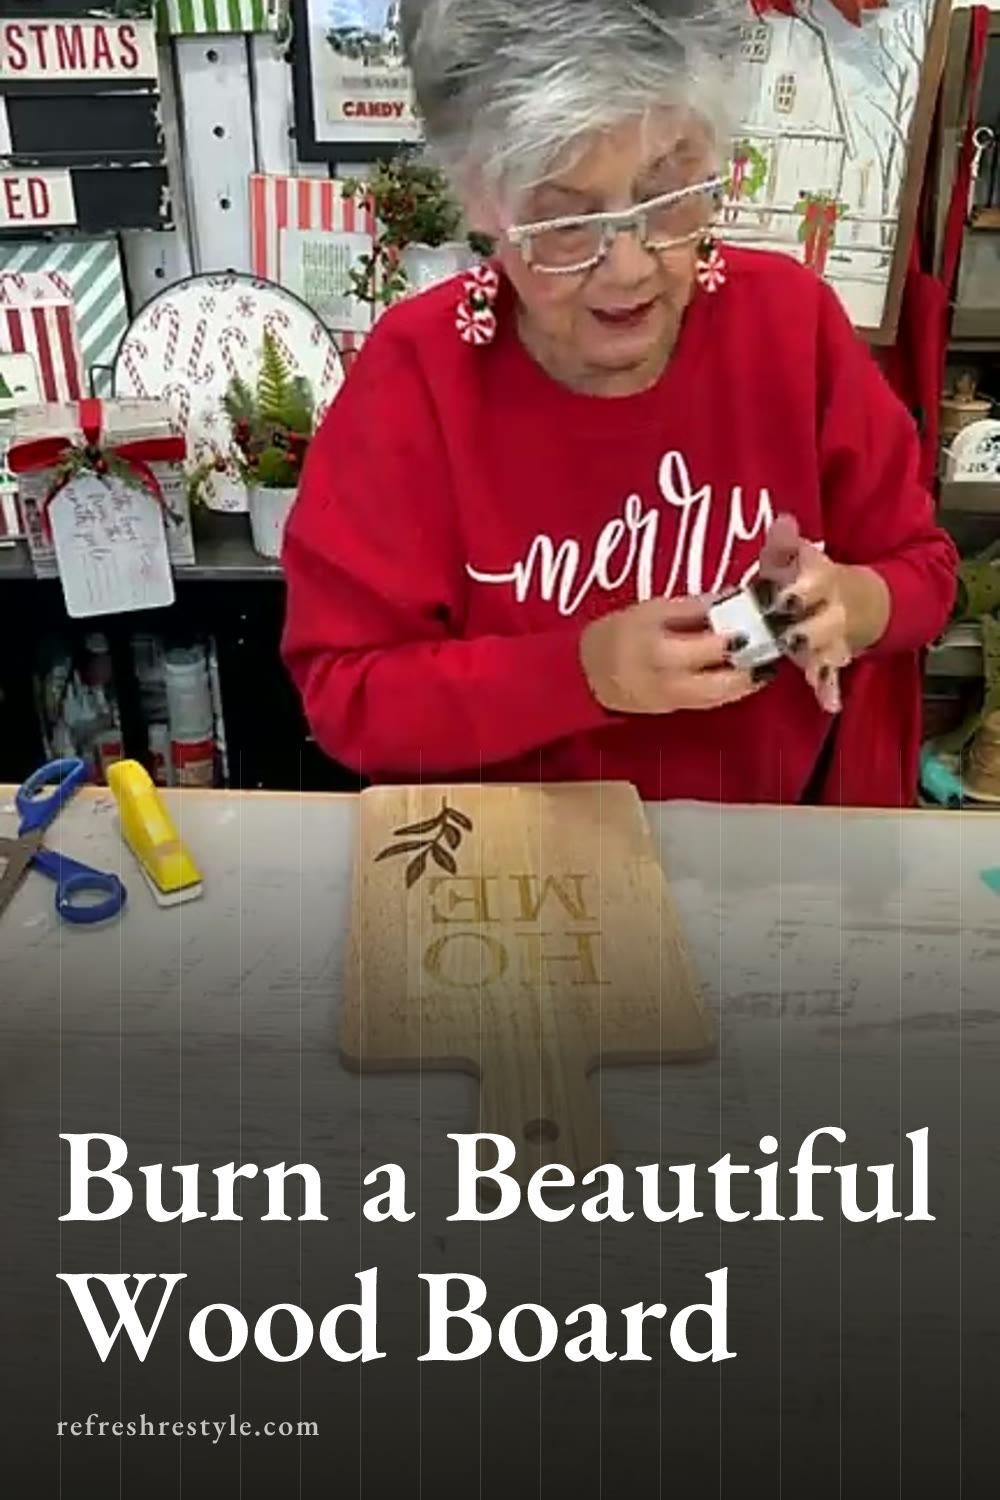
I turned a simple wooden serving board into a warm kitchen decoration using wood burning gel, a reusable transfer, and a heat gun. The burned home design looks like it was always part of the wood, and a little red ribbon with greenery made it ready for Christmas gifting.
Choosing a Wood Board
I started with a wooden serving board from my craft stash. I believe it came from the Target Dollar Spot and probably cost around five dollars, which makes this a great project for an affordable gift.
You can use another unfinished wooden tray or board for this project. Walmart often has unfinished wood pieces, and craft stores usually have several shapes and sizes too. Look for a smooth surface with enough room for your design.
My board had a label on one side, and removing it left a spot that I didn’t love. I flipped the board over and used the cleaner side instead. Take a close look at your wood before you begin because label residue, rough areas, and deep grain can affect the finished design. A little sanding can help when the surface feels rough.
Wood type matters too. Pine, oak, cherry, and boards made from several pieces of wood can all react differently to the gel. Even within one board, the grain may burn lighter or darker in certain places. I like that natural variation because it gives the project character.
Applying the Wood Burning Gel
The wood burning gel was thick when I opened it, and I stirred it before applying it. I usually stir liquid craft products so everything is mixed well before I start.
I placed the home transfer on the board and pressed it down firmly, just as I would with any reusable transfer. I positioned the word toward the center and added one of the small decorative lines above it. You could add another detail below the word if your board has more open space.
Once the transfer was secure, I used a squeegee to spread the wood burning gel across the open areas. You only need to cover the design. I scraped the extra gel from my stir stick too because I like to use every bit of my craft supplies.
Keep the transfer flat while you spread the gel so it doesn’t shift. After the openings are completely covered, lift the transfer away and clean it as you normally would. The transfer can be used again and again, so one design and one container of gel can make several gifts.
Activating Wood Burning Gel With a Heat Gun
The gel needs a real heat gun to develop the burned design. Use a true heat gun for this step because a hair dryer doesn’t reach the heat needed.
I used a two speed heat gun and held it fairly close to the wood. The design started changing quickly as the heat activated the gel. I kept the heat moving across the word and decorative line, watching as the image became darker.
A heat gun gets very hot, so protect your work surface and keep your hands away from the heated area. I also like to work outside, near an open window, or beside the stove with the exhaust fan running. I had a fan on while I worked indoors.
Continue heating until the entire design has developed. Some areas may darken faster because of the wood grain, so move the heat gun where it is needed rather than holding it over one spot for too long.
Once the burn is complete, the design is permanent. It would need to be sanded away if you wanted to remove it, which makes this method a good choice for gifts and everyday kitchen decor.
Decorating the Finished Serving Board
The burned home design looked good with the existing wood grain, but I wanted to give the board a little Christmas color. I added red ribbon and a small amount of greenery near the handle.
You can tie the ribbon, tuck in the greenery, and trim everything to fit your board. I kept the arrangement small so it didn’t cover the burned design. The ribbon and greenery can also be removed after Christmas.
For year round decor, I could replace the red ribbon with black, white, or cream. The word home works in every season, so this board can stay in the kitchen long after the Christmas decorations come down. I love using boards like this as kitchen leaners against a backsplash or wall.
Turning the Board Into a Gift
This wood burned serving board would be pretty paired with a potholder, decorative spoons, or a packaged food mix. You could wrap everything together in clear plastic and finish it with ribbon for an easy handmade gift.
Before serving food directly on any decorative board, check whether the original surface is marked food safe. When I can’t verify that, I use parchment paper or a doily between the board and the food. It can also be used only as decor.
The wood burning gel made an inexpensive board look much more special, and the reusable transfer kept the design neat. Since a container holds enough gel for several projects, I can repeat the idea on trays, wooden signs, and other unfinished wood pieces while changing the design and ribbon for each person.
Chalk Couture supplies
Browse Chalk Couture transfers, or shop my full store here.
I am an independent Chalk Couture designer, so I earn a commission on these links. See my disclosure for more.