Hello! It’s time for our Celebrations of Home “Easter” ideas. We’re excited to share our fun and affordable Easter decor with you. You can visit all my talented blogger friends at the end of the post, just click on the photo of their project. I can’t wait for you to see their beautiful Easter ideas.
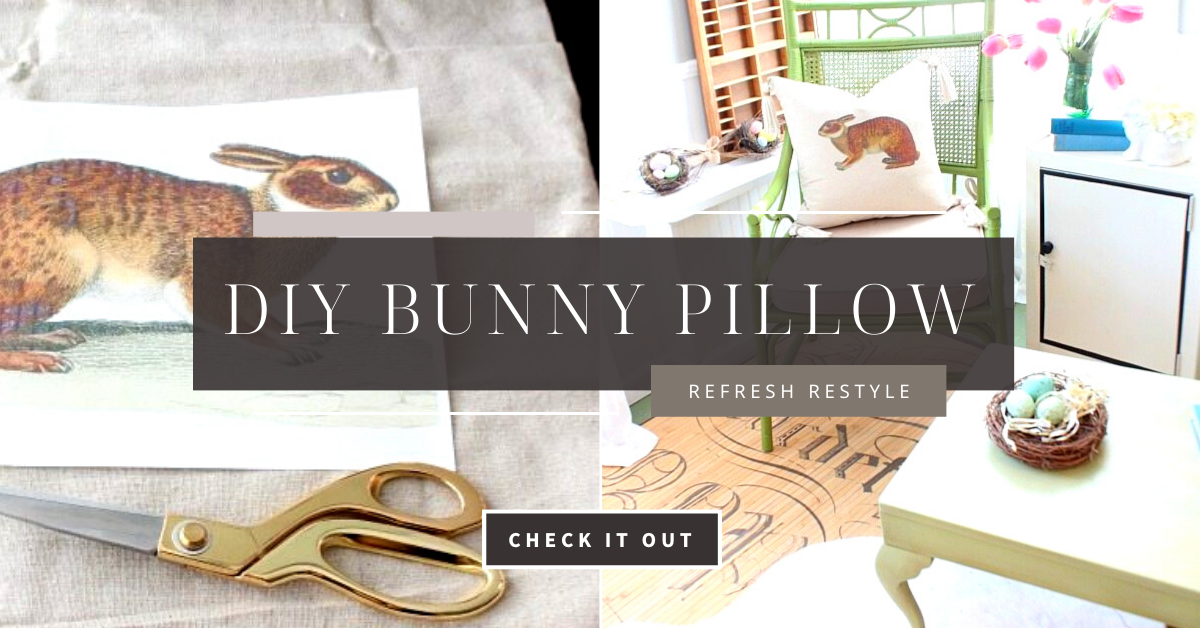
Bunny Pillow Cover
I love decorating for every holiday but it can get expensive! I’m sharing this project for creating a Bunny Pillow Cover for less around $5. Budget friendly and you can customize with any design you like! Great combo. Creating a space that you love without breaking the bank.

Materials for Bunny Pillow Cover
- Pre-made pillow cover (this one is from Hobby Lobby it was 50% of $4.99) cost for pillow under $3
- Bunny Graphic free from Graphics Fairy
- Avery Light Fabric Transfers Inkjet (6 for under $8) cost per pillow under $2
Instructions to make your Bunny Pillow Cover
- Download your image to your computer
- Trim Excess
- Iron on your image
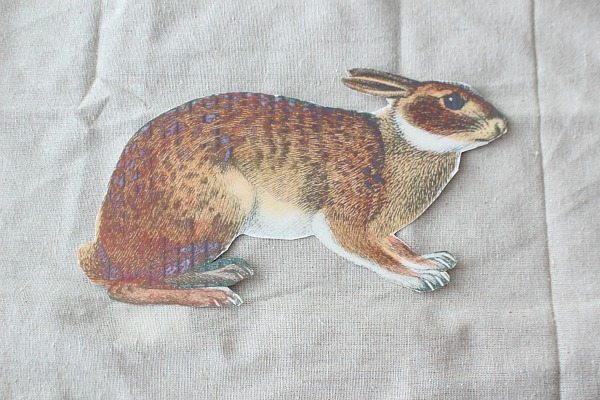
1. Download a Bunny Graphic
I love this one from Graphics Fairy: thegraphicsfairy.com/wonderful-natural-rabbit-image/
2. Print on Heat Transfer Paper
Be sure you’re printing on heat transfer paper like this one from Avery.
Tip: I test my printer to make sure that I’m printing on the right side, I just put an X on the top right side of a piece of copy paper and print something to make sure before I load my transfer paper.
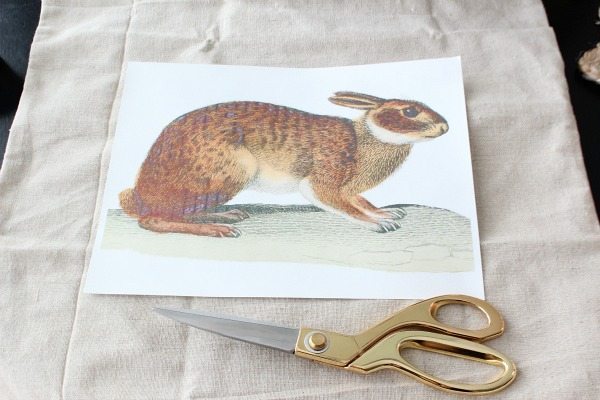
3. Trim the Excess
Trim your printed graphic, I decided to get rid of the background and just highlight the rabbit. That’s one of the great things about making your own pillow covers! The design can be anything that you like.
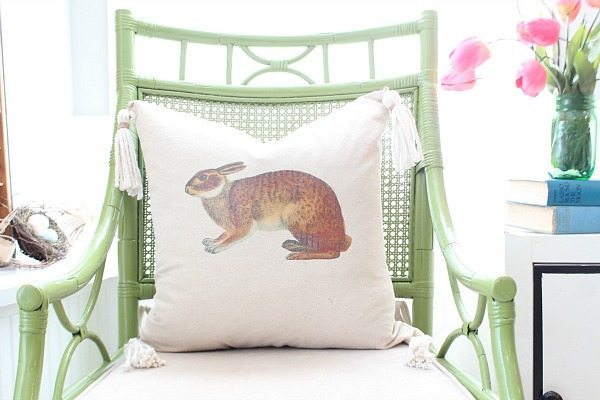
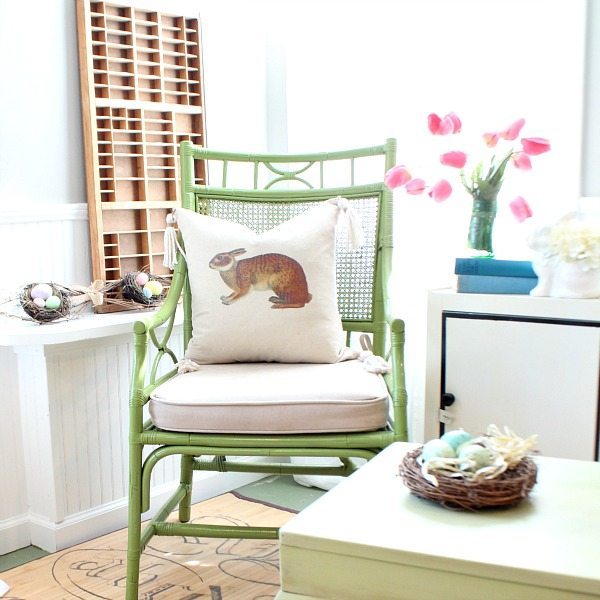
4. Iron onto Pillow
Follow the ironing instructions on the Avery package for your bunny pillow cover or whatever design you choose. Easy peasy.
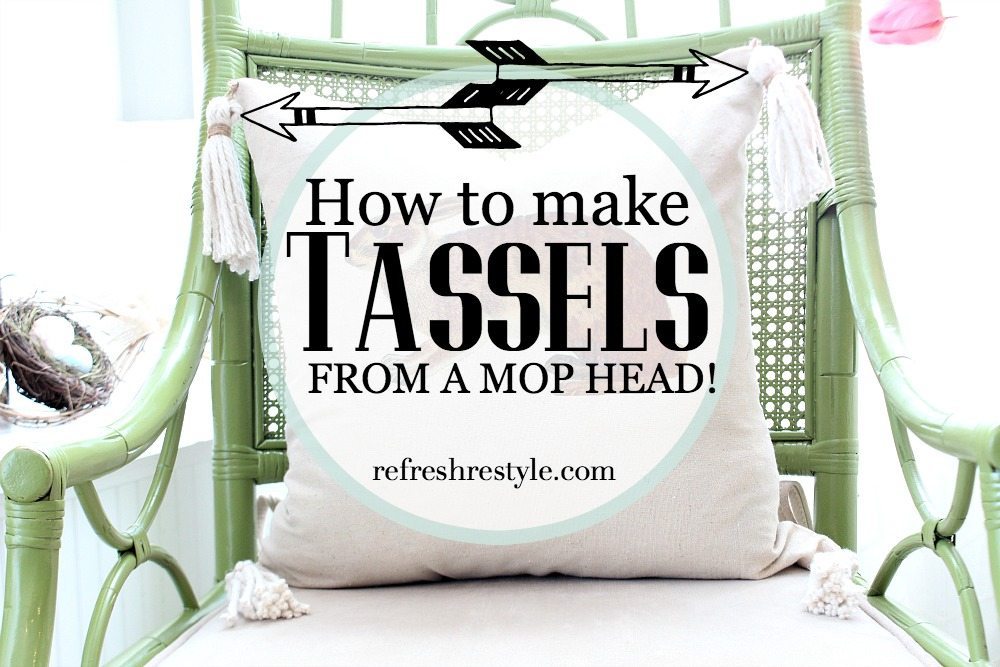
For a little more detail, I decided to add tassels. Bling it up a little! I even made a video. I’m definitely not a Hollywood pro when it comes to video, but I think you will be able to follow the instructions and make your tassels.
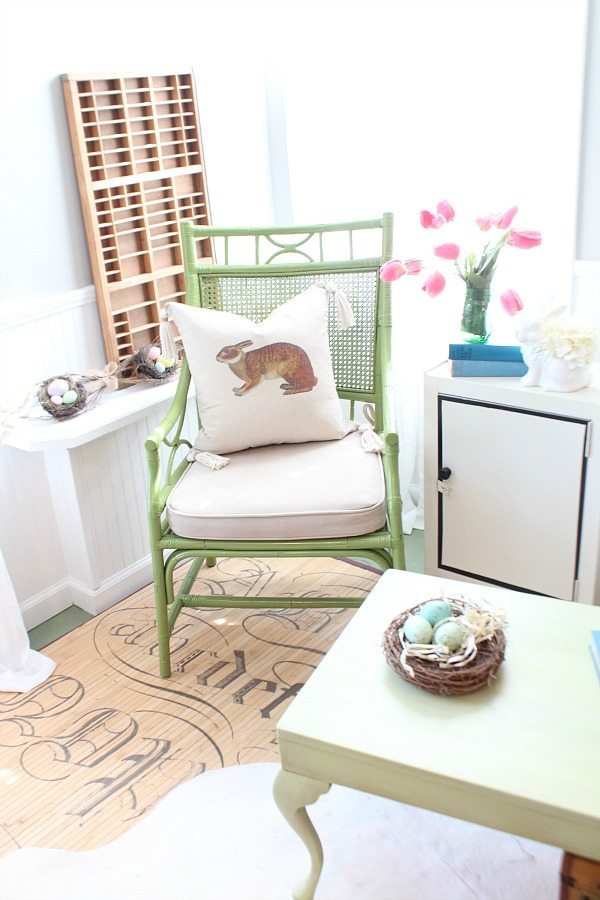
Now that we have all our Easter decor out, Bunny Pillow cover, pink tulips and nests filled with eggs…
I’m ready for spring!
Click here to see how I made the tassels from a mop head….
Oh so so cute … love the bunny and the tassels from a mop head Thank you for sharing so much with us
I adore bunnies! This project is just perfect. You know I love image transfer!
So adorable! Any quick project that looks as good as yours is a winner in my house:) Love the tassels!
I love the bunny pillow…just perfect for spring! And your tassel idea is so clever! Pinning! Hugs…Debbie
Thanks so much Debbie! Have a great week!
I adore BUNNIES.
This is so cute Deb!!
I love it.
And the tassels 😉
You’re too sweet! Some bunny loves you too! Can’t wait to see you next weekend!
Debbie that is so adorable and I love the tassels for an extra touch of ‘fancy’. So pretty! Pinning this of course. 🙂
Hey Fancy girl, thank you so much! xo
Love this idea, Debbie! The bunny that you chose to use is too cute!
Such a pretty pillow! I love the bunny graphic you used. And the chair it’s sitting in is just adorable!
Thank you!!