
May 11, 2017
Outdoor Kitchen Build
Outdoor Living
Today our Decorating Enthusiasts Home Decor team is sharing outdoor projects, some DIY’s, some decor ideas basically anything outside. I’m sharing our Outdoor Kitchen Build.
Be sure to visit all their projects at the end of this post.
When we bought the Alabama Farmhouse, we had three big things that we wanted to do after we moved in. One of those was to build an outdoor kitchen on an existing patio. Most projects like this are custom to the size of your space but I hope you are inspired to create a space outside like we did!
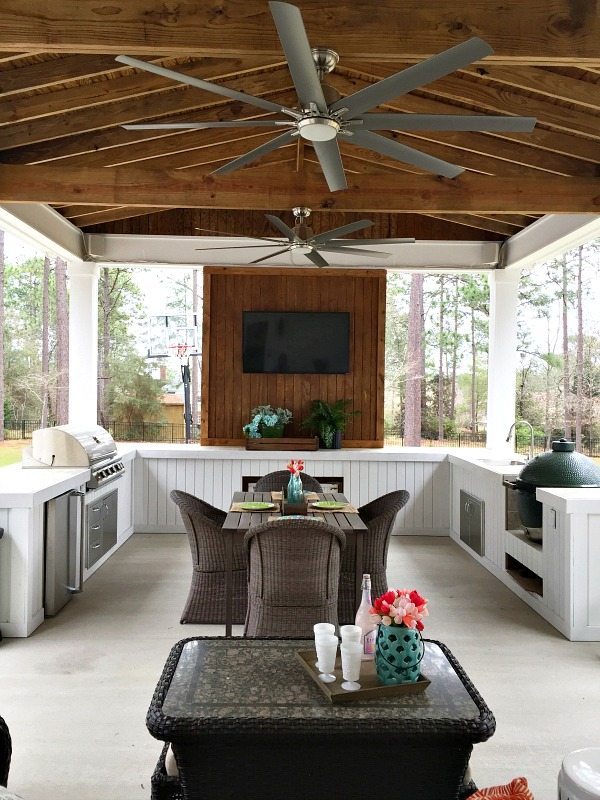
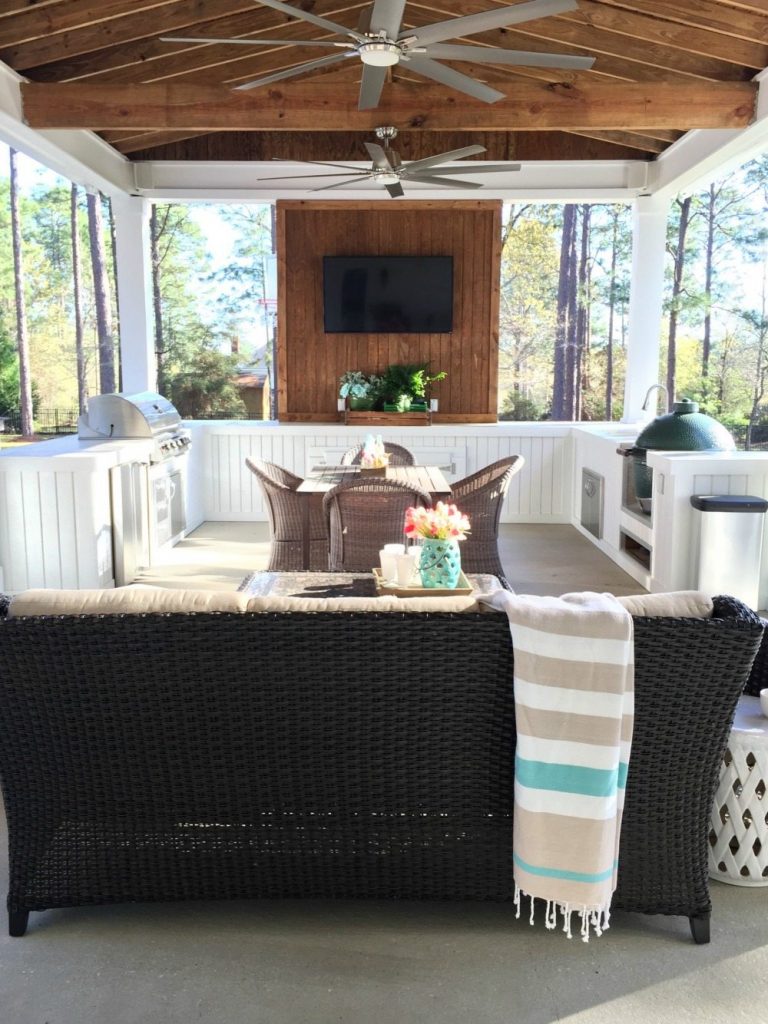
Here’s what it looks like now: 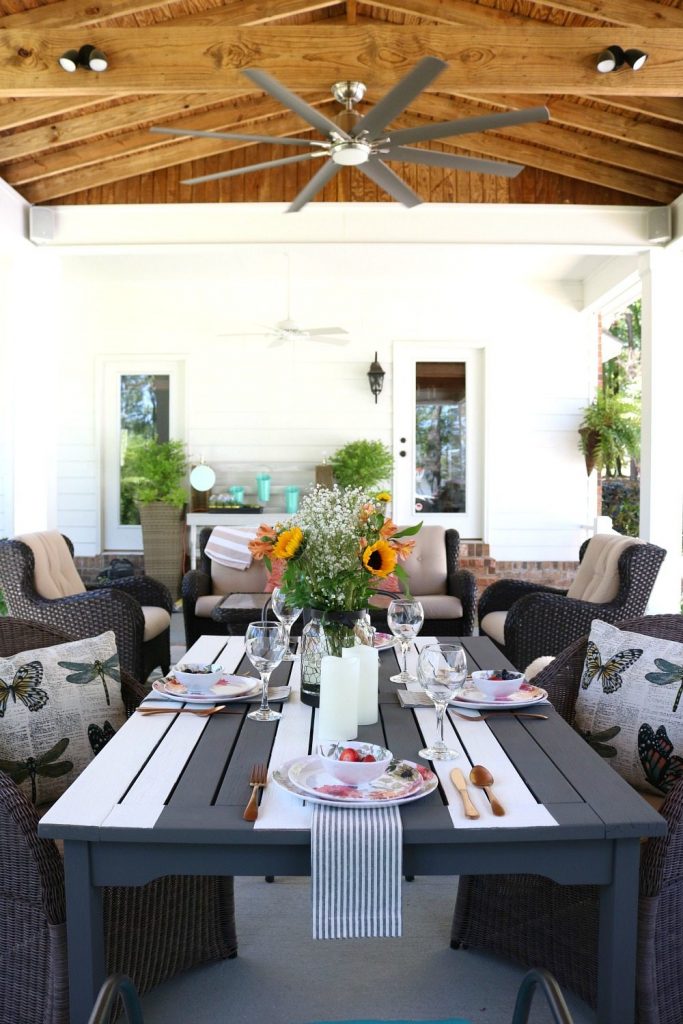
 Here’s what it looked like when we bought the house:
 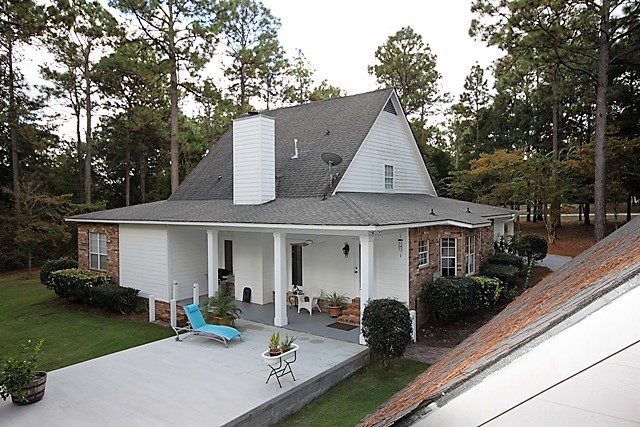 We didn’t understand why someone would pour such a large concrete patio but we’re glad they did!
Outdoor Kitchen Build Process:
- We found an awesome contractor - she had her framer determine whether or not a roof over the patio could be tied in to the roof on our house. It could!!
- Discussed what we wanted the to patio to look like, our dream, vision for the plan. We wanted to see stained beams underneath, but we wanted it to coordinate with the house.
- The team got started and before we knew it, it was time for us to take over.
- Once the roof was on, we built the outdoor kitchen.
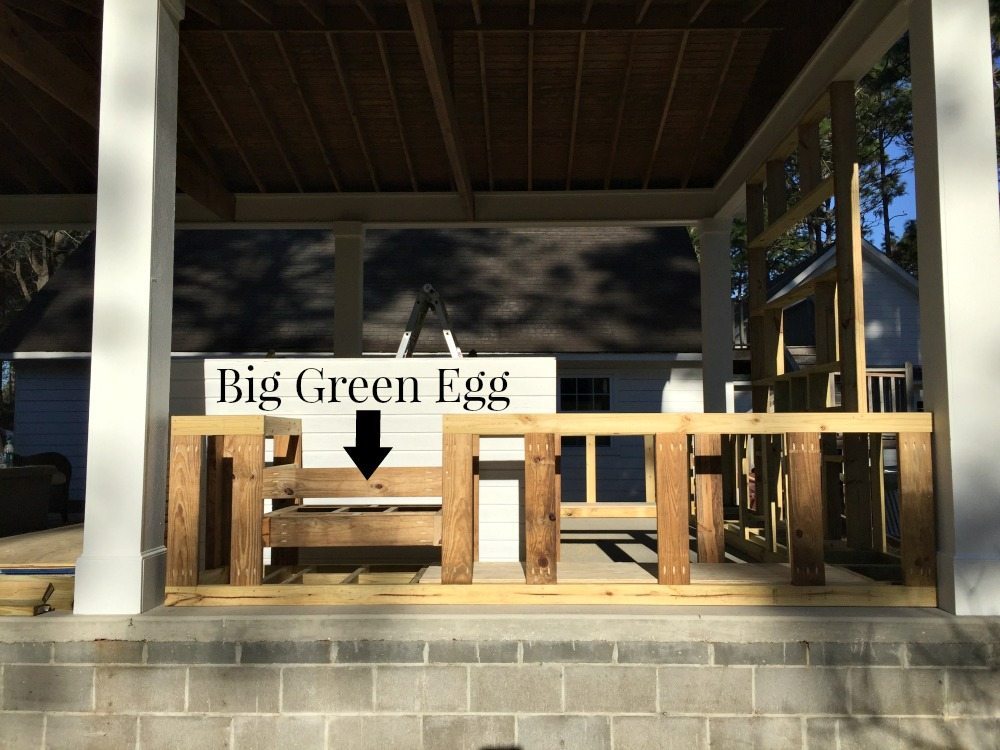
- Decide what appliances we wanted to include: Grill, Burner, Refrigerator, Big Green Egg, Sink, small hot water heater (We have hot water at the sink!)
- We wanted a space to serve food on, so we reserved the back counter area under the television for serving.
- We ordered our appliances online, we got measurements for each appliance and drew the plan out with chalk on the floor. We changed this several times until we got it like we wanted.
- Make a material list: 2x4 lumber, 2x6 lumber, T1 111 plywood, hot water heater, lights, fans, nails, tile, backer board, plywood, 1x4 lumber and plenty of blood, sweat and tears. (There was blood and maybe a tear - I let go of a piece of plywood while we were moving it from one place to another and it dropped and skidded down Barry’s shin, not a good thing! I bandaged him up with the only thing I had - maxi-pad and painter’s tape - and we continued to work.) Later that day I did go get real bandages and antibacterial ointment. He does have a nice little scare there and it makes for a good story now that he forgave me ;)
The Roof:
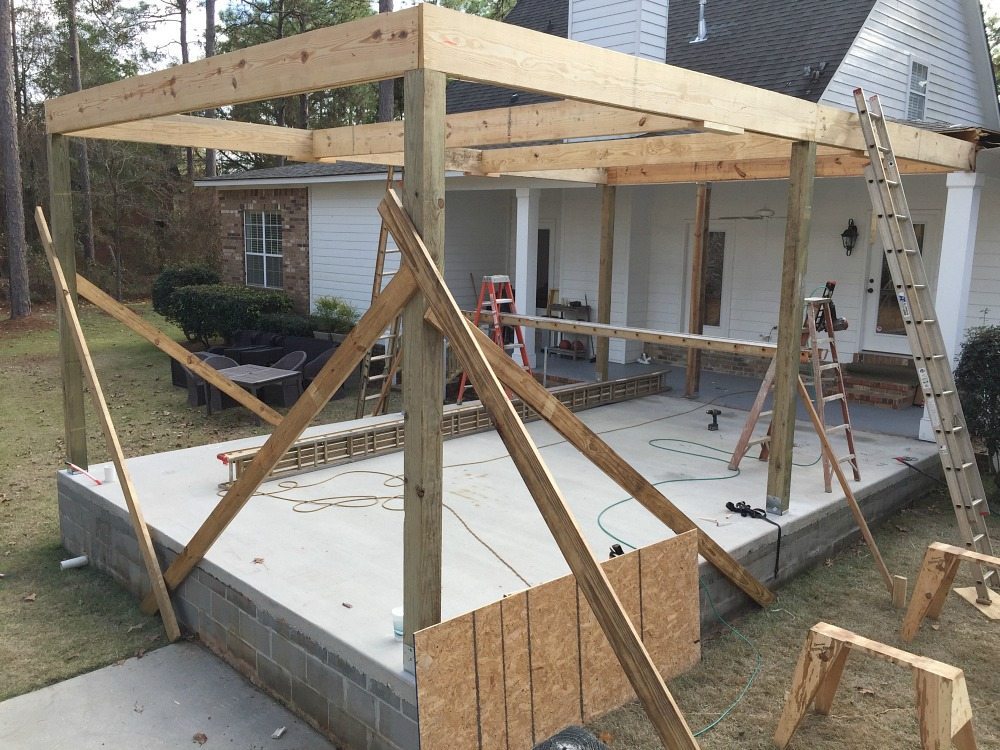
6 x 6 posts for the roof.
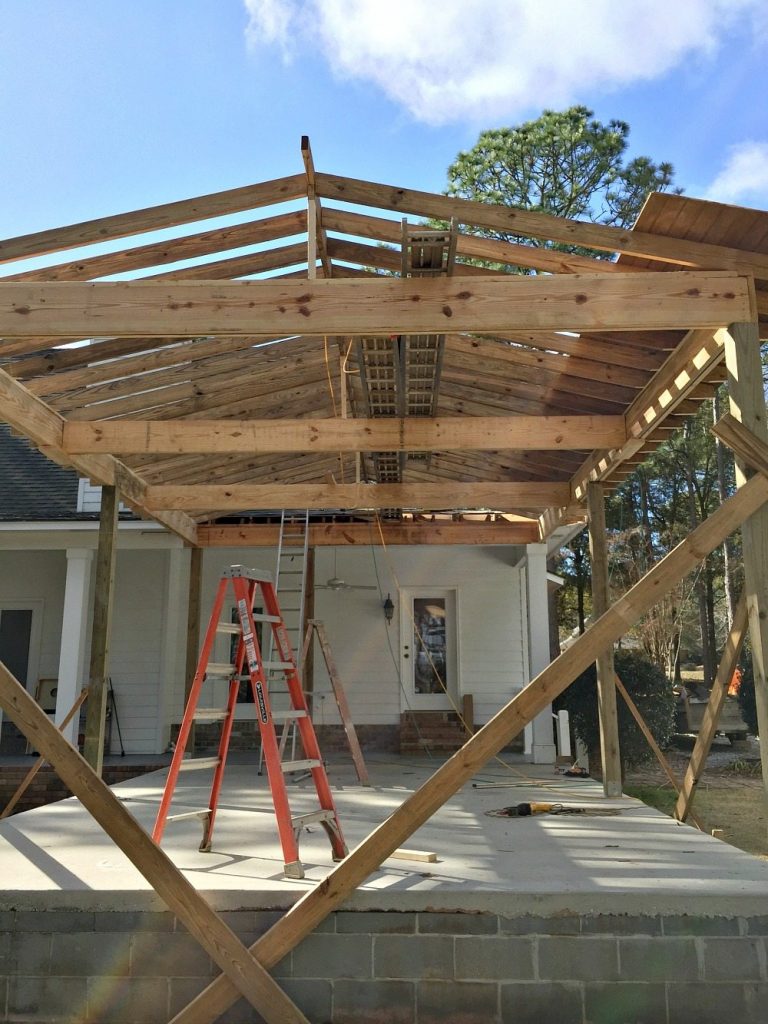
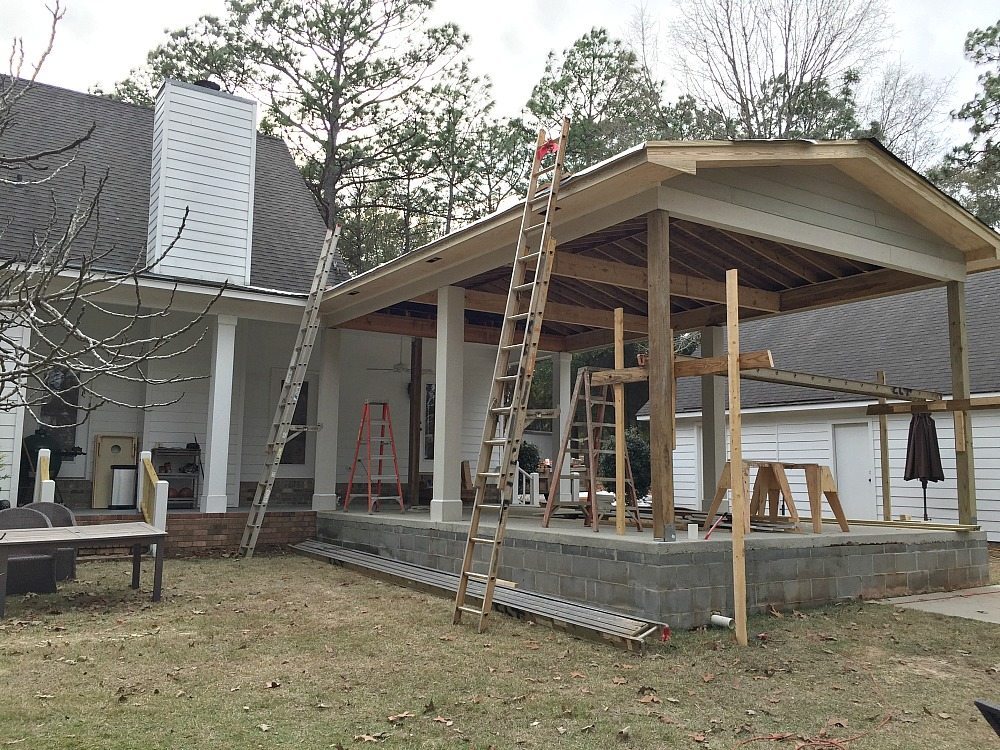

We stained the T1 11 that you see on the ceiling before it was put in place.
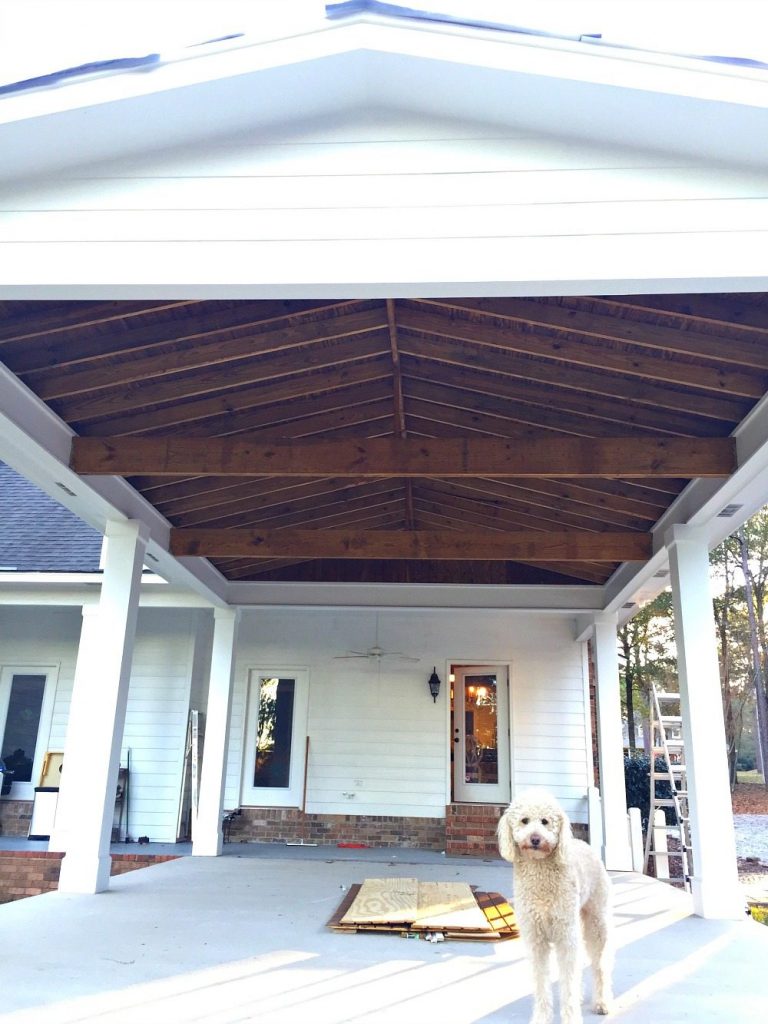
The 6 x 6 posts were wrapped with cement board to match the existing ones on the porch. Everything was painted SW White. It looks like the porch was always there. Murphy concurs.
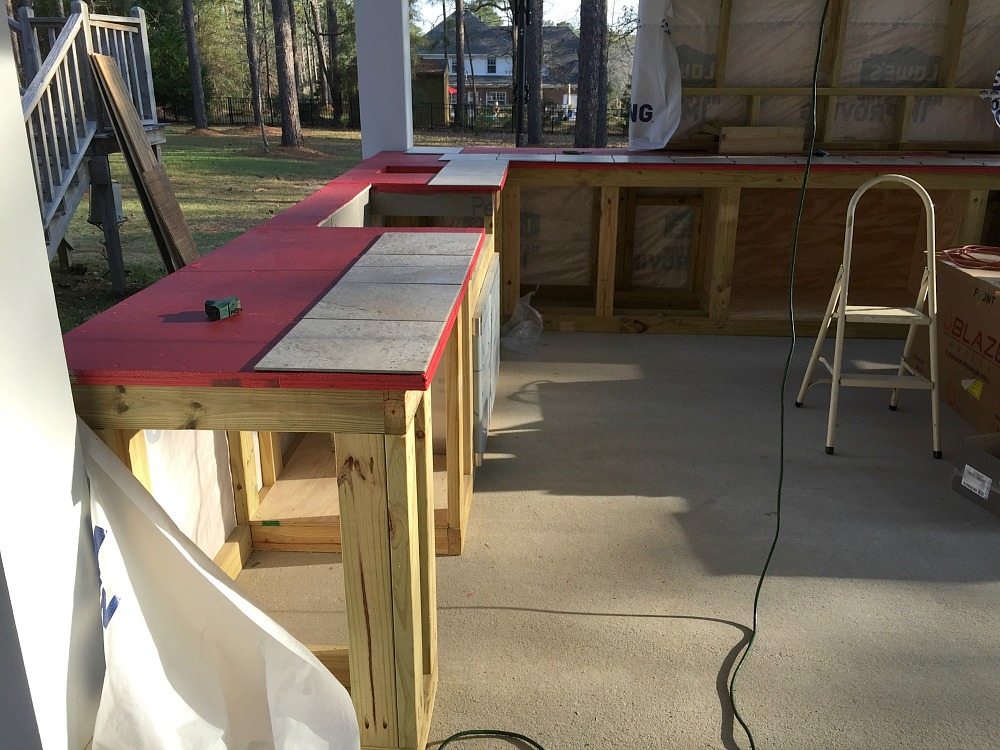
The Kitchen:
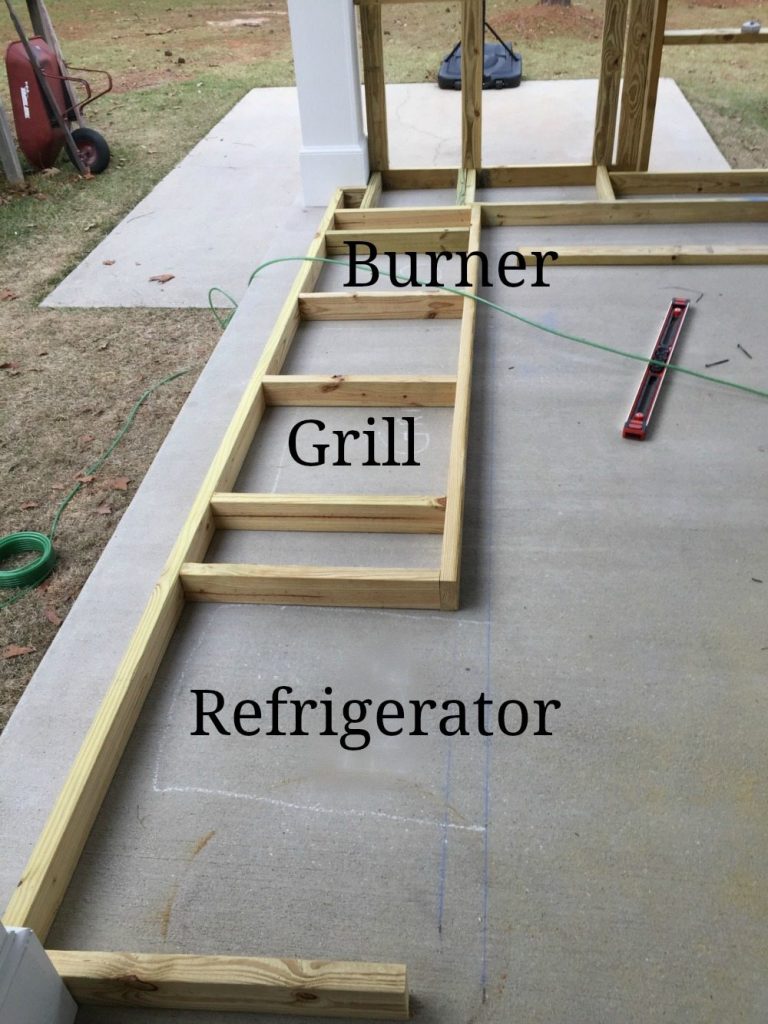
The outdoor kitchen layout with some of the base in place.
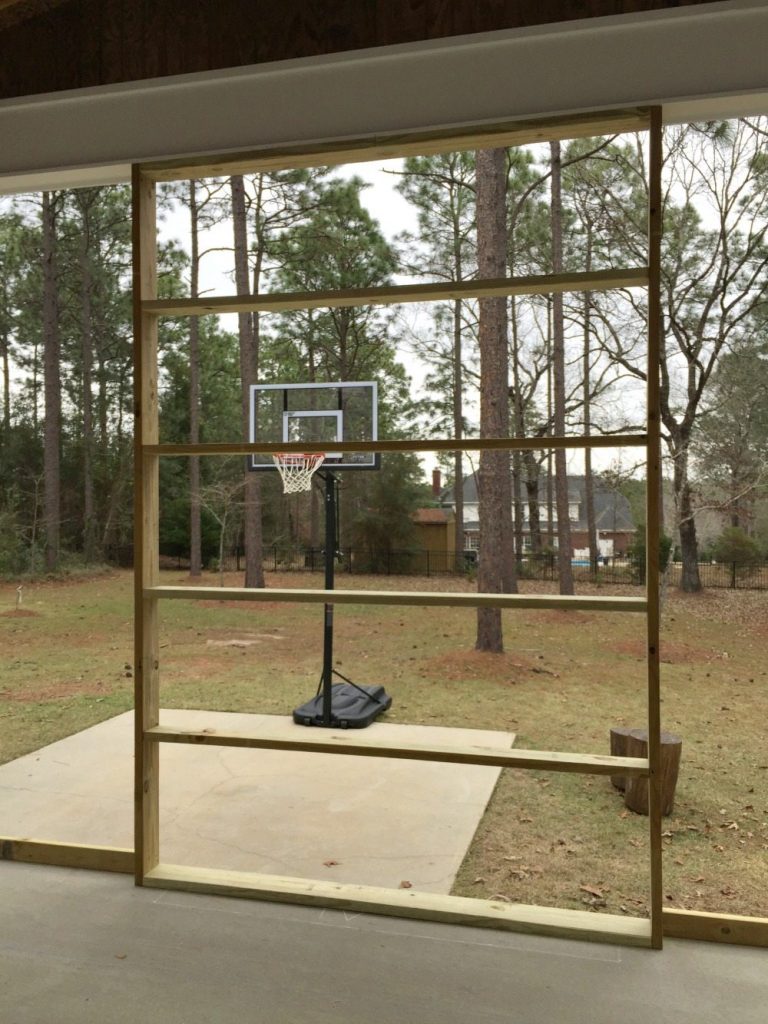
TV wall
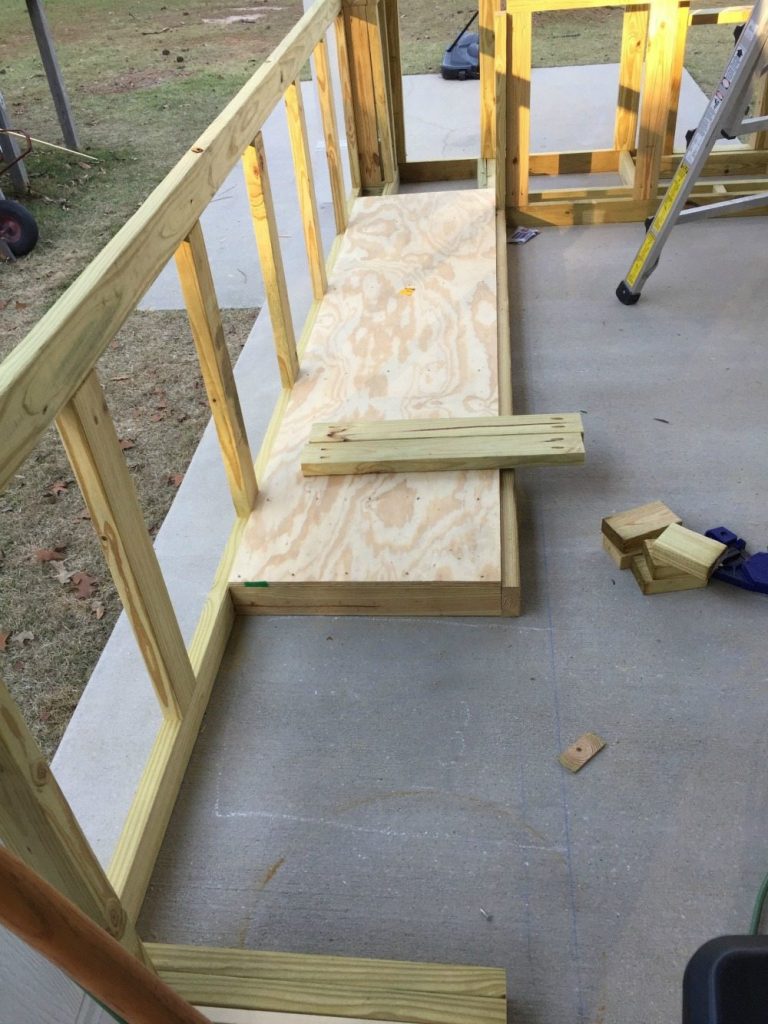
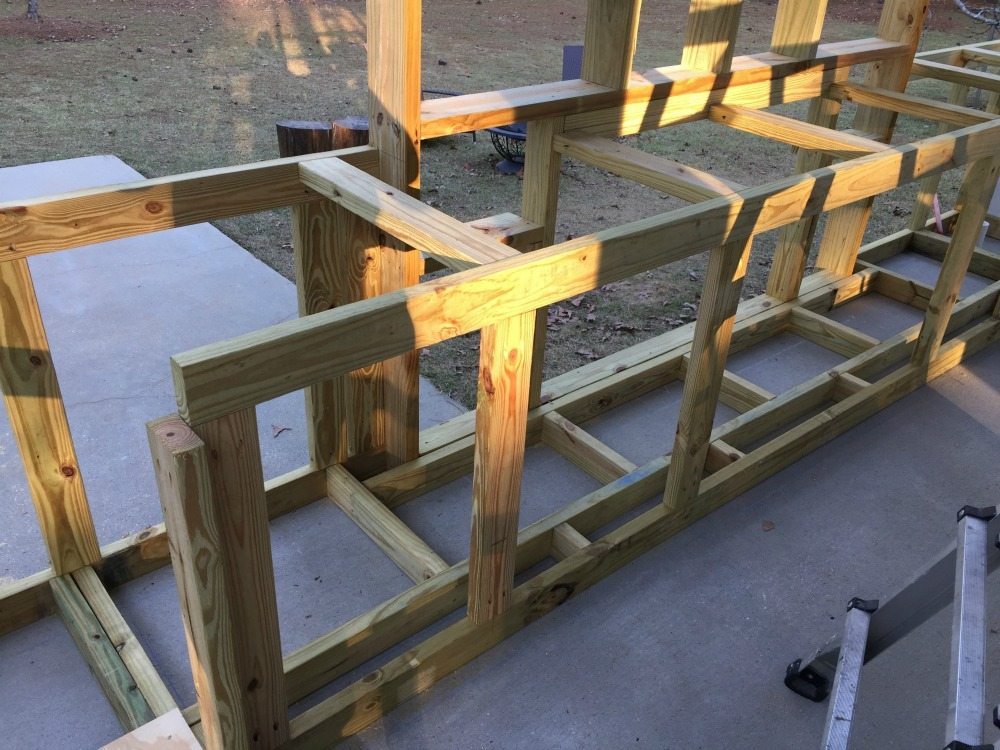
 None of this went seamlessly, we used screws and the Kreg Jig to make the cabinet frames. Things got moved a couple of times after we realized we messed up ;)
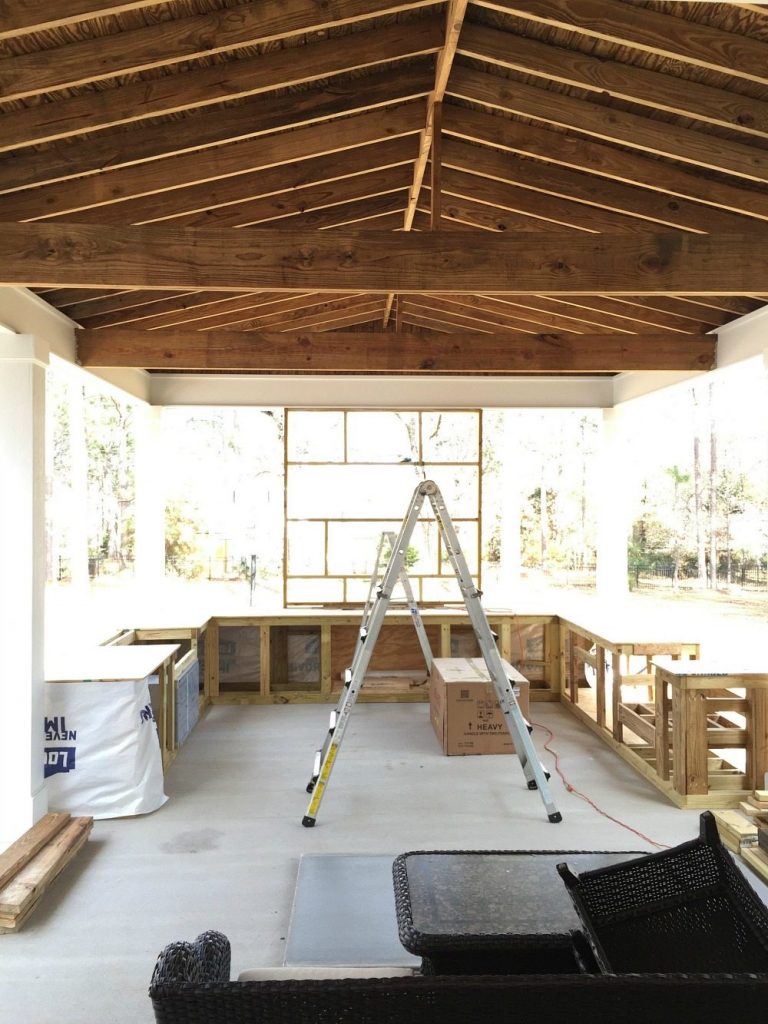
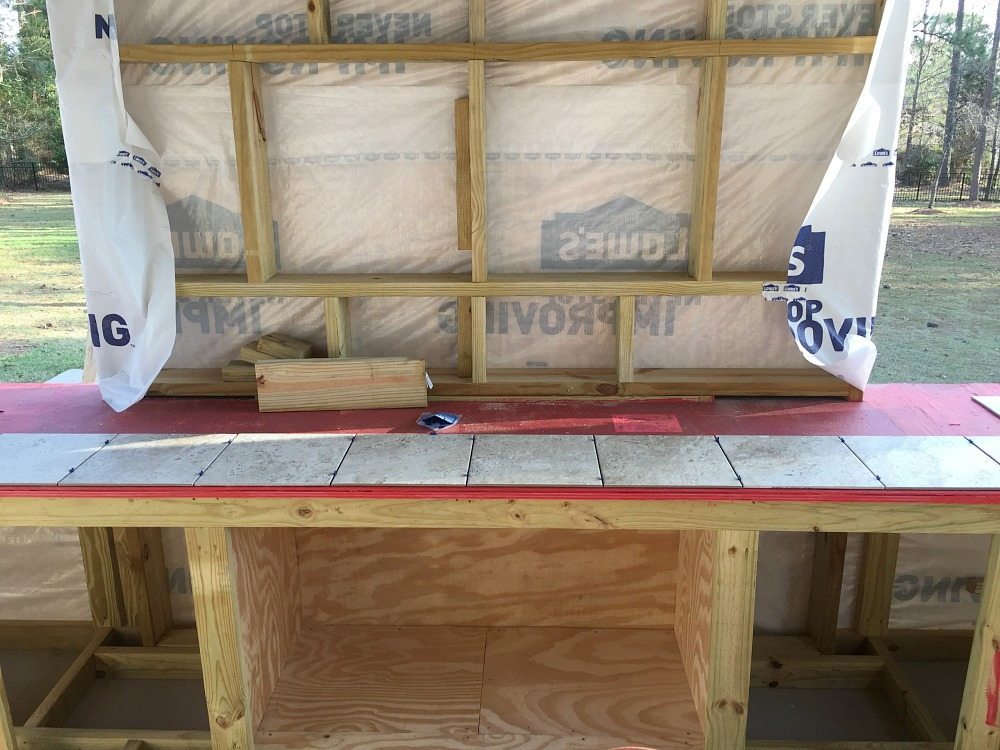
Dry fit the tile, there were so many intersections, I wanted to make sure the fit looked good from every angle. It took me 4 days to tile and grout.
I used a product called Red Guard to help protect against water. We also used house wrap (the white plastic you see) on the exterior.
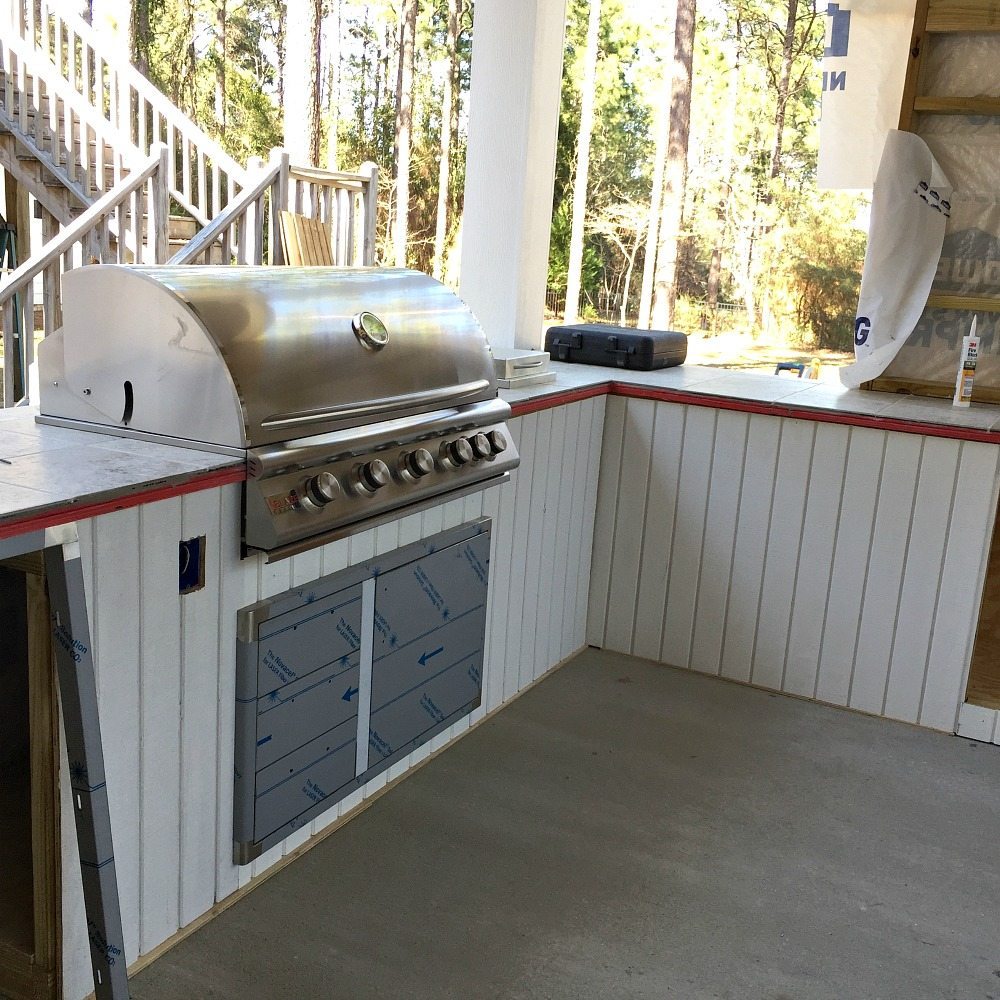 We put all the appliances in place and measured for trim. We decided to use pressure treated 1x4 lumber for the trim. I have used wood and tile for trim outside before and the wood held up better.
 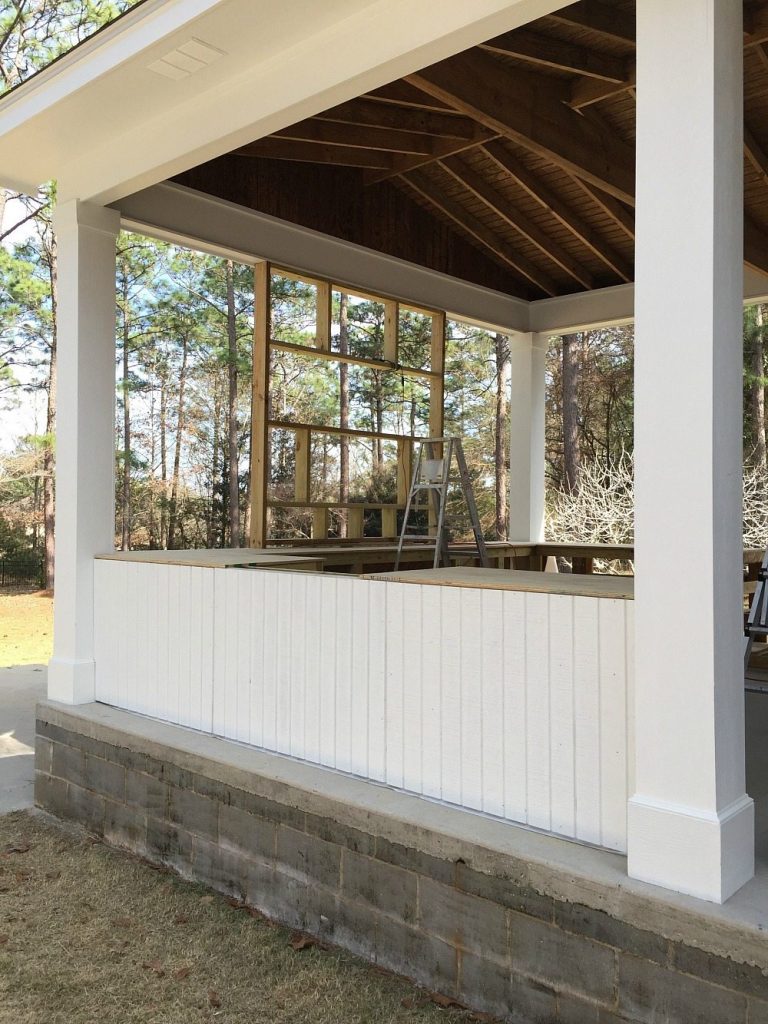 I primed everything and then caulked before I painted.
 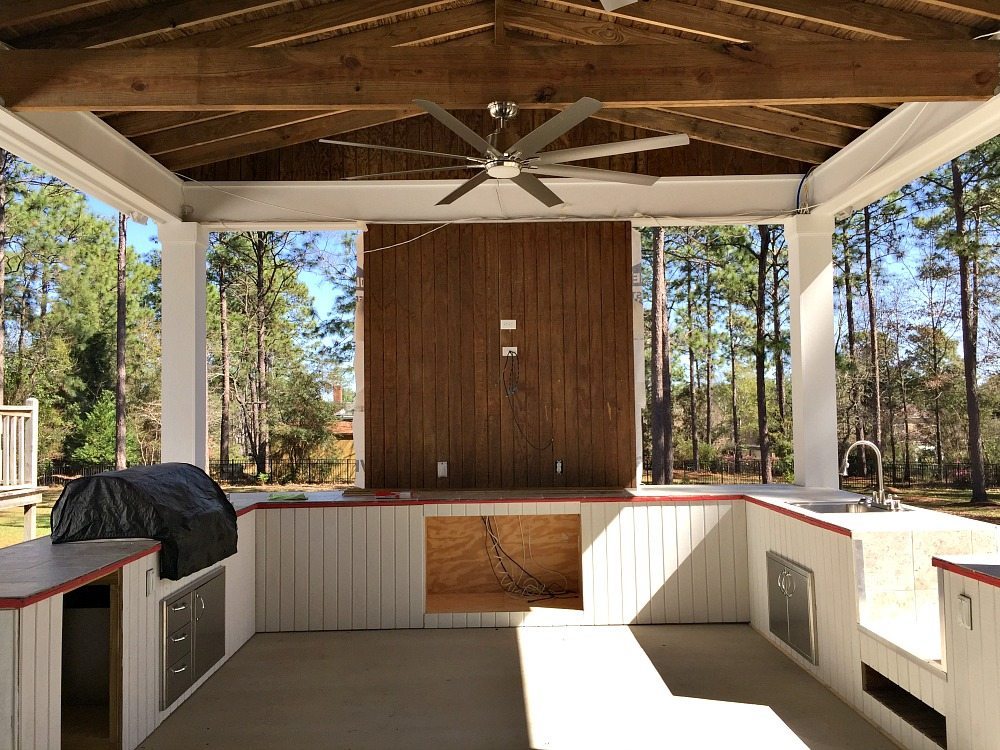 The space under the cabinet is used to hold TV components.
 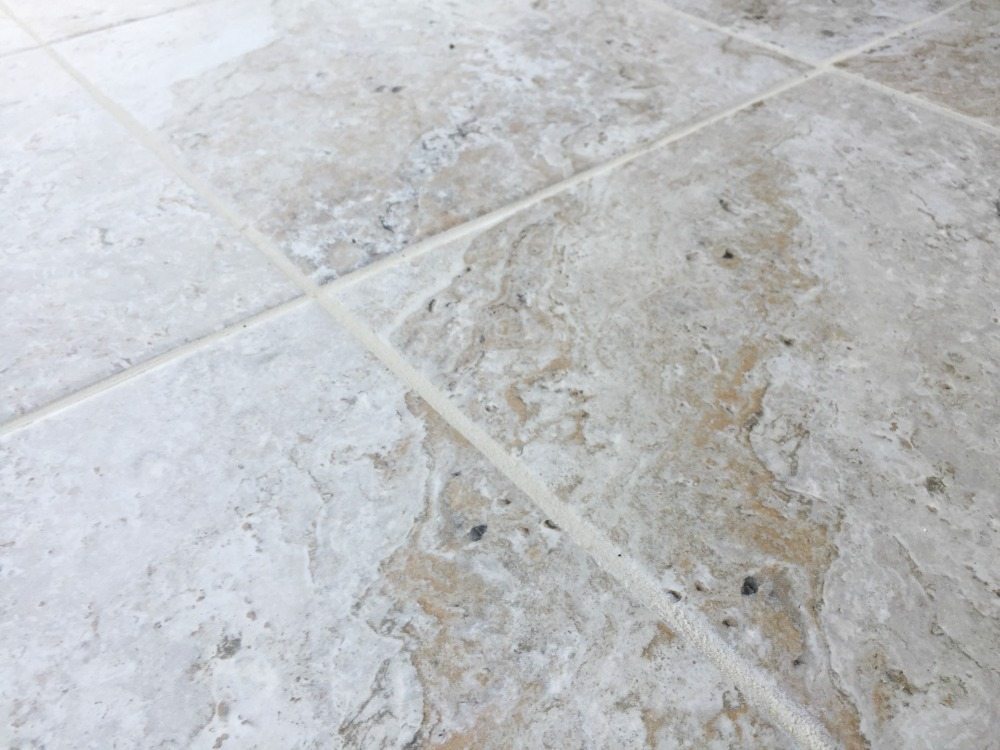 The tile is from Home Depot: Marazzi Trevi 12 x 12 porcelain tile (used on outdoor kitchen countertop). I also used an epoxy grout, be sure to work in small areas if you use it. It’s great for areas that tend to get dirty.
 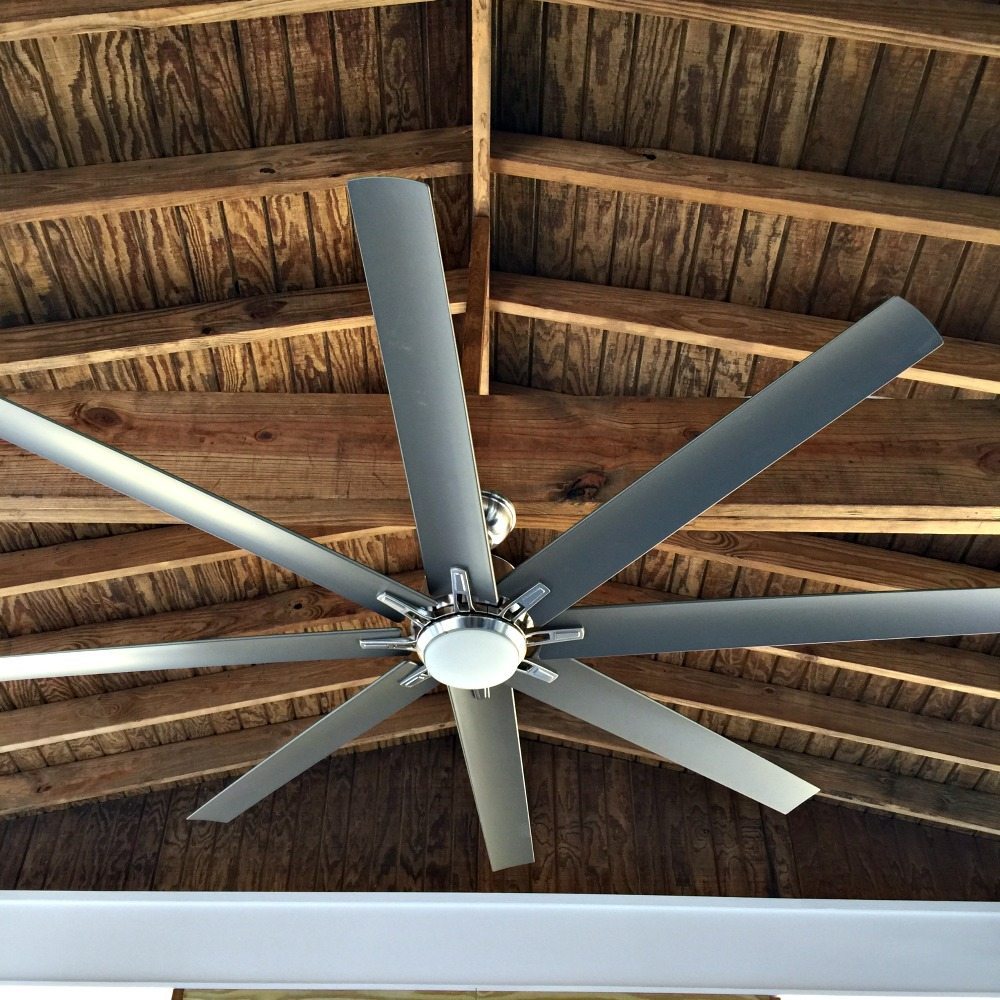 We have two large fans, they are from Home Depot also: Kensgrove 72 in. LED IndoorOutdoor Brushed Nickel Ceiling Fan All of the appliances came from BBQGuys.com Here are a few photos from different times since everything was finished:
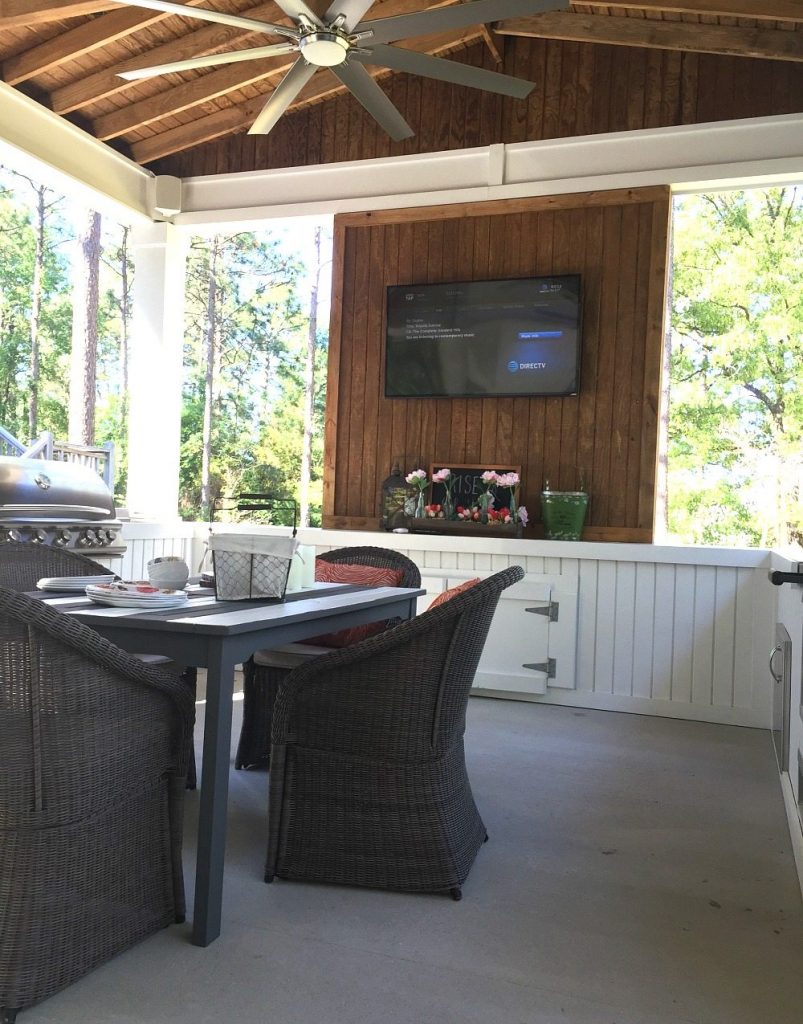

 Please be sure to visit the other outdoor spaces:
Outdoor Kitchen Build - Me
Click: A Duck Pond Every Duck Will Love from Duke Manor Farm
Click: Outdoor Decorating Ideas from Artsy Chicks Rule
Click: Easy Spring Floral Wreath from Restoration Redoux
Click: DIY Faux Aged Concrete Planters from Our Southern Home
Click: Front Yard Garden Tour from Confessions of a Serial Do It Yourselfer
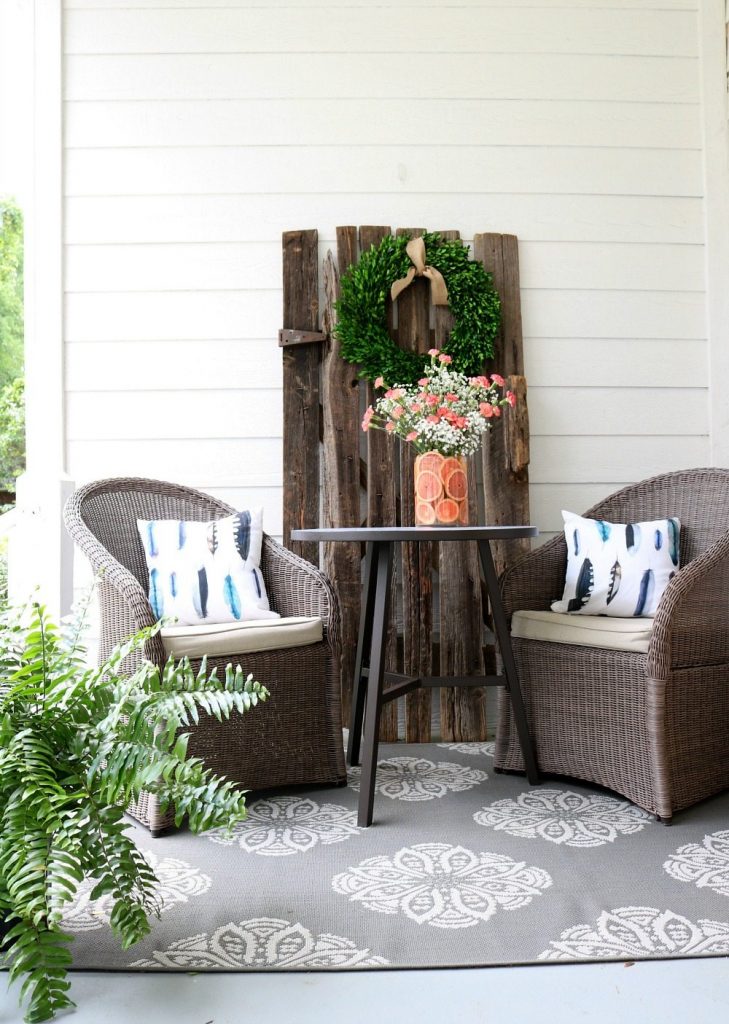
 See the porch all dressed up for summer:
22 Comments
ArchiveI love this area, what a dream. Such a wonderful place to entertain and just enjoy all the time. I need this to go with my pool.
This is absolutely stunning! What a labor of love. I am sure you will enjoy your time here this summer with your family close by.
this is so ridiculously beautiful...I have no words. congrats on such a well designed space.
I cannot put down enough wows on this comment. First off what a score to have the concrete already there. I am in love with fans... and everything... but its Alabama... how long till you screen it all in? Lol... Enjoy!
Your new outdoor kitchen is nothing short of spectacular!! How nice of them to get it started for you with that concrete slab. You do know that you are forever in charge of all the family get togethers right? Love it!! XOXO
Beautifully done Debbie!! I love every inch. What a fabulous space to be able to enjoy! xo
Beautiful! May I ask what product did you use on your cabinet fronts?
We used T1 11 plywood, painted and primed with exterior paints. Thank you!
This is awesome! i love what you have done with this. That cement slab needed a roof! It is all so perfect. I hope you get many hours of enjoyment out of it.
Outstanding! You have a natural talent which I'm sure you've added to with classes, books, etc. You do a great job on everything you touch. Thanks for helping me to realize that I can go farther in my attempts on redecorating, remodeling, and just keeping the house spruced up. Thanks for all you share, Debbie.
Thanks so much Jenni!! I appreciate your sweet comments!!
Oh my gosh this is amazing! It's beautiful and I wish you and your family lots of happy times in your new space.
Wow! What a great space to enjoy!!
Thank you for sharing at Merry Monday!
What a fabulous space for entertaining and hosting family events! I want one now! Great tips in your posts, maybe we can put them to use. This post will be a Feature at the new Merry Monday party.
This space is fabulous! I need something like this for sure. I love how everything turned out and I know you'll be spending all summer out there!
OMG, I'm so jealous! This looks AH-Mazing! Congrats and thoroughly enjoy. I also live in Alabama and will be expecting an invite. ;)
Well done. Can you provide an approximate cost? Obviously it won't include the slab but it will be something to help me budget.
Hi Reg, the cost would vary from area to area. You'd get a better estimate from local contractors.
Looks amazing...Do you think that ceiling fan would work on a 12x12 screene in porch? Yours looks just like mine but 2x bigger... so since you have 2 fans I think I can get away with 1.
Thanks!
Hi JC, The fans are 6' in diameter, I think it'd work just fine! Lots of air circulation!!
The outcomes is beautiful! Great find in contractor!
Maria
That looks amazing! What a fun place to spend time with your family!