November 16, 2026 by Debbie Westbrooks
Chalk Couture Permanent Ink Christmas Sweatsuit
Live Videos · DIY · Crafts
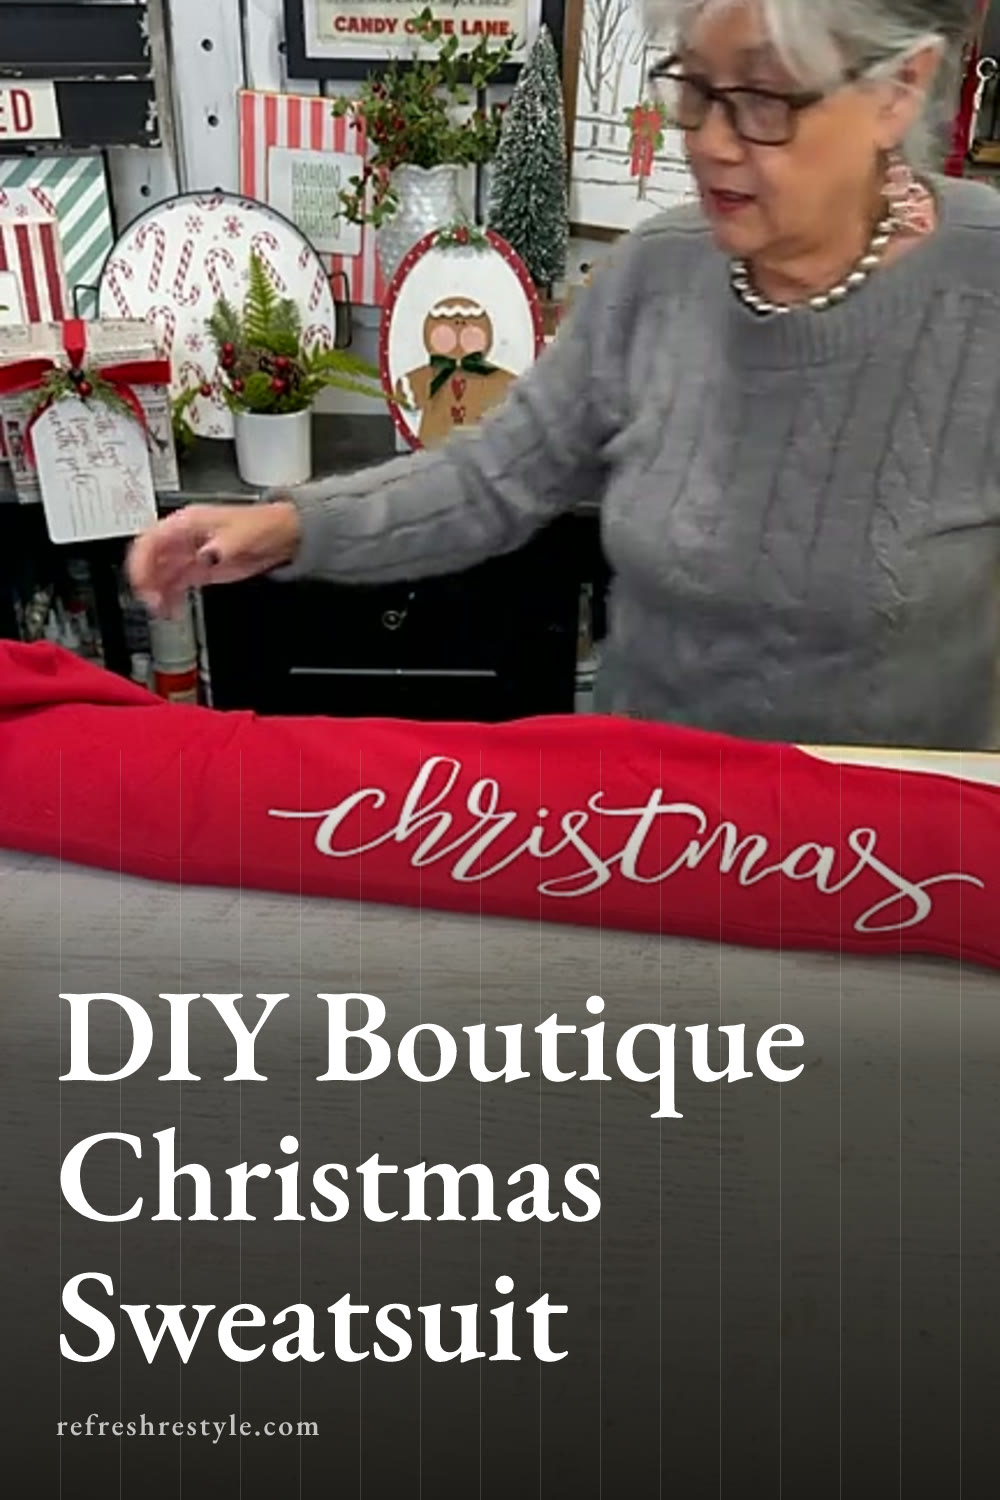
I found the prettiest school red sweatshirt and matching sweatpants, and I knew they needed a festive boutique style makeover. I used Chalk Couture permanent ink with puff additive to create raised white lettering that looks and feels a lot like embroidery.
My Christmas sweatsuit idea
I originally planned to put the full phrase Have Yourself a Merry Little Christmas across the sweatshirt. Once I laid everything out, I decided that one large word would make a stronger design, so I separated Merry from the rest of the transfer and centered it across the chest.
The matching pants gave me one more place to play. I placed Christmas vertically down the front of the right leg with the C near the thigh. That placement keeps the word easy to see and avoids the thick side seam.
The result is festive from top to bottom, and the bright white lettering really pops against the red fabric.
Supplies I used
Here are the main supplies from this project.
- A school red sweatshirt
- Matching school red sweatpants
- Chalk Couture permanent ink in white
- Speedball Puff additive
- Have Yourself a Merry Little Christmas transfer
- Squeegee
- Heat gun
- Ink mat for thinner fabric
I chose a large sweatshirt because I like mine with a roomier fit. You can use this same idea on any sweatshirt and sweatpants that work with permanent ink.
Mixing Chalk Couture permanent ink with puff additive
The raised finish comes from mixing the permanent ink with Speedball Puff. I mixed equal parts of each and stirred them together very well.
The mixture gets thick, so take your time while combining it. I also tend to mix more than I need, but any extra can go toward a second fabric project if you have one ready.
White was perfect for this red outfit. The contrast makes the words easy to read, and the puff adds enough texture to make the simple design feel special.
Adding Merry to the sweatshirt
Separate the design
The transfer includes the full phrase Have Yourself a Merry Little Christmas, but I only wanted the large word Merry on the sweatshirt. I separated that section so I could work with the big word by itself.
You can keep the transfer sections together if you want the complete phrase on a future project. I liked having the option to rearrange the larger words for this matching set.
Find the center
I laid the sweatshirt flat and found the center of the word. Since the lettering has a flowing style, I held the shirt up after positioning the transfer to make sure everything looked straight.
Once I liked the placement, I used my squeegee to spread the ink and puff mixture across the word. I made sure the open areas of the transfer had enough coverage, especially near the edges.
I lifted the transfer slowly so I could check the lettering as it was revealed. The white looked so good against that rich red color.
Putting Christmas down the pant leg
Placement took a little more thought on the sweatpants because they had a seam running down the side. I positioned Christmas on the front of the right leg instead, with the C at the top and the rest of the word reading downward.
I kept the design below the pocket and placed it where the full word would show. If you try this on your own pants, lay them flat and check the pocket, seam and leg length before pressing down the transfer.
These sweatpants were made from thick fabric, so I skipped the ink mat. An ink mat is helpful when you work with a thinner shirt or pair of pants because it helps protect the back layer from any ink that may press through.
I spread the same white ink and puff mixture over Christmas, then lifted the transfer carefully. This part goes quickly once you decide on the placement.
Drying and activating the puff
The puff additive directions call for letting the project dry for 24 hours before applying heat. When you make this at home, lay the clothing flat and let the lettering dry overnight.
After it dries, use a heat gun to activate the puff. A craft dryer or hair dryer produces a different type of heat, so this project needs a heat gun for the raised result shown here.
As the heat reaches the lettering, the mixture begins to puff and develop a three dimensional texture. Move the heat gun carefully over the design and watch for the letters to rise. The finished words feel thick and look like they were stitched onto the fabric.
Caring for the finished sweatsuit
I turn clothing with puffed designs inside out before washing it. When it goes into the dryer, I use a lower heat setting. You can also hang the pieces to dry if that fits your normal laundry routine.
Following the full drying time before heat setting gives the ink and additive time to set up properly. That little bit of patience helps you get the raised texture across all of the lettering.
Chalk Couture supplies
Browse Chalk Couture Chalkology Ink, or shop my full store here.
I am an independent Chalk Couture designer, so I earn a commission on these links. See my disclosure for more.