
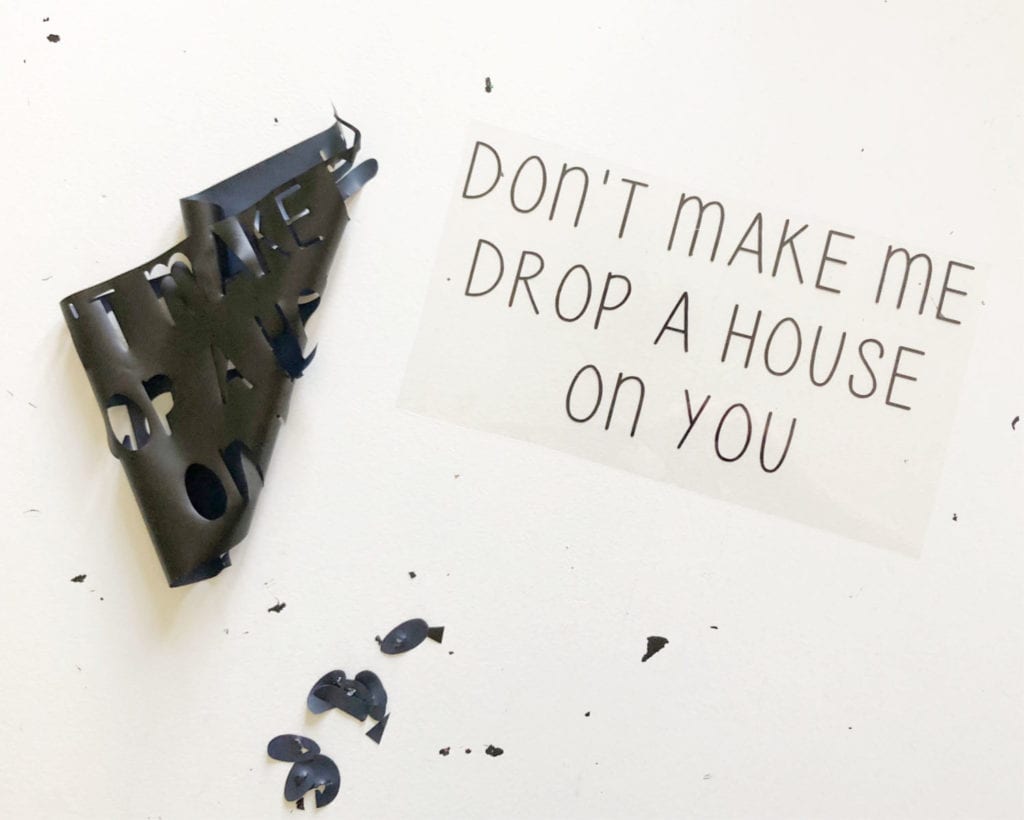
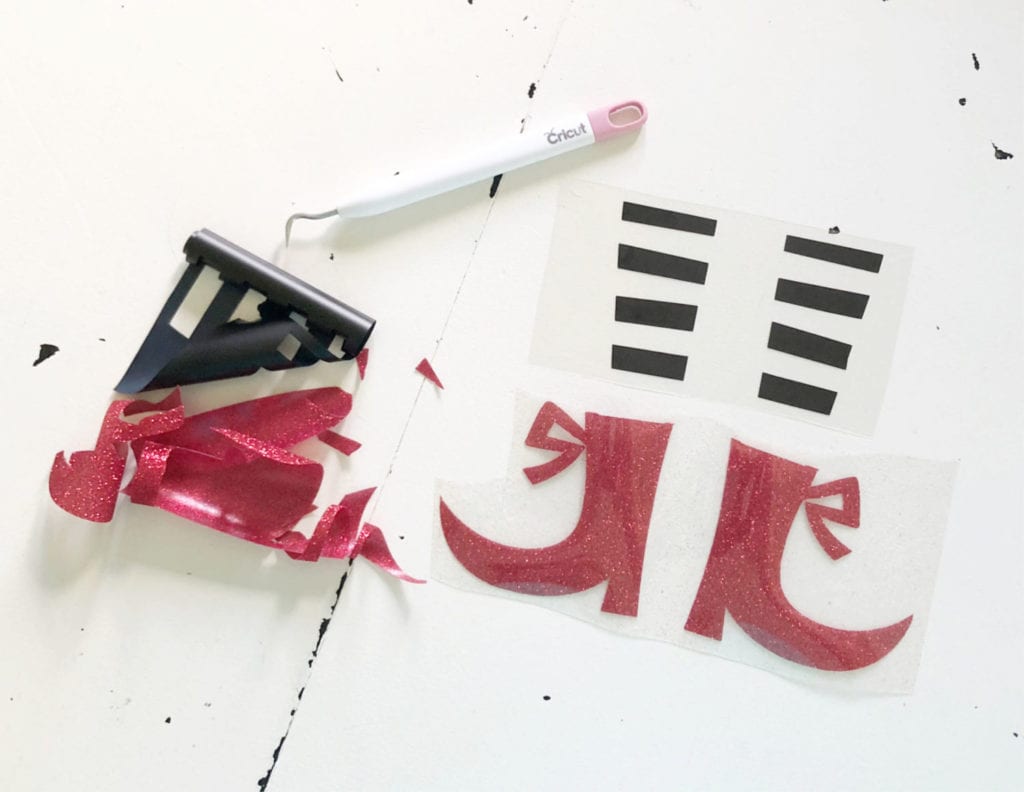
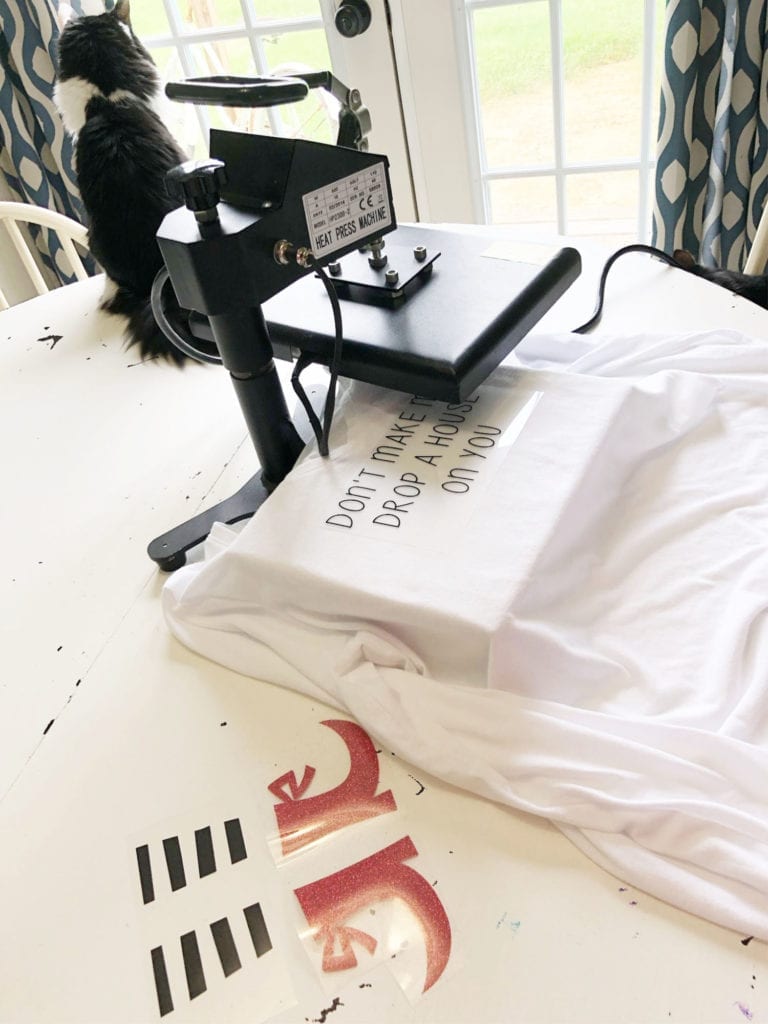
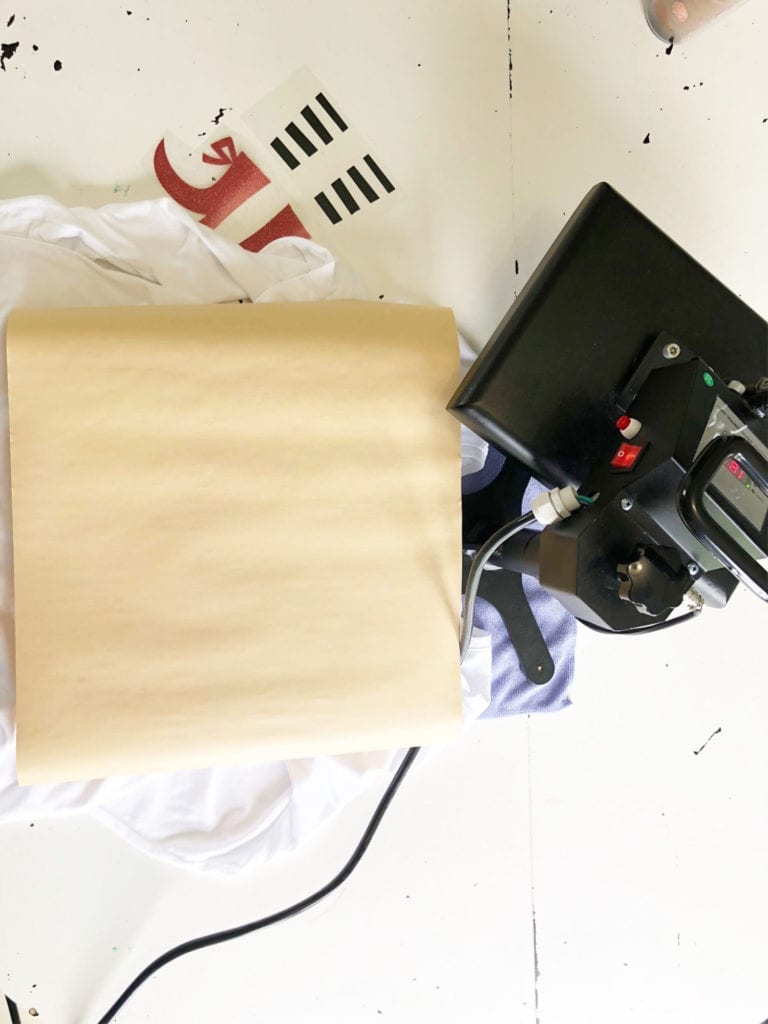
It’s that time of year again…Fall. Time to get out all of those fun Halloween decorations and clothes. I’m back today with a fun vinyl Halloween shirt. I hope you enjoy this heat transfer vinyl project as much as I enjoyed making it. Now I’m ready to wear my new Halloween shirt now! 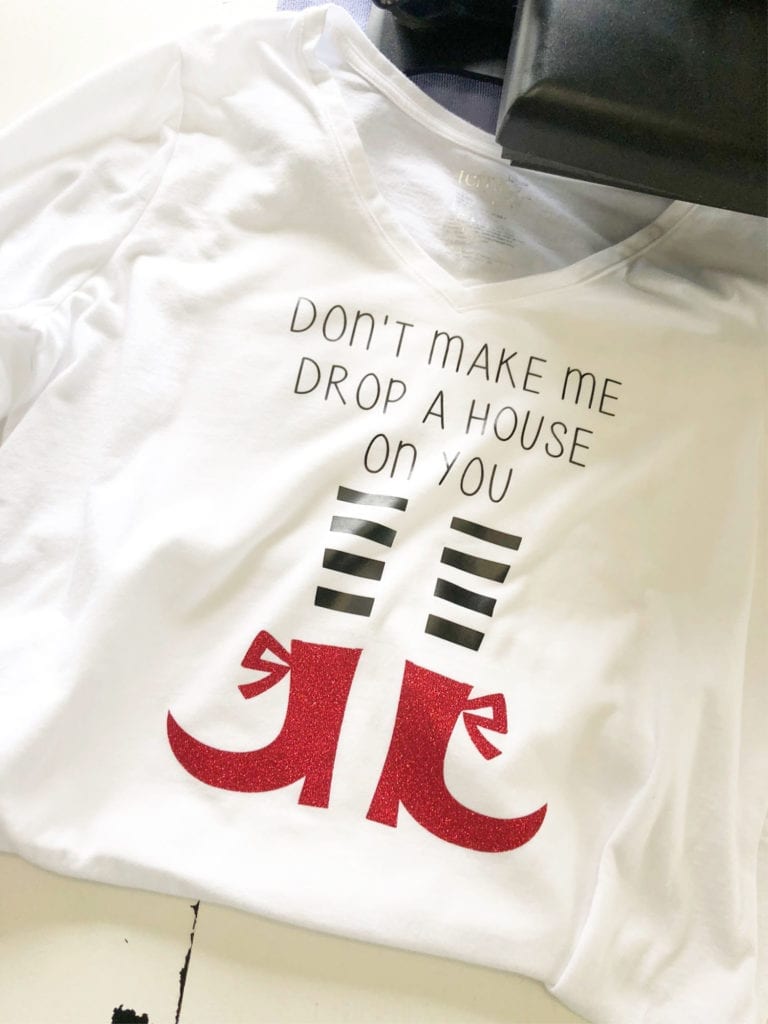 Today our Cricut group is sharing Fall Crafts, be sure to see all of them listed at the bottom of the post.
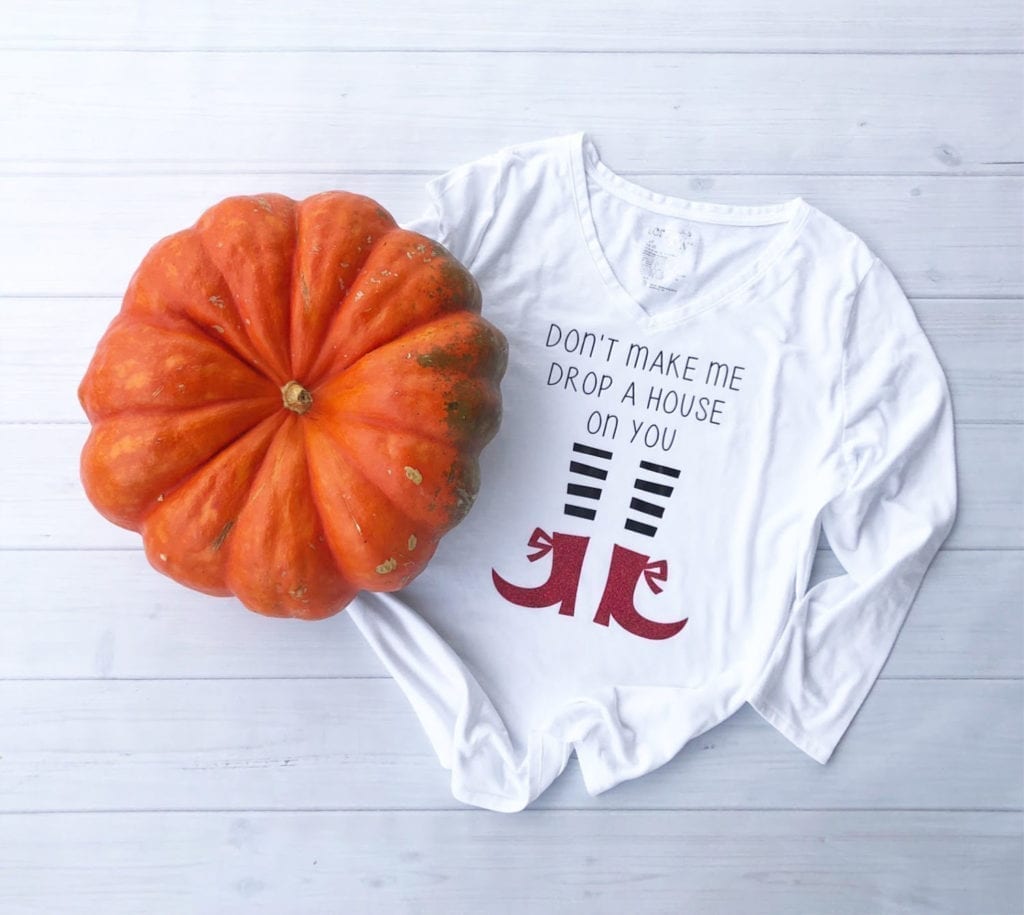 I hope this Halloween t-shirt vinyl idea has inspired you to get creative and have some fun making a new project! This is perfect to wear when you take the kids door to door on Halloween or depending on your office, I could see it being a very helpful piece of wardrobe on just about any day at work ;)
Be sure to check out the other fall vinyl ideas:
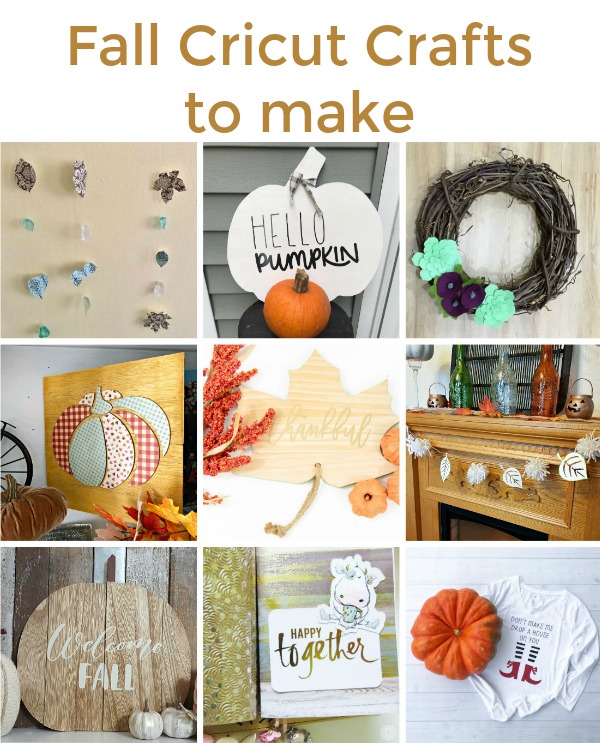
Fall Paper Leaf Wall Hanging / Wooden Pumpkin for Fall- Larger Than Mat Cricut / Felt Flower Grapevine Wreath / Chipboard Pumpkin / Wooden Fall Leaf customized with Cricut / Quick & Easy Fall Banner / Welcome Fall Wood Pumpkin Sign / How to Cut Die Cuts for Your Planner / Halloween T-Shirt
MORE VINYL IDEAS FOR CRICUT Jingle All The Way How To Make Leather Earring with Cricut Rustic Wood Sign
4 Comments
ArchiveLove, love, love it! And you're right - perfect to wear to work and on trick or treat night. Pinned!
What a great Halloween shirt. I like the glittery shoes! Perfect for all ages!
I love this so much! I need to get in gear and make a Halloween tee for myself!
I love this quote. I'm going to need to make me the shirt too.