February 18, 2013
How to Spray Paint Hardware
Home Interior
This post will show you how to spray paint hardware - and more specifically - how to spray paint metal hardware. I typically do this whenever I’m repurposing furniture. Spray painting the hardware helps me get the perfect color match that I’m looking for!
Use Spray Paint to Give Old Hardware New Life
Spray painting hardware is a popular technique for giving old or worn-out pieces of furniture or decor a fresh and updated look. When reusing hardware, such as drawer pulls or cabinet knobs, it’s essential to ensure they match the new color scheme of the piece being painted. The process of spray painting hardware typically involves thoroughly cleaning and prepping the pieces to ensure proper adhesion of the paint. This may include sanding, degreasing, and applying a primer coat. Once the hardware is adequately prepped, it can be spray painted with a high-quality enamel paint, which provides a durable and long-lasting finish. By using this technique, one can easily update the look of their furniture or decor without having to replace all the hardware, saving time and money in the process.
How to Spray Paint Hardware
Supplies You’ll Need to Spray Paint Hardware
- Sandpaper or Sanding Block: You will need sandpaper of varying grits to sand down the hardware and create a smooth surface for painting.
- Degreaser: Before painting, it’s essential to clean the hardware thoroughly with a degreaser to remove any dirt, grime, or oil buildup.
- Primer: A good quality primer is crucial to ensure proper adhesion of the paint and to create a smooth surface for painting.
- Spray Paint: Enamel spray paint is a great choice for painting hardware as it provides a durable, long-lasting finish.
- Painters Tape: If you are only painting certain parts of the hardware, you may need painter’s tape to mask off the areas you don’t want to paint.
- Box: I always like to put my hardware inside of a box to catch as much overspray as possible.
- Drop Cloth or Newspaper (optional): To help protect your work area, you might want to lay down a drop cloth or newspaper to catch any additional overspray.
- Gloves and a Respirator: It’s always a good idea to wear gloves and a respirator when spray painting to protect your skin and lungs.
- Old Hardware: Get the hardware you want to spray paint and let’s get started! Note: be sure to remove it from the furniture if it isn’t already!
How to Spray Paint Hardware
Steps for Spray Painting Hardware
Here are the steps for how to spray paint your hardware. Below the steps, you can see example pictures from when I painted my hardware.
1. Remove the hardware
Before starting the painting process, remove the hardware from the piece you’re working on. This will make it easier to clean and paint the hardware properly.
2. Clean the hardware
Use a degreaser to thoroughly clean the hardware and remove any dirt, grime, or oil buildup. Rinse the hardware with water and allow it to dry completely.
3. Sand the hardware
Use sandpaper of varying grits to sand down the hardware and create a smooth surface for painting. Start with a coarse grit sandpaper, then move to a finer grit for a smoother finish. I’ve also used a wire brush to help get into the small spaces!
4. Prime the hardware
Apply a thin layer of primer to the hardware using a spray can or a paintbrush. Allow the primer to dry completely before proceeding.
5. Paint the hardware
Start by putting your hardware inside your box. I have found that spray painting small objects in a box is like a miniature spray booth.
Apply a thin layer of enamel spray paint to the hardware, using smooth and even strokes. Hold the can approximately 6-8 inches away from the hardware and spray in a sweeping motion. Avoid spraying too much paint in one area, as this can cause drips or runs.
6. Allow the paint to dry
Allow the first coat of paint to dry completely before applying a second coat. Depending on the paint you are using, this may take several hours to overnight.
7. Reattach the hardware
Once the paint is dry, reattach the hardware to the piece you’re working on.
How to Spray Paint Hardware
FAQs
What is the best spray paint for hardware?
It’s best to use an enamel spray paint for painting hardware, as it provides a durable and long-lasting finish. Look for a spray paint specifically labeled for use on metal surfaces.
Do I need to prime the hardware before spray painting?
Yes, it’s recommended to use a primer before spray painting hardware to ensure proper adhesion of the paint and to create a smooth surface for painting.
How do I spray paint metal hardware?
To spray paint metal hardware, begin by removing the hardware from the furniture and cleaning it with a degreaser to remove any dirt or oil buildup. Then, use sandpaper of varying grits to sand down the surface of the hardware and create a smooth surface for painting. Apply a thin coat of primer to the hardware and let it dry completely.
Once the primer is dry, apply a thin coat of enamel spray paint, holding the can approximately 6-8 inches away from the hardware and using smooth and even strokes. Allow the first coat to dry completely before applying a second coat if necessary. Finally, reattach the hardware to the furniture and enjoy your updated and refreshed piece. Remember to wear gloves and a respirator when using spray paint and work in a well-ventilated area.
How should I prepare the hardware before spray painting?
Clean the hardware thoroughly with a degreaser and allow it to dry completely. Then, use sandpaper of varying grits to sand down the hardware and create a smooth surface for painting. Wipe away any dust or debris before priming and painting.
How do I avoid getting drips or runs in my spray paint job?
To avoid drips or runs, apply thin coats of spray paint and allow each coat to dry completely before applying another. Hold the can approximately 6-8 inches away from the hardware and use smooth and even strokes when spraying.
Can I paint over existing hardware finishes?
Yes, you can paint over existing hardware finishes, but it’s essential to sand and clean the hardware properly before painting to ensure proper adhesion of the new paint.
What is the best paint for cabinet hardware?
The best paint for cabinet hardware is typically an enamel spray paint designed for use on metal surfaces. Enamel spray paints provide a durable and long-lasting finish that can withstand frequent use and wear. It’s essential to choose a spray paint that is specifically labeled for use on metal surfaces and to prep the hardware properly before painting by cleaning and sanding it.
While there are other paint types, such as acrylic or chalk paint, that can be used on metal hardware, enamel spray paint is a popular and reliable choice that provides a professional-looking finish.
Do I need to apply a protective coating after spray painting my metal hardware?
Applying a protective coating to spray painted hardware is a great way to help prevent scratches and chips, and keep the paint looking fresh and new. Two common types of protective coatings for hardware are polyurethane and wax.
Polyurethane provides a durable, long-lasting finish that is resistant to scratches, chips, and stains. It can be applied using a brush or spray can, and typically requires several coats for full coverage.
Wax is another popular option for protecting spray painted hardware. It provides a soft, matte finish and is easy to apply with a cloth or brush. To apply either of these protective coatings, first, make sure the spray paint is completely dry. Then, using a brush or cloth, apply a thin coat of the protective coating, being careful not to apply too much in one area.
Allow the protective coating to dry completely before applying another coat, if necessary. With the right protective coating, your spray painted hardware will stay looking beautiful and new for years to come.
How to Spray Paint Hardware
Example Project of How to Spray Paint Hardware
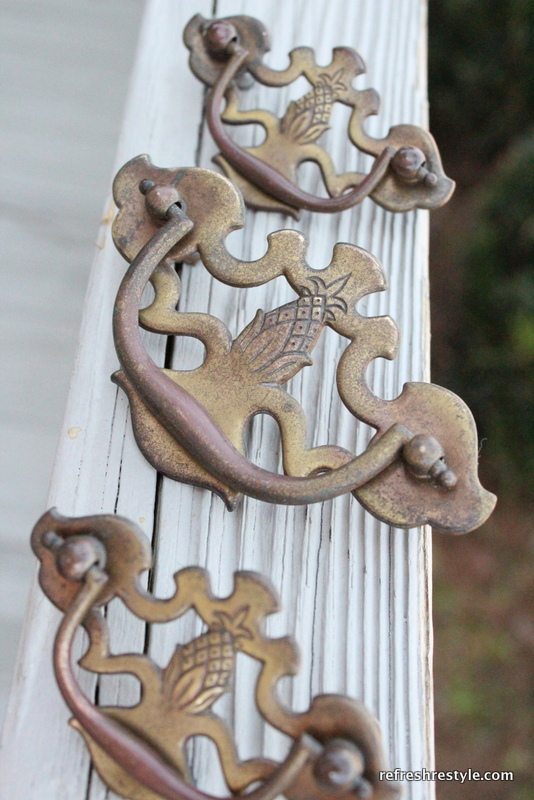
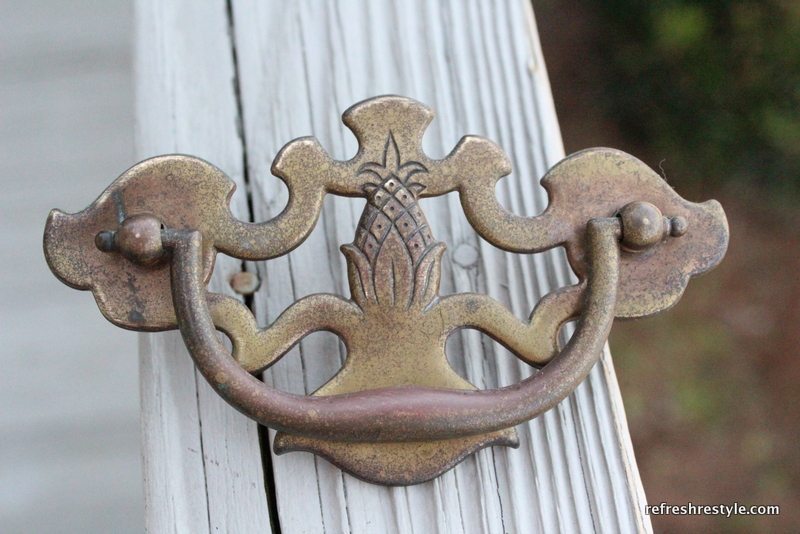
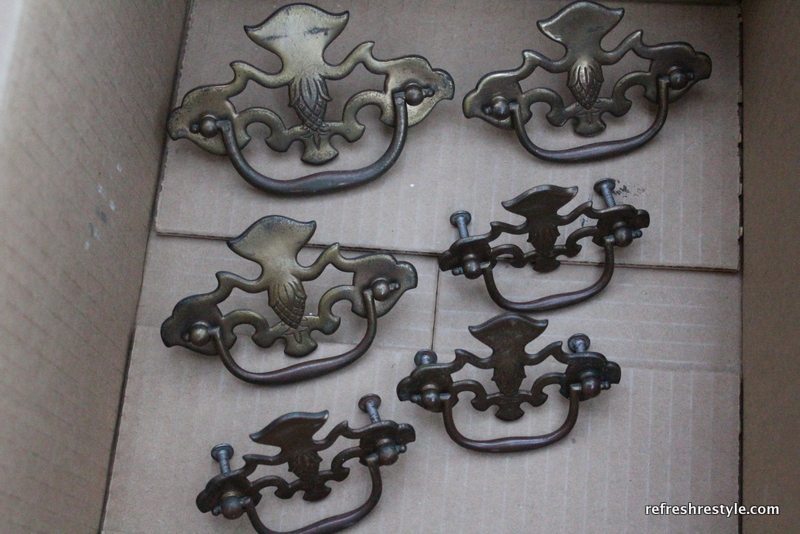
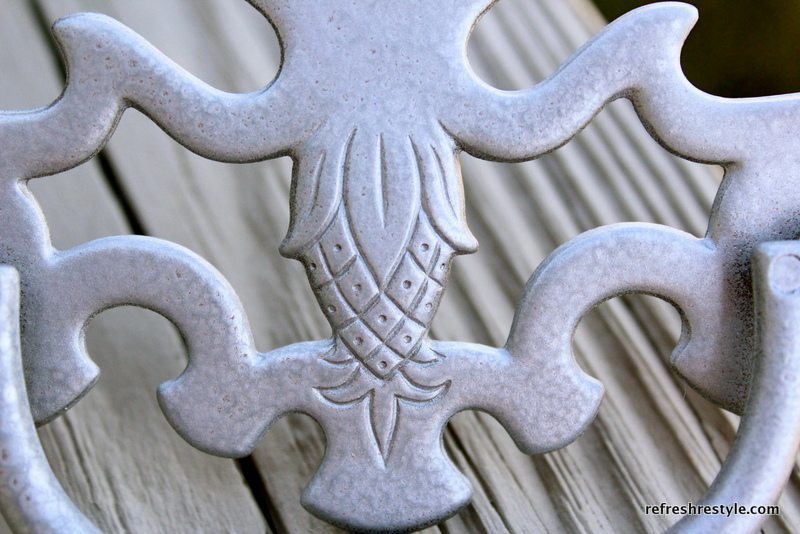
I recently completed a fun and easy project where I spray painted the hardware / pulls on my old chest-of-drawers. The original pulls were a dated brass color and no longer matched my decor. With a can of spray paint and a little bit of effort, I was able to transform them into a stylish and modern accent piece for my furniture. The pulls were made of metal and had a charming pineapple engraving on them, which gave them a unique and playful touch. I was thrilled with the final result, and the new pulls added the perfect “pop” to my room and tied the furniture together perfectly.
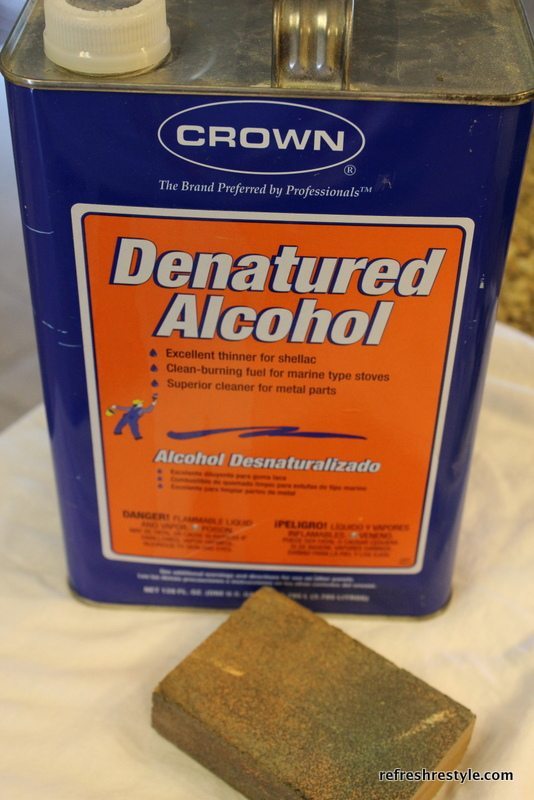
Sand and Clean. You can clean with soap and water, be sure to let it dry completely.
I love the little pineapples on this hardware so much so that I knew I had to re-use it!
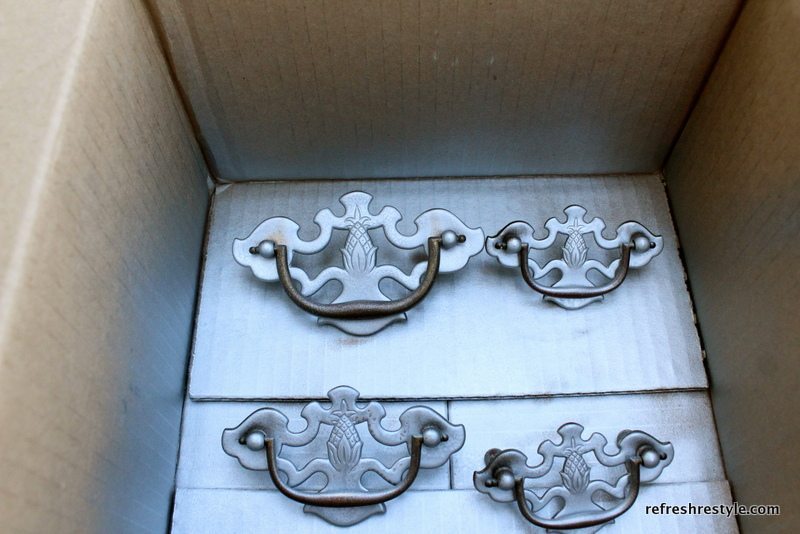
I always spray the underneath side first.
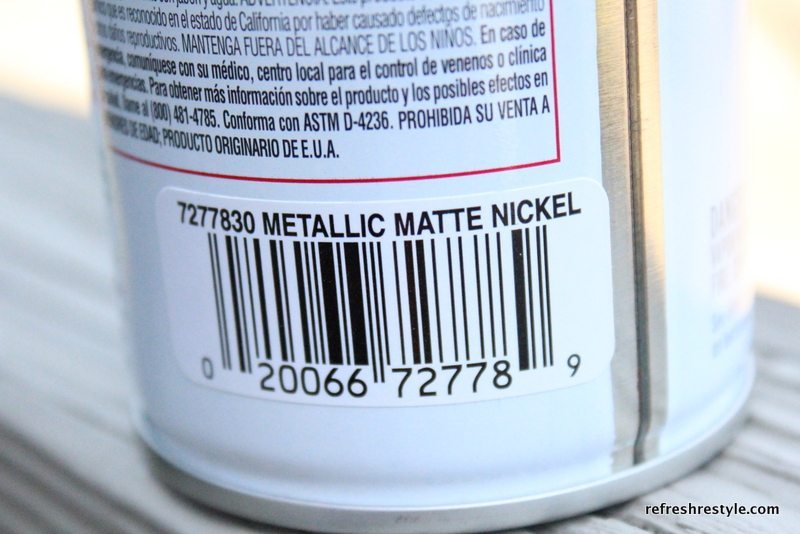
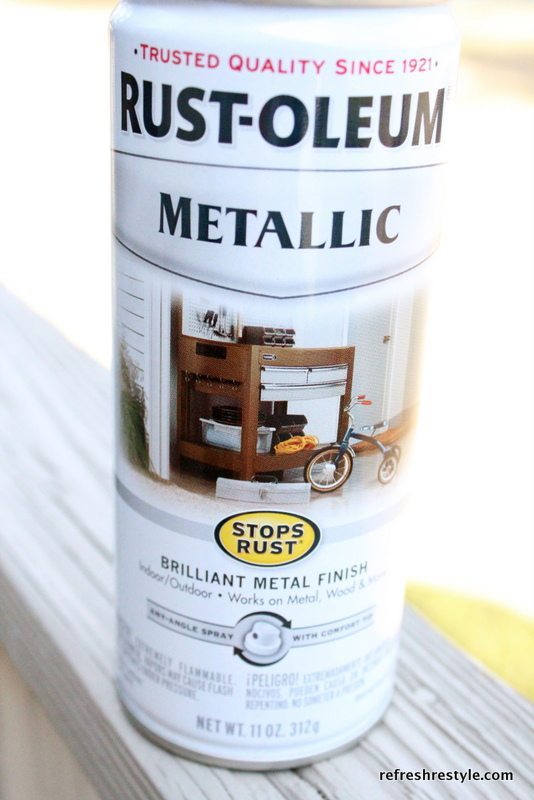
I’m using the hardware on a grey piece, so I chose matte nickel color spray paint.
Here’s the first coat on the underneath side of the hardware.
Be sure to follow re-coating directions, this paint suggested one light coat followed by one wet coat.
I recoated before it was dry.
The paint dried to touch within 10 mins.
Ready for the first coat on the top side.
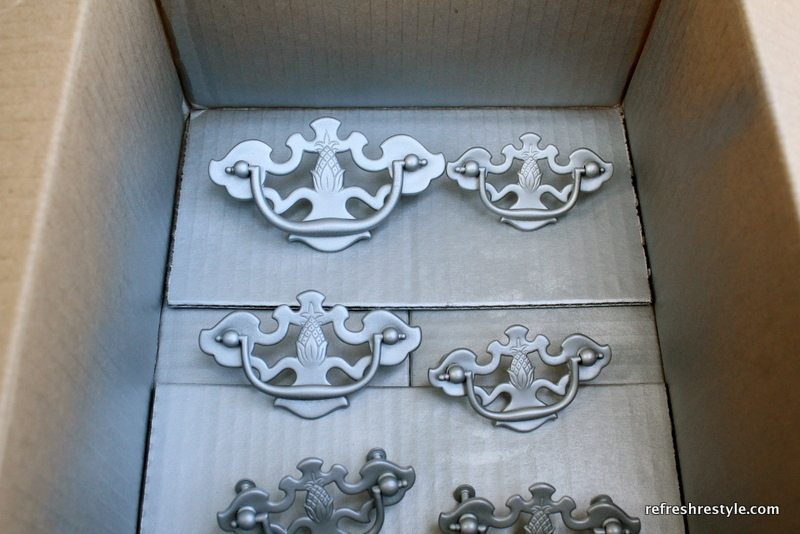
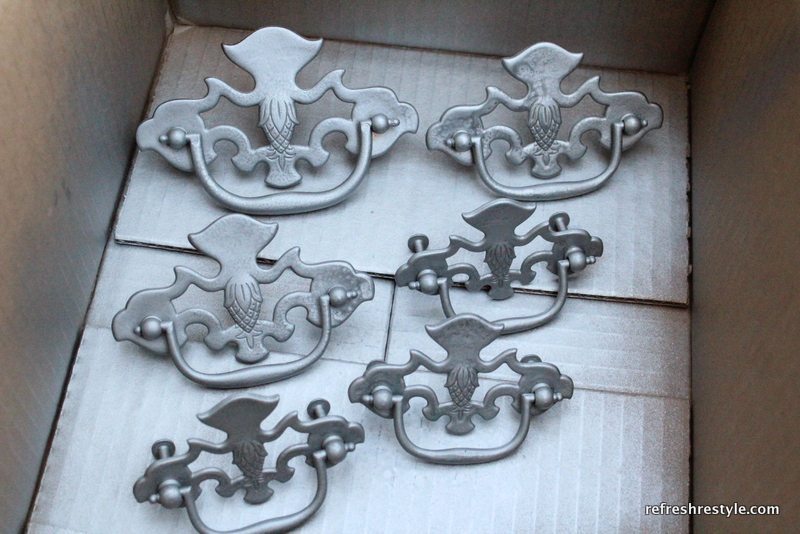
Here they are after the second coat.
The paint I used stated that it’s completely dry in 30 minutes.
This made it painless to paint both sides the same day.
Spray painting saved the old hardware!
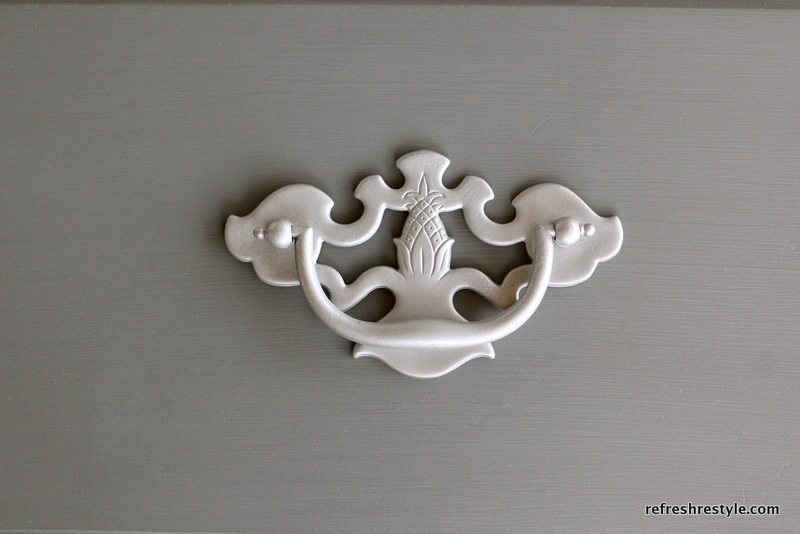
Here’s what it looks like on the drawer. I really love the pineapple, I’ve never seen this design before.
The most important part of spray painting hardware is to follow the paint manufacturers directions,
not all spray paint is created equal. Make sure it is dry before attaching it to your finished piece.
Use spray paint responsibly and paint outside :)
How to Spray Paint Hardware
Spraying Technique for Spray Painting Hardware
When it comes to achieving a smooth, even finish when spray painting hardware, there are several tips and tricks to keep in mind. First, hold the can approximately 6-8 inches away from the hardware and use smooth, sweeping motions when spraying. Avoid holding the can too close to the hardware, which can cause drips or uneven coverage. Similarly, avoid holding the can too far away, which can cause the paint to dry before it reaches the surface. Additionally, spray at a consistent speed, moving the can steadily back and forth to create a uniform coat of paint. Finally, don’t try to apply too much paint in one coat, as this can also cause drips and uneven coverage. Instead, apply thin, even coats of paint and allow each coat to dry completely before applying another. By following these tips and techniques, you can achieve a beautiful, professional-looking finish when spray painting hardware.
How to Spray Paint Hardware
Troubleshooting Common Issues when Spray Painting Hardware
While spray painting hardware can be a relatively easy and straightforward process, there are common issues that can arise that may cause frustration and require troubleshooting. Some of the most common issues include drips, runs, and uneven coverage. Here are some solutions for fixing these problems:
Drips
Drips occur when too much paint is applied in one area, causing it to drip down the surface of the hardware. To fix this, wait for the paint to dry completely, then gently sand down the drips with fine-grit sandpaper. After sanding, wipe away any dust and debris before applying another thin coat of paint.
Runs
Runs are similar to drips, but they occur when the paint runs down the surface of the hardware, creating streaks or uneven coverage. To fix this, use a clean cloth or paper towel to blot the excess paint, being careful not to smear it. Then, wait for the paint to dry completely before lightly sanding down the affected area and applying another thin coat of paint.
Uneven Coverage
Uneven coverage occurs when the paint is applied too thin in some areas and too thick in others, resulting in a blotchy or uneven finish. To fix this, wait for the paint to dry completely, then lightly sand down the affected areas with fine-grit sandpaper. After sanding, wipe away any dust and debris before applying another thin coat of paint, being sure to apply the paint in smooth, even strokes.
Other Tips
Other tips to avoid these issues include making sure the can is shaken well before use, using a consistent spray speed and distance, and applying thin, even coats of paint. Remember to work in a well-ventilated area and wear gloves and a respirator when using spray paint. With a little bit of troubleshooting and patience, you can achieve a beautiful, professional-looking finish when spray painting hardware.
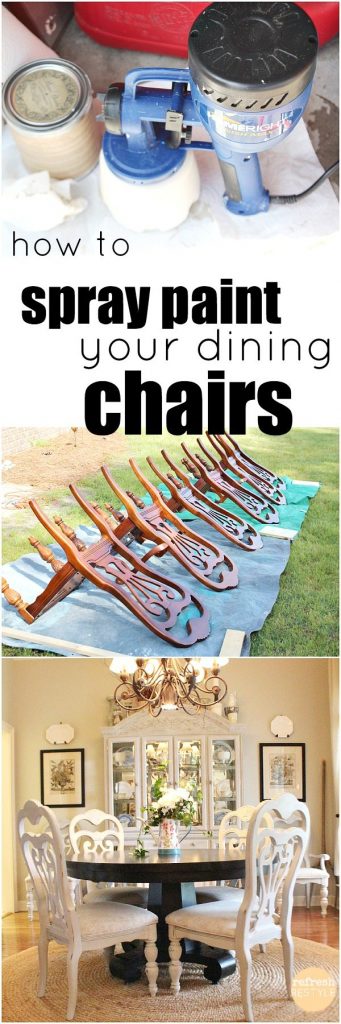
Now see how I spray paint chairs:
Sharing: Home Stories A to Z, Savvy Southern Style
31 Comments
ArchiveGorgeous! Looks better then new :) And the details are darling!!
Yes Please!! Easy directions for the DIY challenged (umm...me!). Thanks!
Debbie, that was a great tip about using a cardboard box while spray painting! The gorgeous pineapple design on the hardware was definitely worth refeshing and reusing!
Would you recommend this technique for hinges? I had searched for some black overlay hinges for my kitchen cabinets with no luck so I ended up buying satin nickel... They look terrible though :( was wondering if they could be painted as there are moving parts.
I have never painted hinges. I would think that with moving parts it would eventually come off. But it sounds like you really don't like what you have and if it were me, I would chance it. I would clean them very well and use a metal primer and follow the paint and primer directions closely. Good luck :)
Yeah, seems about right :) I wish the cabinets had hinge pins like regular doors so that I could paint them separately and then re-assemble. Thanks for the tip. May look into chemical treatments like oxidizing before I try the paint... I'm trying to match some soft iron hardware and not quite sure what treatment would match best :) anyway, love your blog, keep up the awesome posts!
Thank you Candice, please let me know how it goes :) Good luck!
Debbie
Gorgeous Debbie...I love how you spray them in a box too. Great tut, I pinned and boy do people like this one:)
This is a really good tutorial!! You could totally save a lot of money by just making over the hardware instead of buying new hardware!!
I'll definitely be saving this for future use!
These are beautiful! I don't think I would have picked up those handles but you really saw the beauty in them. I love the finished product! Great eye.
Debbie...that makes so much sense to spray them in a box! Geez! I have paint over spray all over my garage. Thanks for the tip.
Thanks for sharing some really great tips! I'll definitely have to give this a try!
Those are beautiful handles! I soak my handles in ammonia and water overnight which removes all of the grime and coatings.. Super easy! Also I stick toothpicks in the handle holes to keep the handles elevated so I can paint it easier... just a couple of tips from me to you ;) - Susan
I have these exact drawer pulls and was planning on using the toothpicks as well. Great minds! ;)
Great tips, Debbie! Love the pineapple, too. :)
xo Heidi
A useful reminder and tips as this is the sort of info I need over the coming months as working on our house renovation project.
Pretty little pulls Debbie - I do like them painted too!
I have a dresser to refinish right now, and I'm probably going to be painting the hardware...so thanks for the tips--yours look great :)
Ah ha I have never sanded the hardware and I think that is the step I am missing. I notice the paint never sticks the way I would like, so thank you for showing us the right way to do this.
I've never seen hardware like that with the pineapple, but I L.O.V.E them! {HUGS} Clydia
Thanks Clydia!
Debbie, that hardware is perfect for an old piece...pineapples are great art anyway! I had an ah-ha moment when you mentioned placing the small items in a box...yeah, love that idea. I must confess, that I've waited months to use spray paint for fear of getting it too thin or too thick. Thanks for this great tutorial.
Helen
Great tutorial! I could have written a post on HOW not to paint it, this is so much better!
Ha ha, thanks Jacque!
Beautiful hardware, especially once you refinished it. It's so much better. That pineapple detail is just darling! Pinned this for future reference. Hoping to get some painting projects done very soon ;)
Love the info, glad to see others putting old beauty back in use! Just a lil tip i have done alot od hardware refinishing, if you poke holes in the same locations as the screws into a piece of sturdy board, run the screws thru from the back & into the hardware just enough to hold it in place & hang them upside down you will be able to spray the whole peice @ 1 time. Also three medium coats work best for a lasting finish.
I have a bedroom set with the pineapple design on the top drawer of each piece. I bought it in 1974 from a North Carolina furniture maker when we were married and it has served us well. I am getting ready to refinish the set and want to thank you for all the tips.
Correction on the name sorry!
I'm gonna have a little true confession right here on your blog........... about 10 years ago I spray painted nightstand hardware right on the nightstand. I was too lazy to find a screwdriver to take the hinges off, so taped them up and sprayed them in place. Yes they looked like schmidt, do as Debbie does, not me!
Nice look in white for those vintage knobs!
Maria
How do you spray paint the front of these without the pull handle sticking to the rest of the hardware while it’s drying? I spray paint hardware similar to these once and I tried to hold the pull handle up with toothpicks but they would either fall down or the spray paint would get smudged. Any tips would help!