June 16, 2026 by Debbie Westbrooks
How to Paint Over Thrift Store Signs for New Decor
Live Videos · DIY · Home Interior
I found three sturdy signs at thrift stores and turned them into blank surfaces for future seasonal projects. With a little sanding and chalk paint, I covered the original sayings and created two black signs and one white sign that will be ready when I start decorating for fall and Christmas.
Look Past the Existing Design
When I’m shopping at a thrift store, I pay more attention to the shape, size, and frame than the words already printed on a sign. Paint gives me the freedom to change that part.
One of my finds had a cute bathroom saying on it, and another had a lovely message about a house full of people I love. The sayings were perfectly fine, but I had other plans for those surfaces. I also found a very large framed sign for $12, and I knew right away that it would make a wonderful Christmas piece.
The smaller signs were inexpensive too. One was $8 and another was $15, which gave me three substantial surfaces for much less than I would expect to pay for new blank signs.
Goodwill and local thrift stores are some of my favorite places to look, especially the shops that support local causes. Dollar General can also have interesting signs and wood pieces that are easy to update. I look for solid construction, pretty frames, and shapes that will work with several decorating styles.
Prepare the Thrift Store Signs
Sand the Original Words
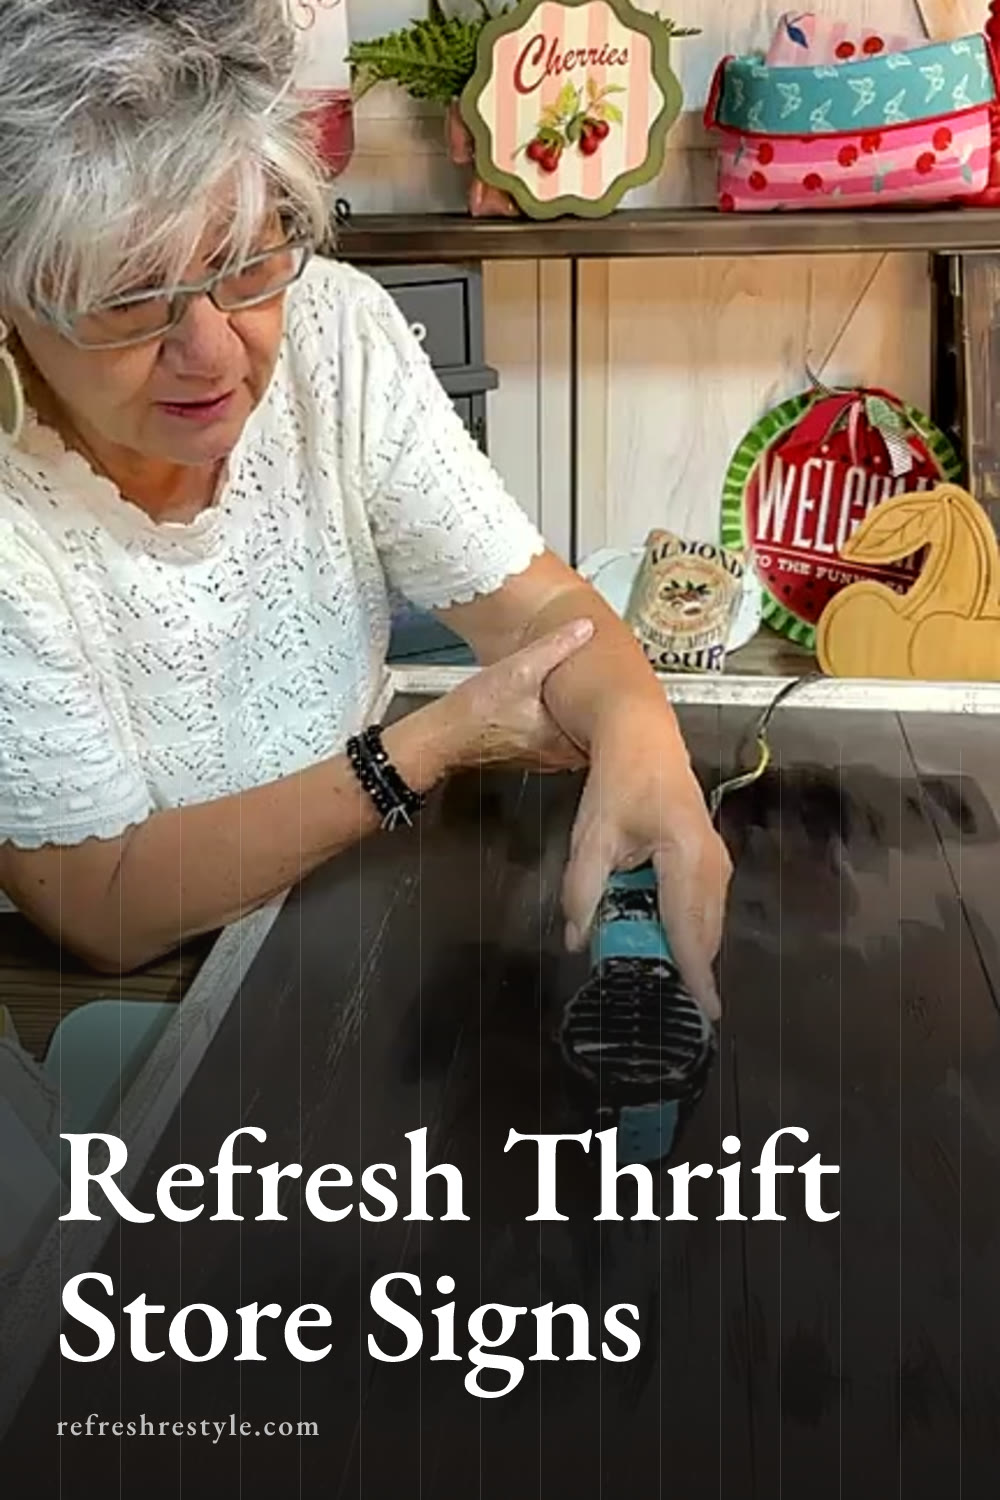
I started by lightly sanding over the existing lettering. Some printed designs feel completely flat, while others have slightly raised letters, glitter, or heavier paint. A quick sanding helps smooth those areas so they won’t show through the new finish.
I used my sander on these larger pieces, but fine grit sandpaper works well when you want more control. After sanding, I removed the dust before I started painting.
If you’re working with a sign that has a paper background, use a light touch. Many inexpensive signs can still be painted, but you want to avoid tearing or roughing up the paper. Check the surface first and sand only the areas that need smoothing.
Protect the Frame When Needed
I painted carefully around the frames because I wanted to keep their original finishes. Painter’s tape can protect the edges if you’re concerned about getting paint on them.
The frames were part of what attracted me to these pieces, so keeping them intact saved time and preserved the details I liked. You could also paint the frame later if a completely different color would work better with your design.
Paint Over Thrift Store Signs
Cover the Lettering First
I like to put my first coat directly over the words. The existing lettering usually needs the most coverage, so starting there gives it an extra layer before I paint the entire surface.
For two of the signs, I used a chalk paint color called Rich Black. The black created a chalkboard look that will work beautifully with fall and Christmas designs. It also gave the signs a fresh background without changing their frames.
I used Adirondack White on the third sign. The darker lettering showed through the first coat, so I added another coat over those areas and continued building the finish until the words were covered.
Chalk paint works well for this kind of project because it dries quickly and gives good coverage. Spray paint can also work, especially on a large, flat surface. I usually skip primer, but spray primer is a quick option if your surface needs it. For a brush on primer, choose a tint close to your final paint color.
Add Thin Coats and Let Them Dry
Several thin coats give me a smoother finish than one heavy coat. I dried the paint between coats during the project, then planned to leave the signs overnight so the finish would have plenty of time to cure.
Paint can look uneven while it’s drying, especially when fresh black paint goes over an older black surface. The color evens out as the coats dry and build coverage.
I also watch for loose paintbrush bristles and small clumps while the paint is wet. Those are easier to remove before the finish dries. If I find a heavy area the next day, I can smooth it with fine grit sandpaper.
Plan Seasonal Designs Later
This project was all about preparing the surfaces. I left the final designs for another day because I want the paint to cure before I add anything else.
For the largest black sign, I’m thinking about adding a wreath along with a Christmas design. Its size will make it a statement piece, and the black background gives me plenty of options. The other signs can become fall decor, Christmas art, or something completely different as my plans come together.
An adjustable easel is handy for displaying finished signs on a bar, table, or counter. I use easels for seasonal pieces because I can move them around and change the display without adding a nail to the wall.
Make One of a Kind Decor on a Budget
Thrifted signs and picture frames are some of my favorite surfaces because each one has its own shape and details. I can also cut paper to fit a photo frame, add a design, and change it whenever the season changes.
The next time you’re thrifting, look beyond the words and pictures already on a piece. A sturdy frame, an interesting wood surface, or a deeply discounted seasonal sign can become the starting point for your own art. Once the fresh paint has cured, you’ll have a prepared surface ready for the design that fits your home.
Chalk Couture supplies
Browse Chalk Couture Chalkology Paste, or shop my full store here.
I am an independent Chalk Couture designer, so I earn a commission on these links. See my disclosure for more.