
DIY SERVING TRAY MAKEOVER
Hey friends, it’s Thrift Store Decor day! One of my favorite days of the month. Today, I’m sharing this sad two legged wood display, it was easy to transform it in to a DIY Serving Tray. Be sure to visit all the other awesome and thrifty ideas at the end of the post! 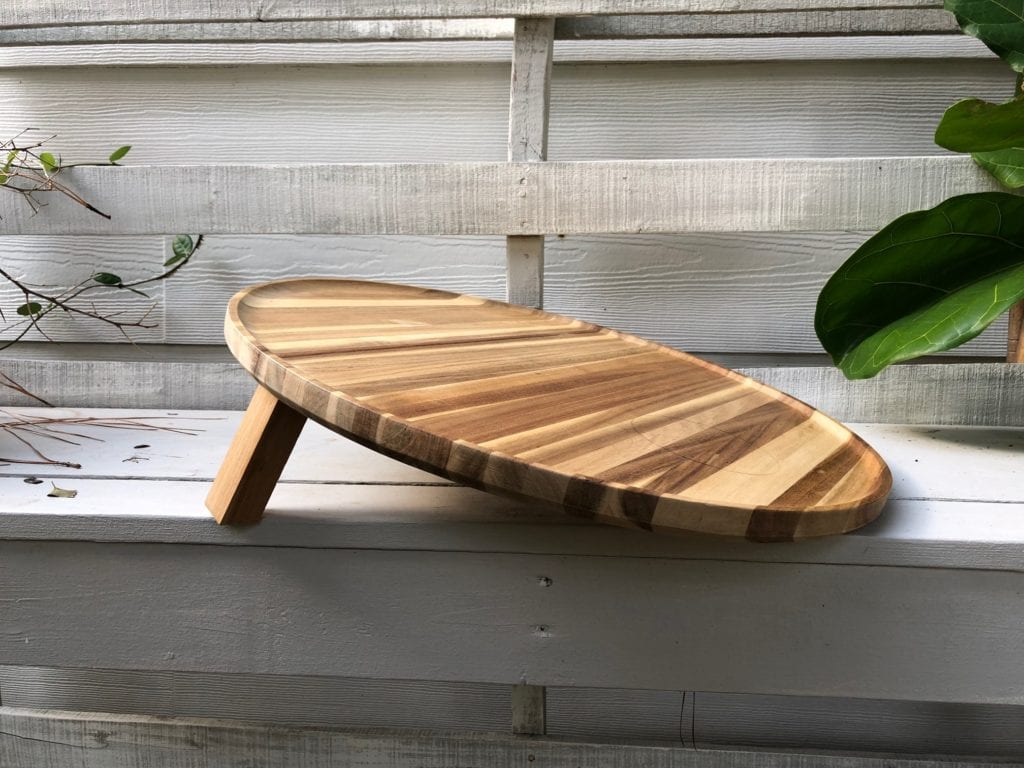 The round tray was missing a leg and had a water ring on the top.
 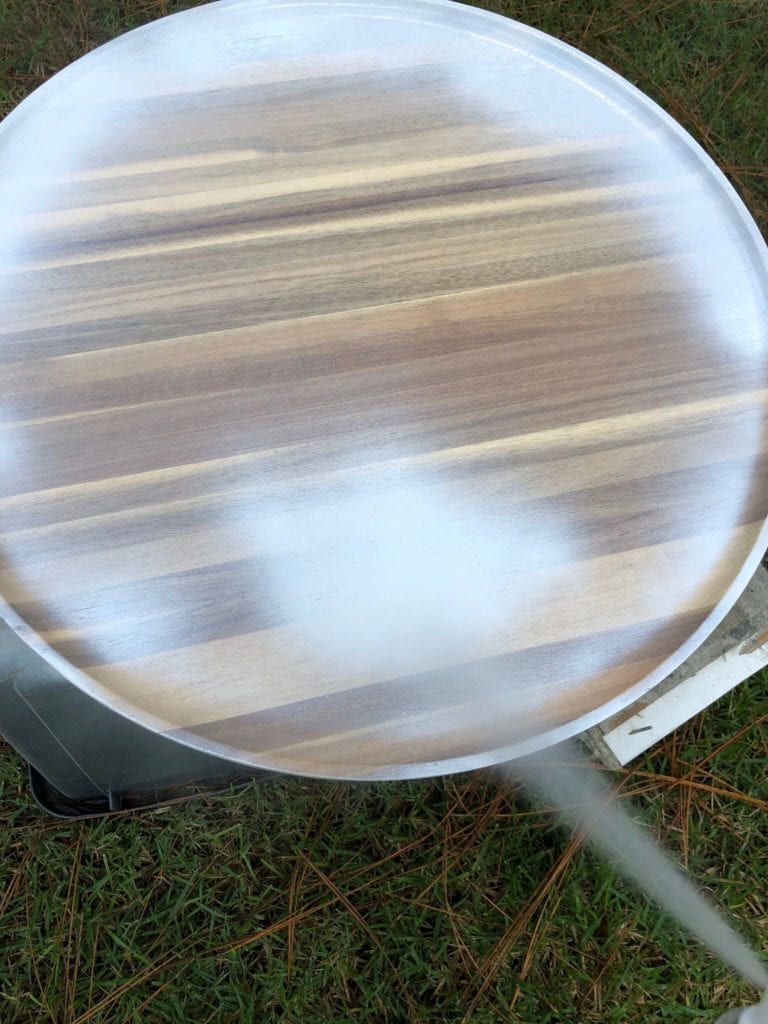 Spray paint is always a great idea! Or at least that’s what I think! I used Rust-oleum and the color is Satin Heirloom White. It’s one of my favorite colors to use. It’s light and bright and not as stark as white.
 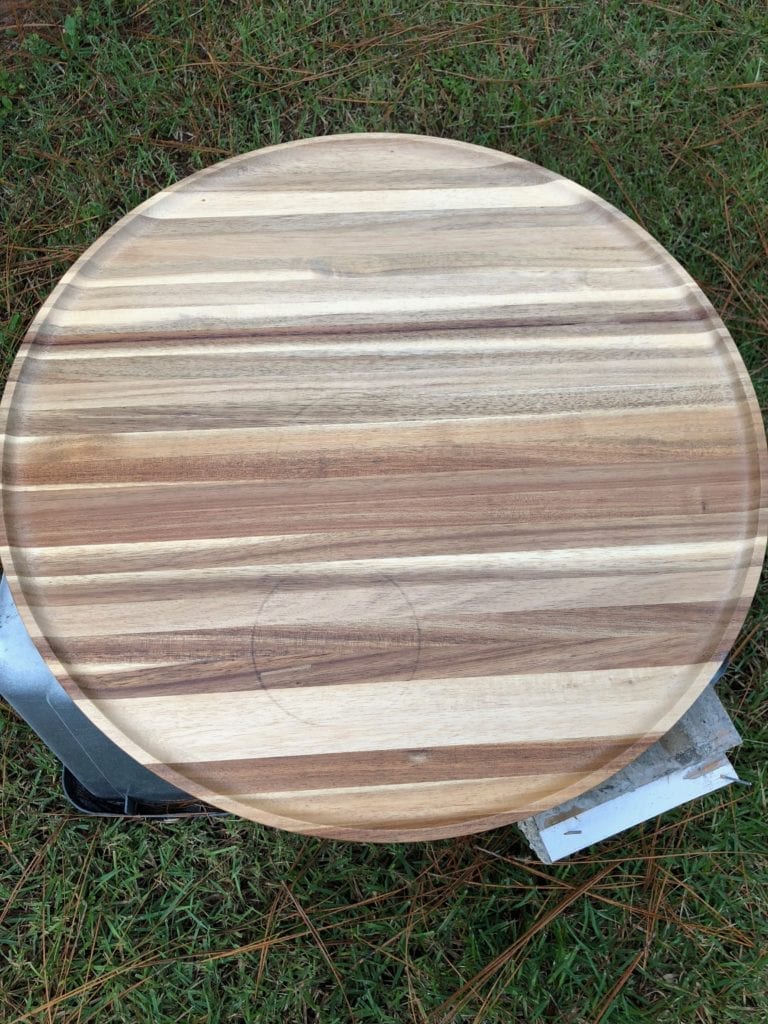 This is a large piece, perfect for serving just about anything. It’s great for placing on my ottoman. There have been a lot of tipsy drinks teetered on the ottoman, this makes me so happy to have a large flat surface for drinks.
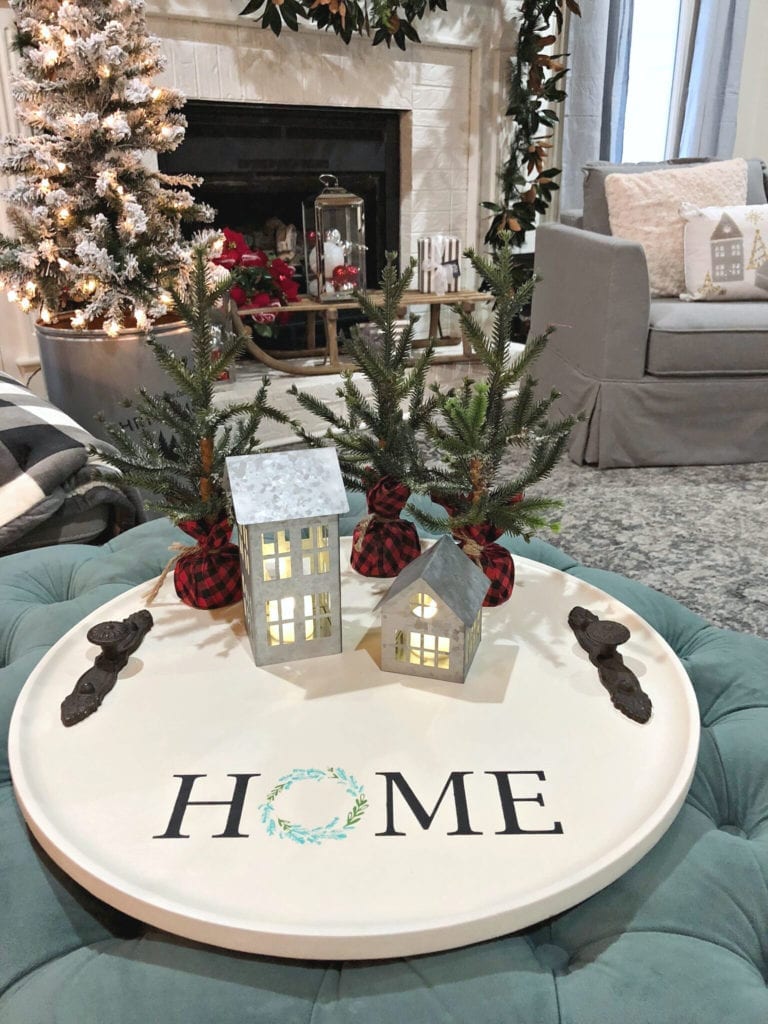
 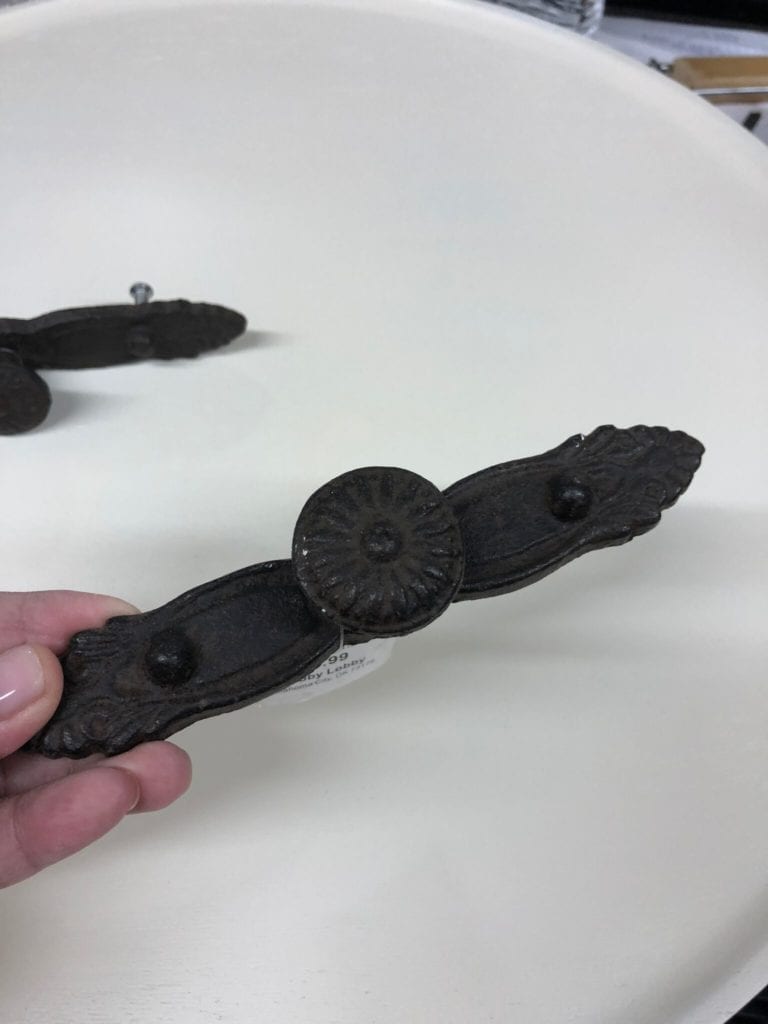 These pulls are from my stash! They are large and in charge on this serving tray. They felt like they were free, hehehehe, there’s no telling how long I’ve had them. They were originally purchased at Hobby Lobby at 50% off, of course.
 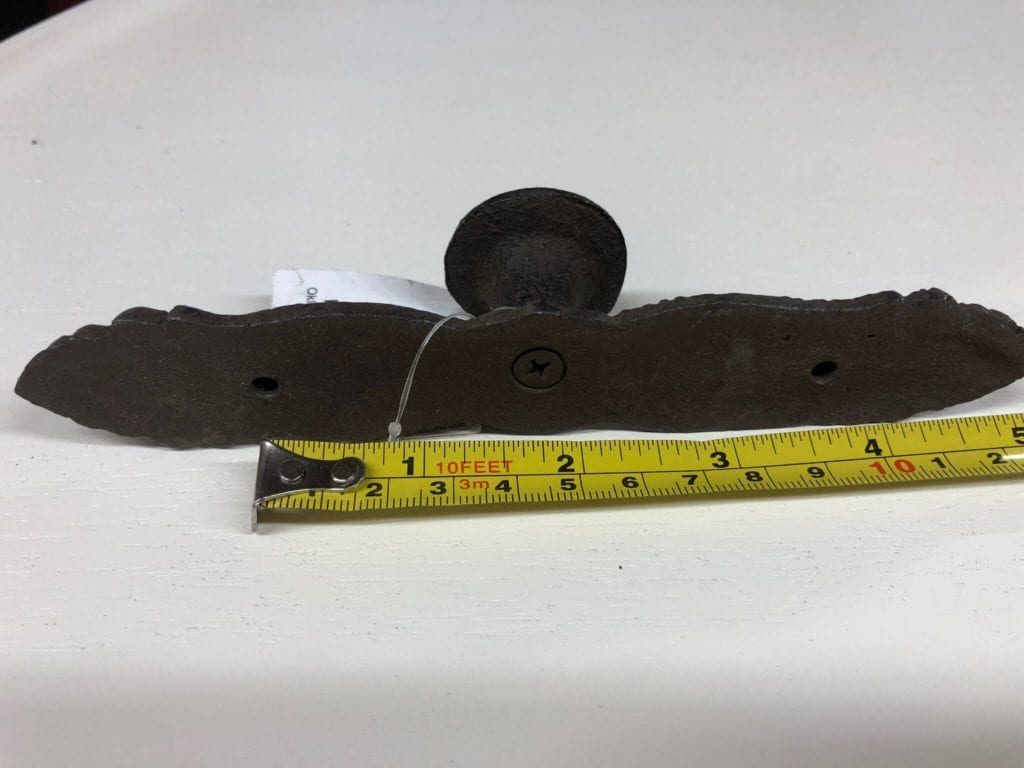 They were perfect, I measured the distance between the holes so I could use my Ryobi drill and a 1/4” bit to drill the holes and guess what, they lined up perfectly. Honestly, I’m not the best at measuring, let’s celebrate this little victory!
 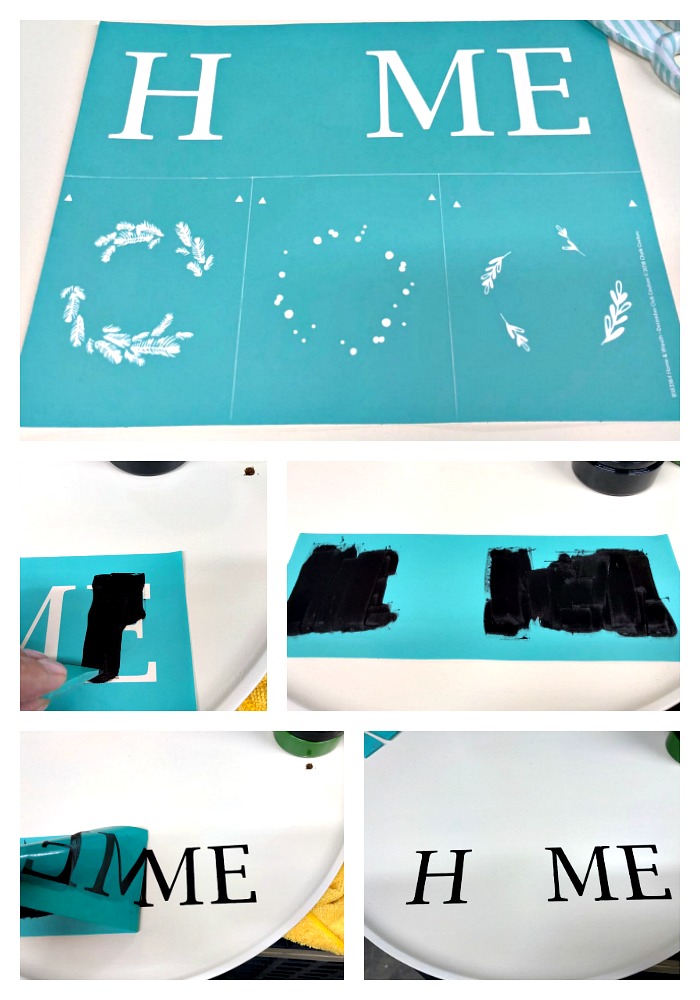 For the stencil/transfer (link is in the directions), I chose the word Home. I applied the transfer and placed the chalk paste over the silk screen area and cleaned the transfer in cold water in my sink. Now it’s clean and ready for the next use.
 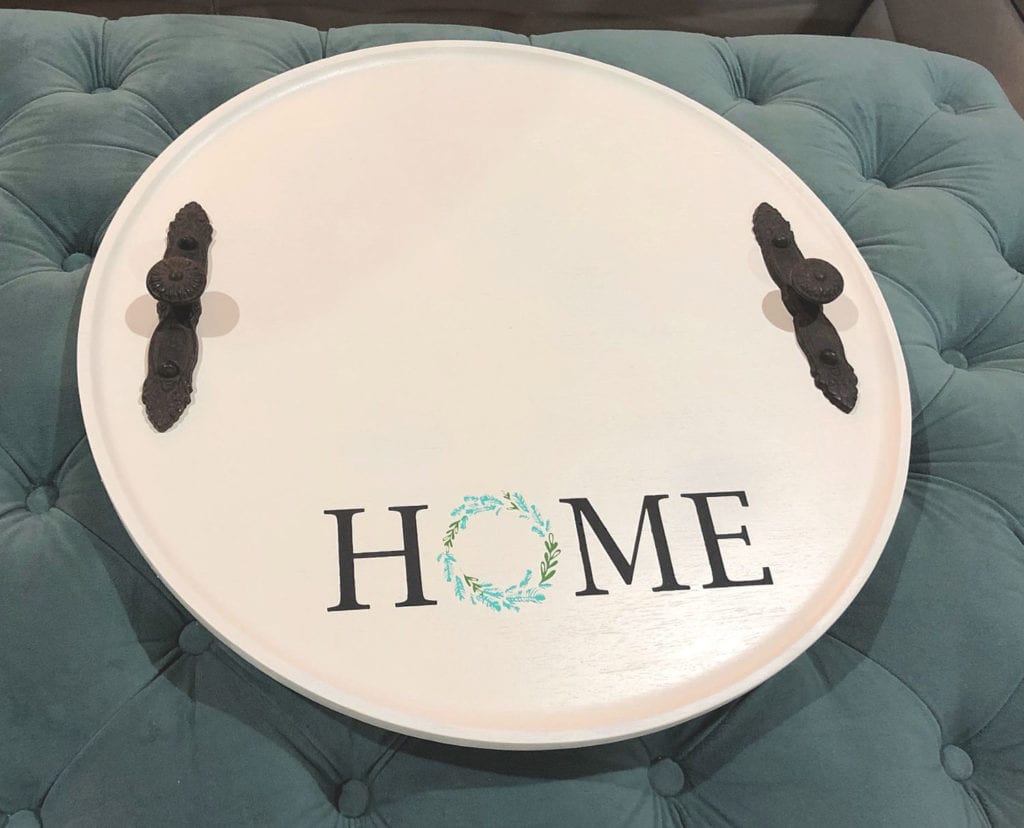 Murphy loves the new tray. She just needs another cup of coffee.
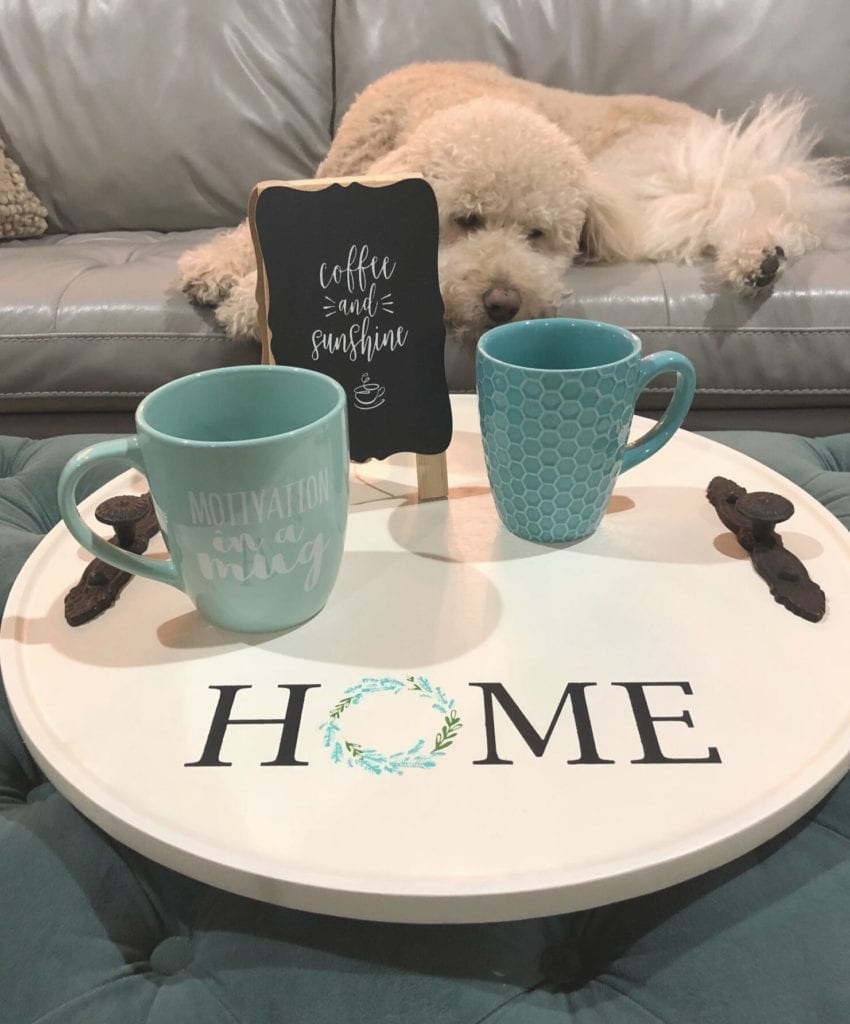
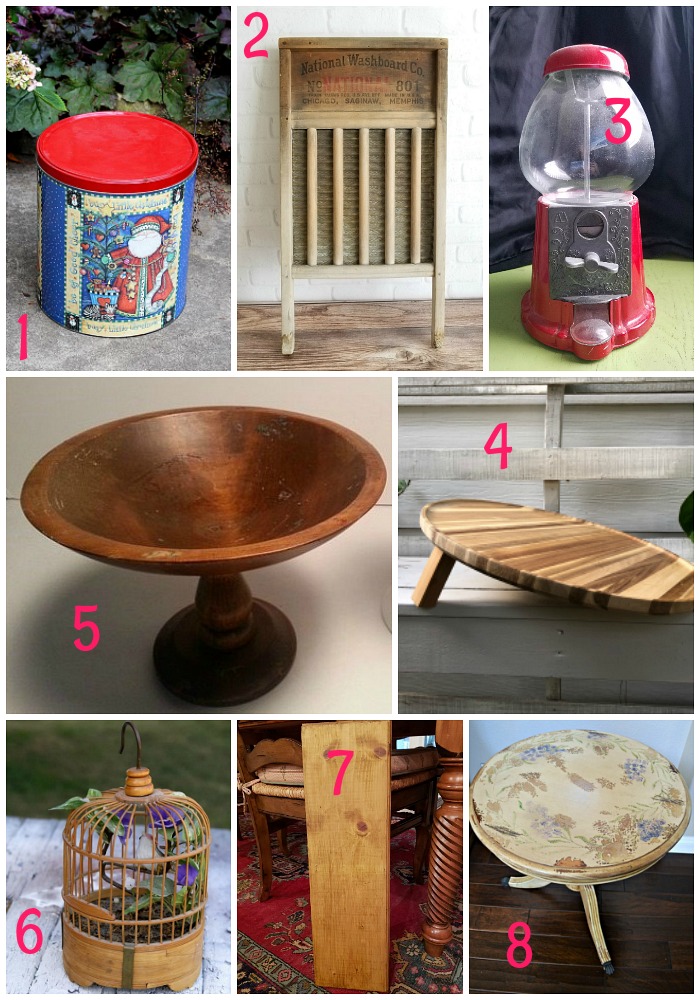
1. Mid Century Plant Stand DIY
2. Laundry Room Decor and Lost Sock Holder
3. Winter Wonderland Gumball Machine
4. Pedestal Bowl Stipple Paint Technique
6. Bird Cage Winter Snow Scene
MORE DIY MAKEOVERS: THRIFT STORE TRAY MAKEOVER RECYCLED CIGAR BOX FOAM PUMPKINS MAKEOVER
10 Comments
ArchiveThat is such a cute stencil! Love all their stencils actually, I don't think I've ever seen one I DIDN'T want!
Thanks Pam!! I feel the same way :)
First of all I want to say terrific blog! I had a
quick question which I'd like to ask if you don't mind.
I was curious to know how you center yourself and clear your thoughts before writing.
I have had a difficult time clearing my
thoughts in getting my ideas out. I truly do enjoy writing but
it just seems like the first 10 to 15 minutes are usually lost simply just trying
to figure out how to begin. Any suggestions or hints?
Many thanks!
I love how this turned out! Perfect shape for a tray!
Thank you Christy, that ottoman really needed this!
So cute! Totally agree, spray paint is always a great idea!
This turned out so great and the pup is adorable!
What a great idea! Love it's new look, and purpose. Perfect for sitting your drinks on.
I love trays of any kind! That one is beautiful and will look great all year round!
Love the tray and we are certainly a pair......Heirloom Satin is the best!