Details of the painted cabinets in the farmhouse cottage.
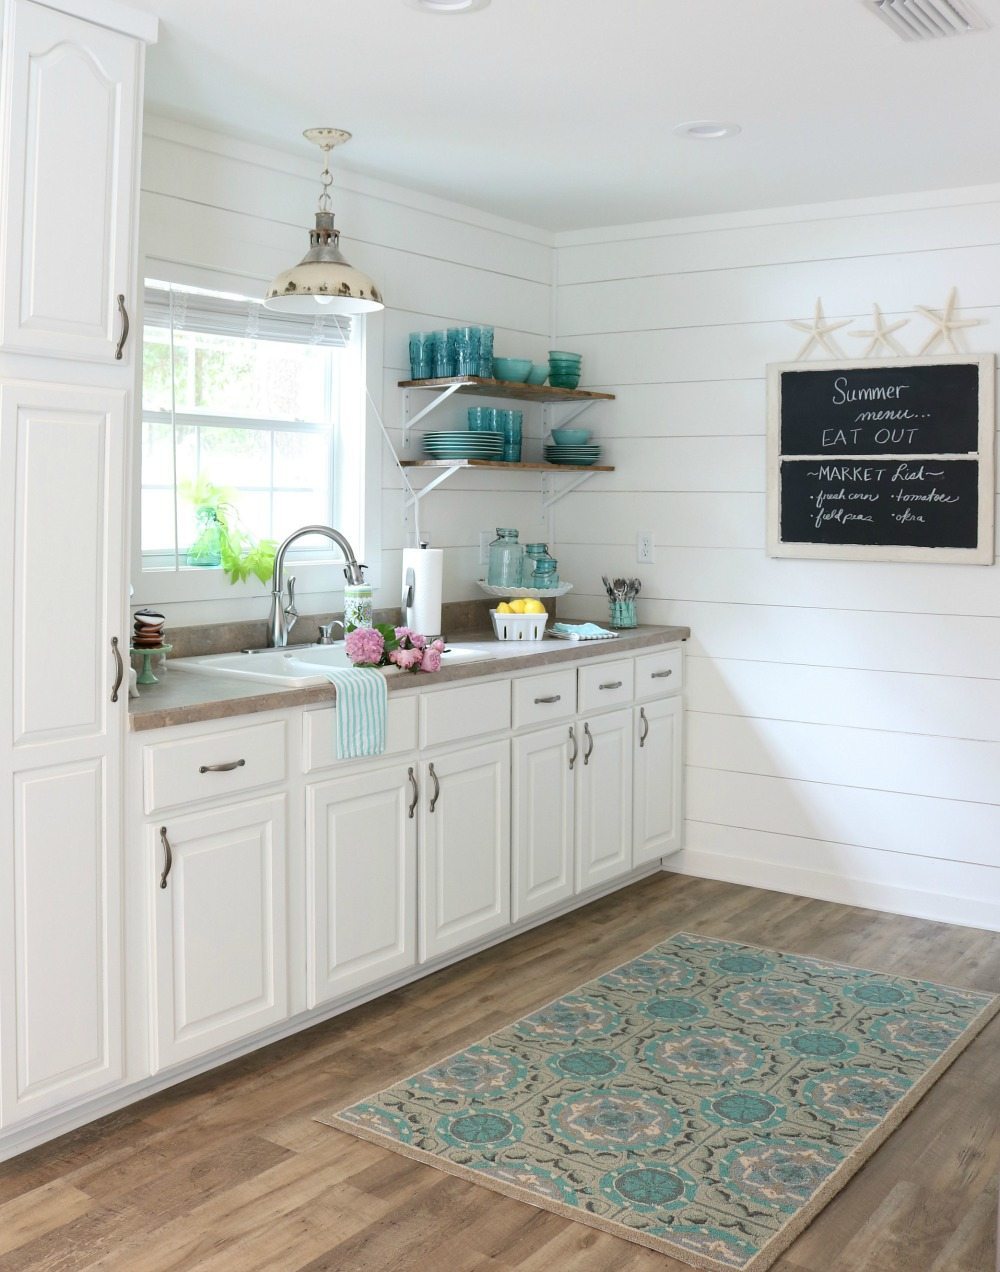
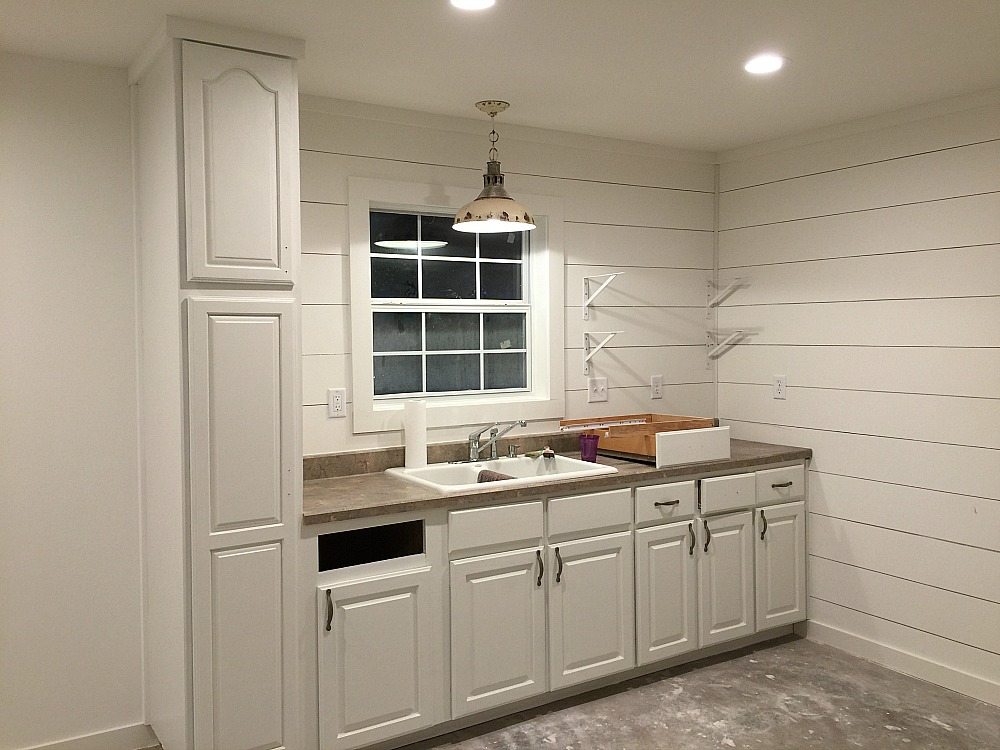
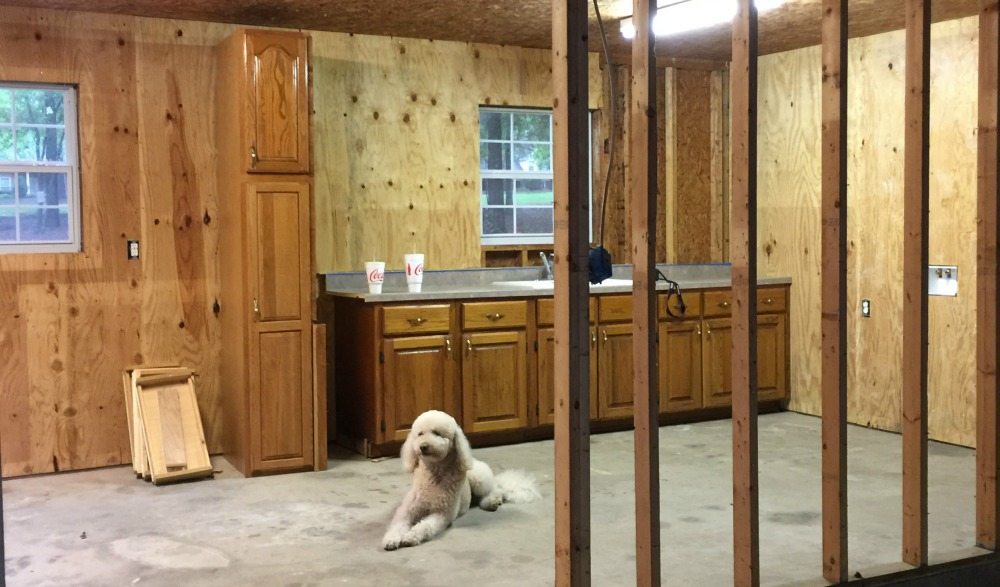
There are people that love white painted cabinets and there are some that don’t. Believe me, I hear about it all the time, especially on Facebook. I do think that you’ll all agree, these painted cabinets look much better than the original.
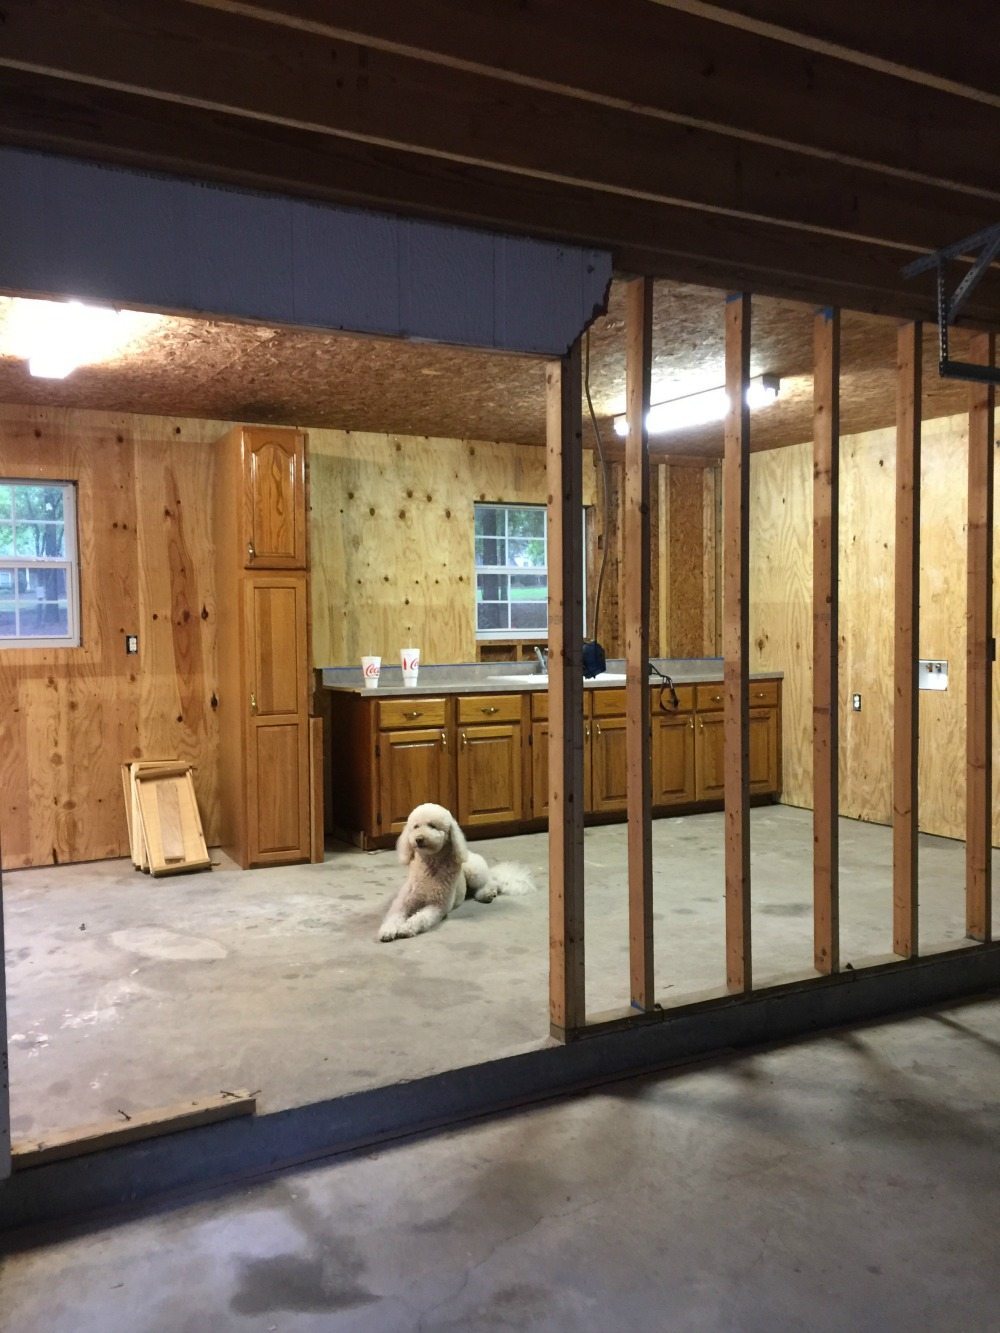
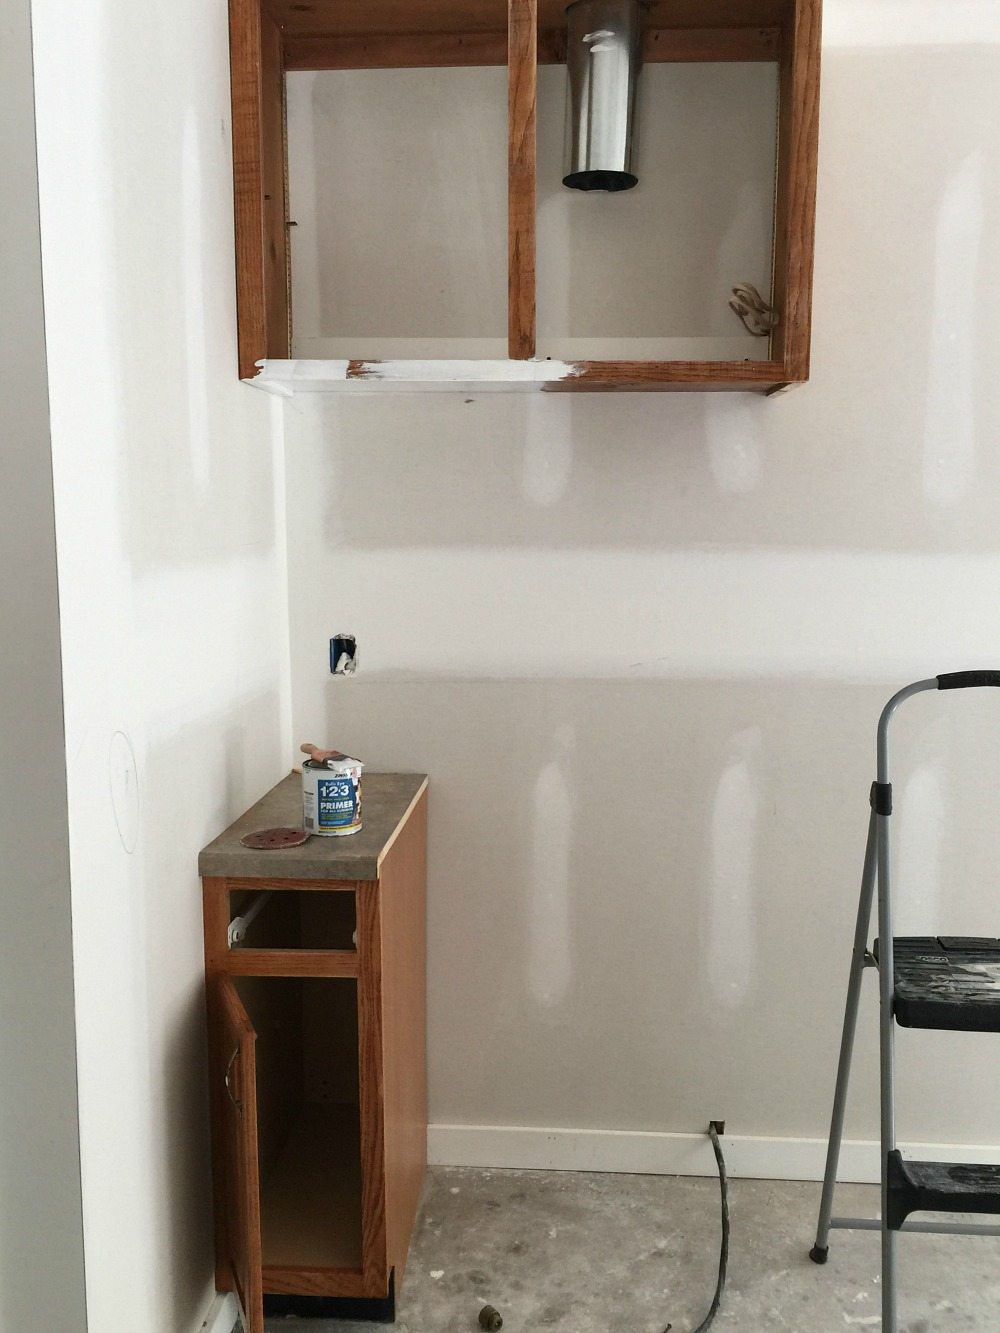
Farmhouse cottage cabinets before:
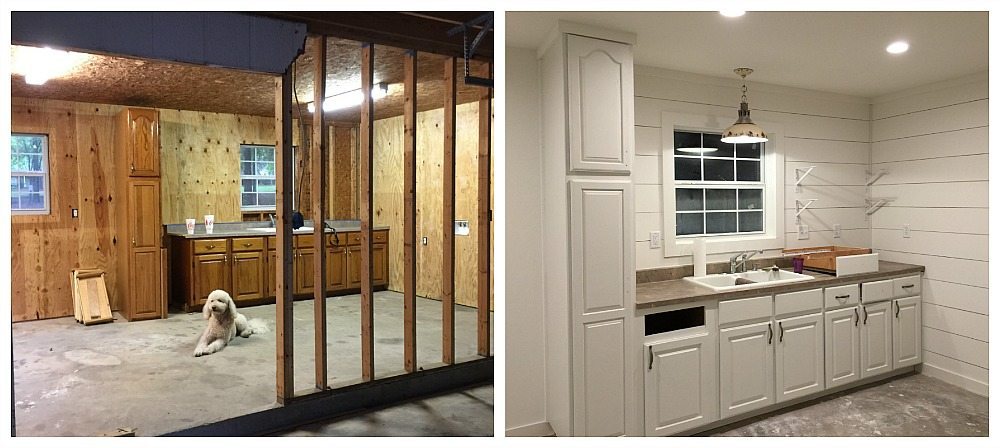
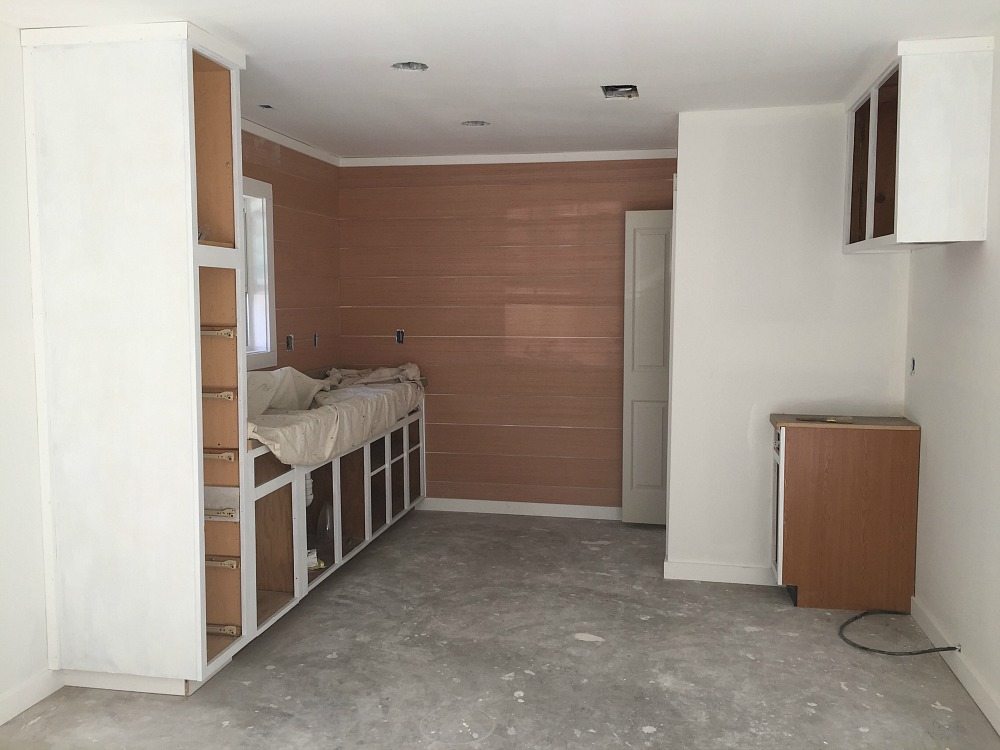
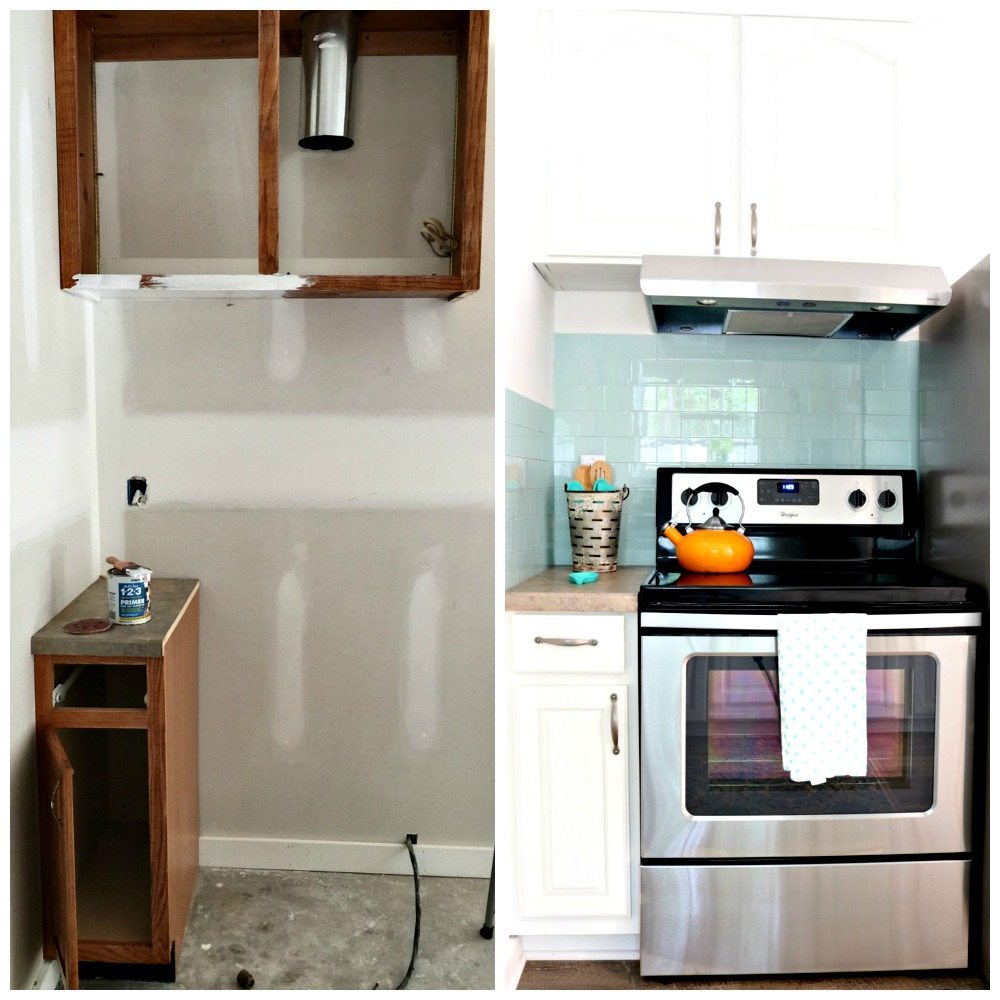
We ended up moving one more cabinet out and relocated a smaller one over to the oven wall. I was concerned about having enough space in the living room. Here’s a side by side of before and during:
I am listing the steps and products used for priming and painting the cabinets. We hired out 99% of the farmhouse cottage makeover but this is one thing that I knew I could do.
Supplies:
- Screw driver/drill
- sandwich bags
- sand paper 120-220 grit
- sander
- cleaner – degreaser – you can use warm water and vinegar
- Purdy paint brush
- Roller and roller cover for cabinets
- primer – I used Kilz
- paint – I used Sherwin William Pro Classic and the color is Alabaster
- drop cloth
Steps:
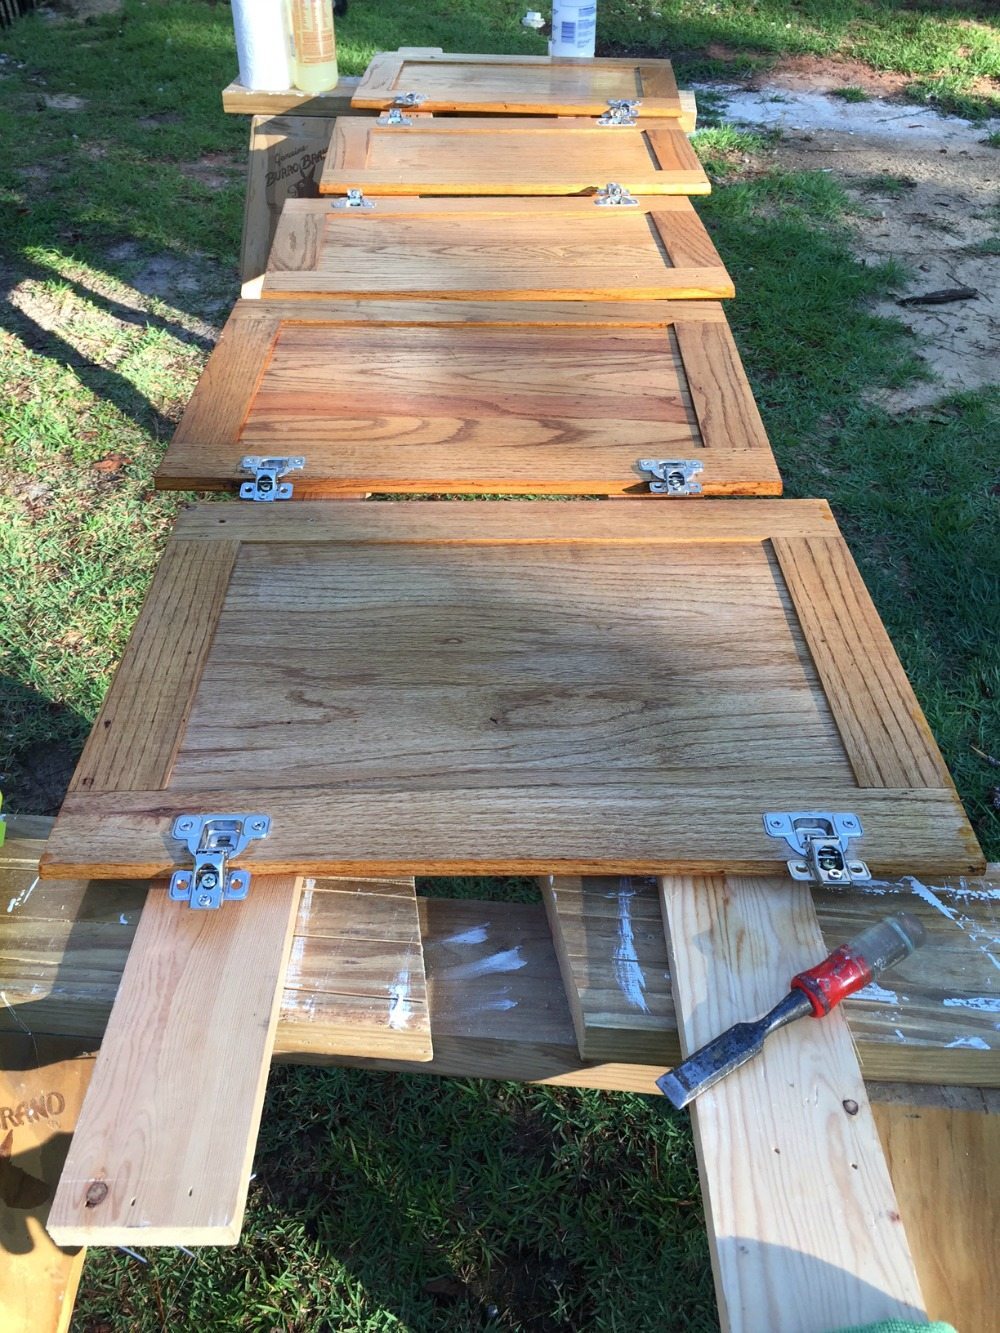
- Using a screw driver remove cabinet doors and drawers.
- Remove hardware – label and store in sandwich bags
- Place your drop cloth to protect the work area.
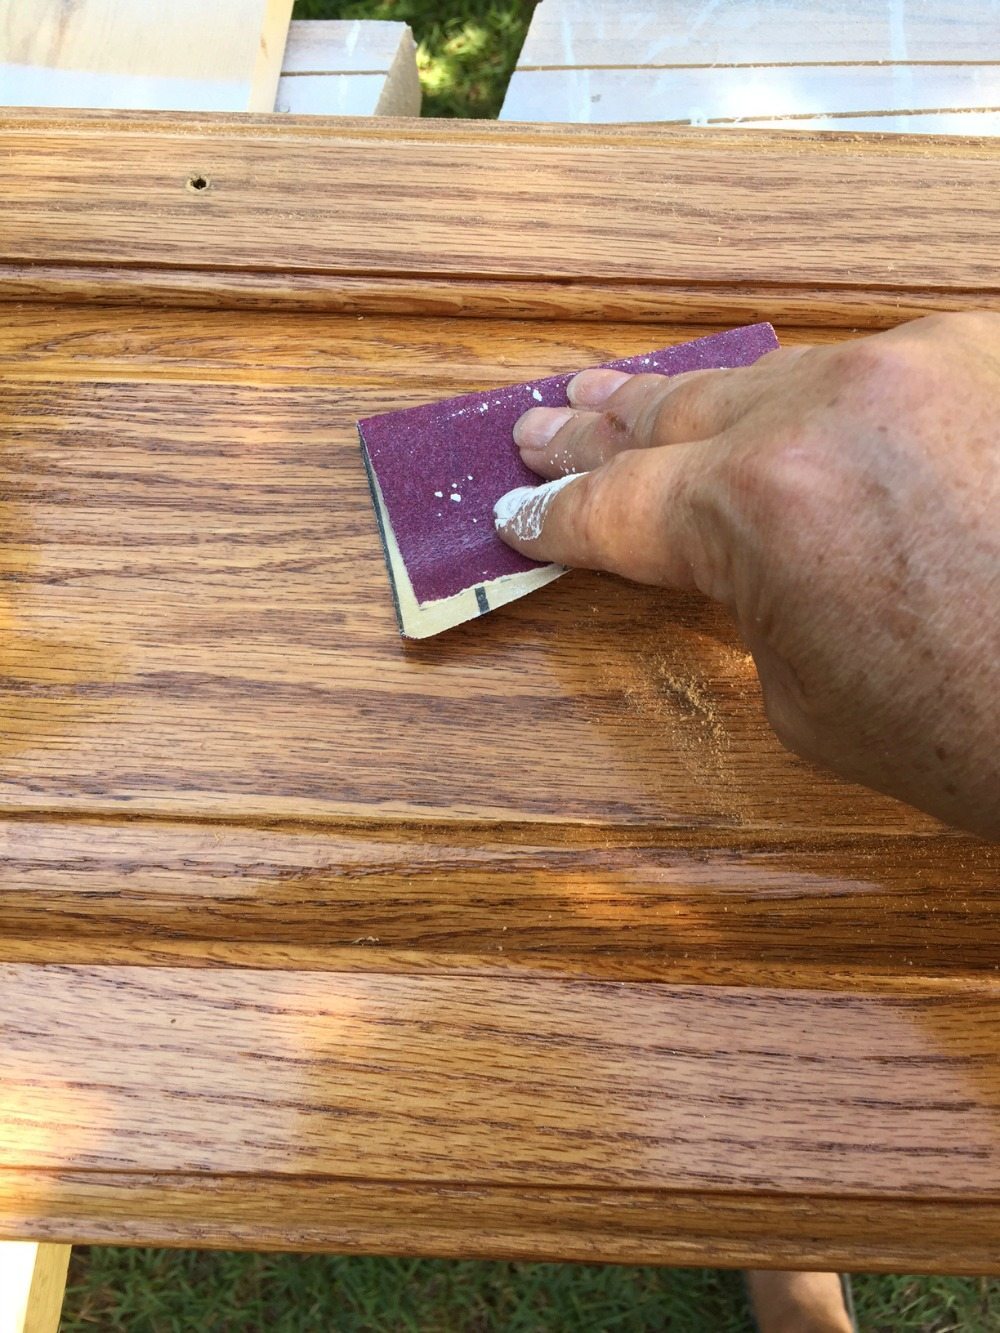
- Sand the cabinet base and the doors and drawers with 120 grit sand paper.
- Clean the cabinet base and doors to remove dirt and debris.
- Make sure the surface to be painted is dry.
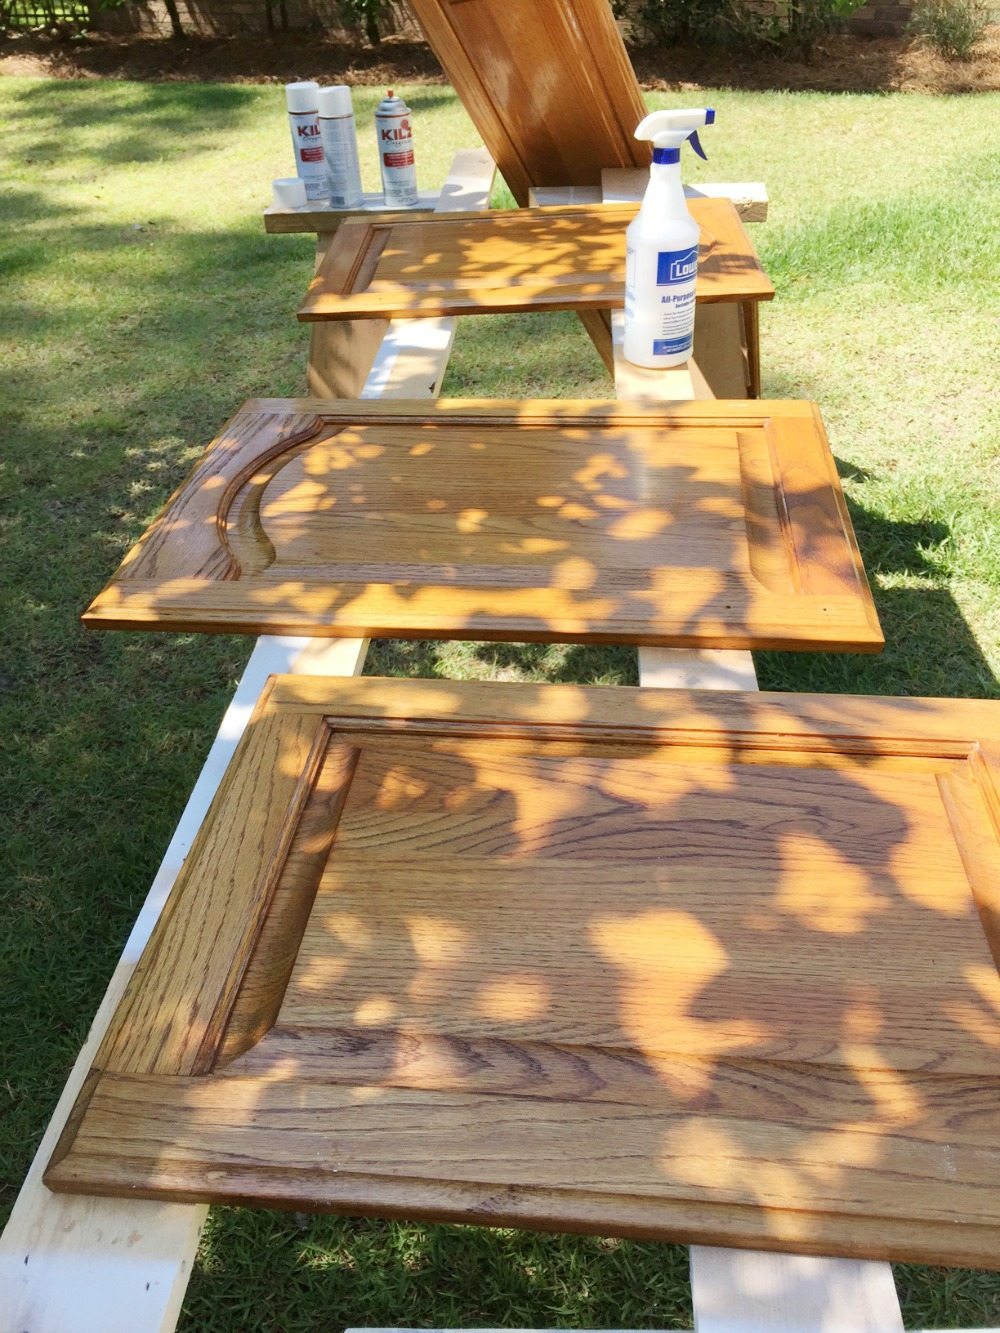
- Apply 1 – 2 coats of primer. I used Kilz spray primer for the doors and drawers. Roll, brush primer on to the base of the cabinets. Allow primer to dry between coats – follow instructions listed on the can.
- Sand between coats with 220 grit sand paper. Use a dry brush to brush debris off the cabinet doors, drawers, base. You can also use a tack cloth. Just make sure the dust is removed before applying any more coats of paint or primer.
- Apply paint, 2 coats. Allowing plenty of time to dry between coats.
- Attach cabinets and drawers to cabinet base.
- Attach hardware.
Tips: This was the first time that I tried Kilz in the spray can for a primer on the doors and drawers. It worked really well and help speed up the process. Inside for the base I just brushed and rolled it on.
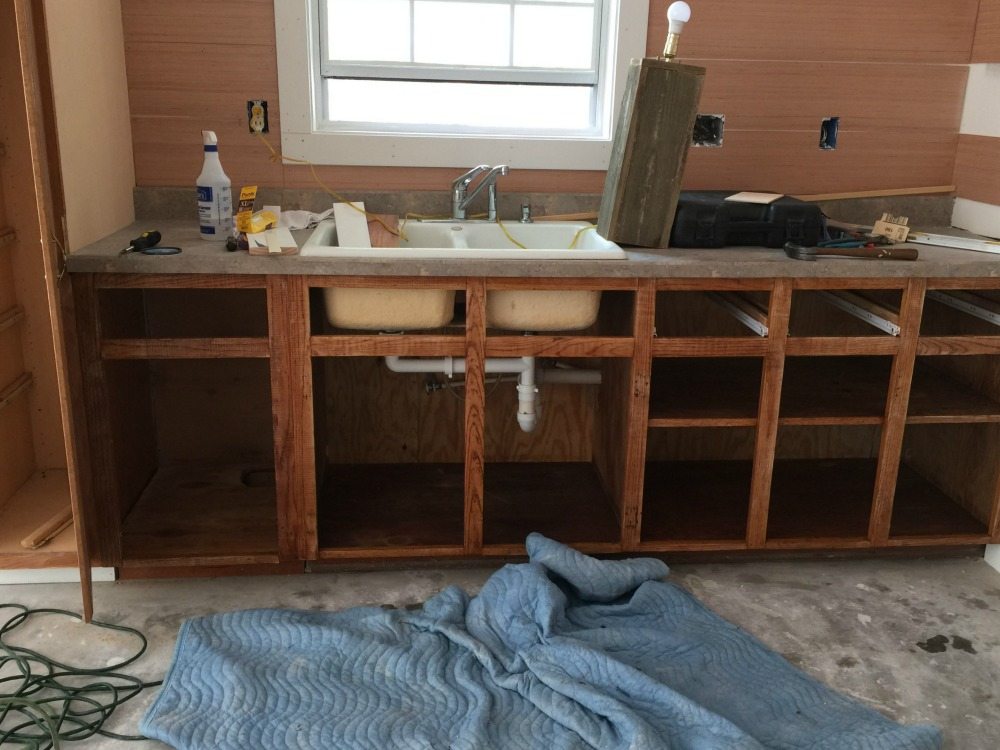
I scrubbed the base of the cabinets really well, I’m not sure how old they were but they were pretty dirty.
The night before I started painting the doors and drawers, I prepped and primed the base and primed it. The next day I started prepping the doors and drawers. After I had one coat of primer on them, I painted the base of the cabinets. Going back and forth between the base and doors and drawers gave each area time to dry between coats and helped speed up the process.
Sand in the direction of the grain.
Clean and remove hardware.
Prime and paint.
I set up saw horses and scrap wood to spread the doors out between them. Be sure to wait until they are completely dry before flipping.
I used new hardware but it fit in the same area as the old. If you’re going to change hardware and the holes don’t match up, you will need to fill the holes with wood filler and sand before painting.
We debated changing out the countertop and sink but in the end we re-used what was there. I did a lot work at night trying to get the kitchen complete.
Mama moved in several months ago and the cabinets look great. It’s hard to believe the way they started out:
See more of the cottage here:
Farmhouse Cottage Living Room
Farmhouse Cottage Kitchen
Farmhouse Cottage Plans
My advice for painting cabinets:
Be patient, don’t rush the drying process. Inspect each door and drawer, watch out for runs and drips, take care of those as they happen. It’s time consuming and tiring but so worth the effort! Don’t wait, paint your cabinets 😉
If you have any questions, please ask in the comments.
More cabinets that we painted:
Dover White Kitchen Cabinets


Great job and smart to re-use the counter!
Perfect timing! I am gearing up to take this project on! Thanks for the great suggestions! laura
What a bright and cheery kitchen, I would love when I get older to have such a place. Just love what you have done with the whole place. You’re a good daughter.
Looks fantastic , great job x.
Too many people have too much to say but need to remember the old saying ” Nothing nice to say then say nothing “
Love the cabinets and your step by step instructions. I have wanted to paint my oaks since I moved in 5 years ago. I’m 66, widowed and still working 5 hours a day so I just wonder if I have enough in me to do the work. You inspire me! Thanks for sharing such great details.
Thanks so much!
The naysayers booooo. I think they look fabulous. Also, cute fog. Is it a goldendoodle?
They look wonderful! Question, though: what if your cabinets have already been painted..? Do you need primer them again? I was just planning to de-gloss the finish and rinse, and have at it.
Hi Linda, I would lightly sand/de-gloss and paint. As long as the previous paint job is holding up well. The only reason that I would prime is if the old paint is a dark color! Thanks 🙂
Debbie: LOVE this kitchen and the one in your main house! Beautiful!!!
Question for you: where did you get the rug in your mom’s kitchen? Thanks.
Linda: I had to prime my painted cabinets because I wanted to use latex paint (easier cleanup) over the old oil-based paint. Did sand/de-gloss a bit as well.
I have two kitchens. One in bright white the other in gunmetal gray, and love both of them. Your kitchen looks great! hate painting cabinets with a passion so this time hired it done. BIG mistake. Never again. Keep up the good work and enjoy your blog.
Thanks Connie!