Shabby Dresser
Easy DIY with Annie Sloan Chalk Paint
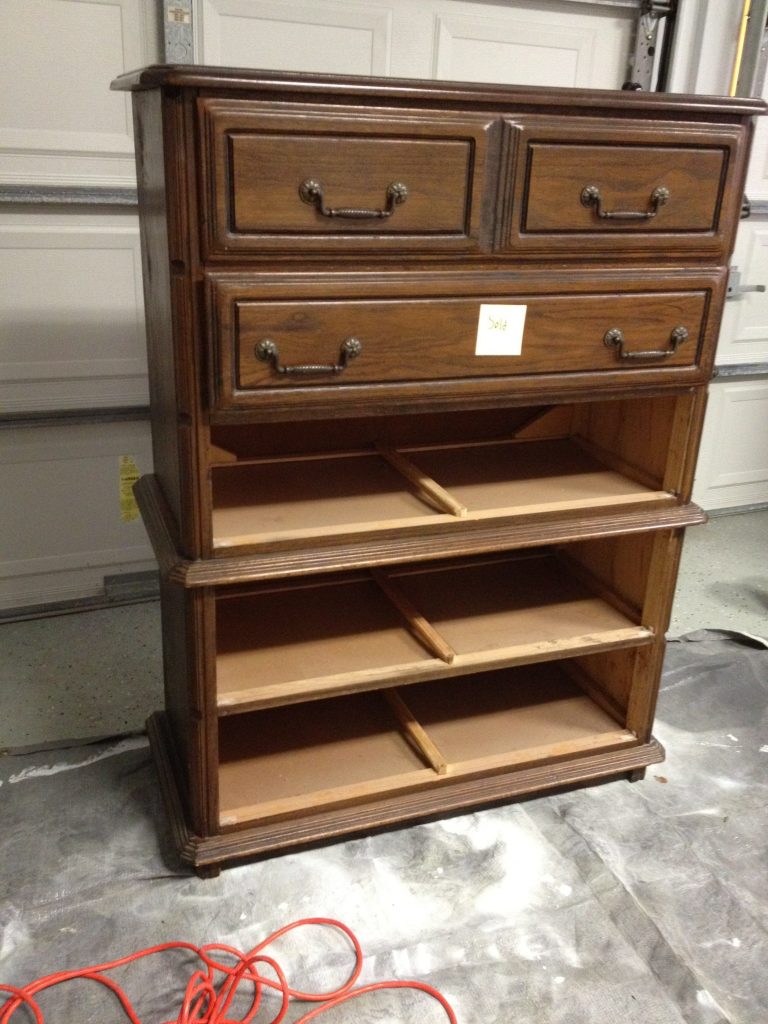
This piece was in great condition and it was all wood. It just had a dated look.
Once again I was overcome with excitement and this is my only before picture 😉 (Contains Affiliate Links)
Steps to create this look:
- Remove the drawers
- Remove your hardware.
- Clean your piece with a degreaser or mixture of vinegar/warm water and clean the hardware if you’re re-using it.
- Paint your piece with one or two coats of Annie Sloan Chalk Paint, or other chalk paint. Let each coat dry in between. I love using the Purdy cub paint brush.
- After the piece dried, I used a damp cloth to wipe away paint in areas where I wanted to piece to look worn or distressed. This is called wet distressing.
- After the piece is dry, use a lint free cloth to apply a clear wax. You can stop right here or you can buff to create a slight sheen.
- Apply rub n buff with a lint free cloth to your hardware. Buff, let dry and attach on to your drawers.
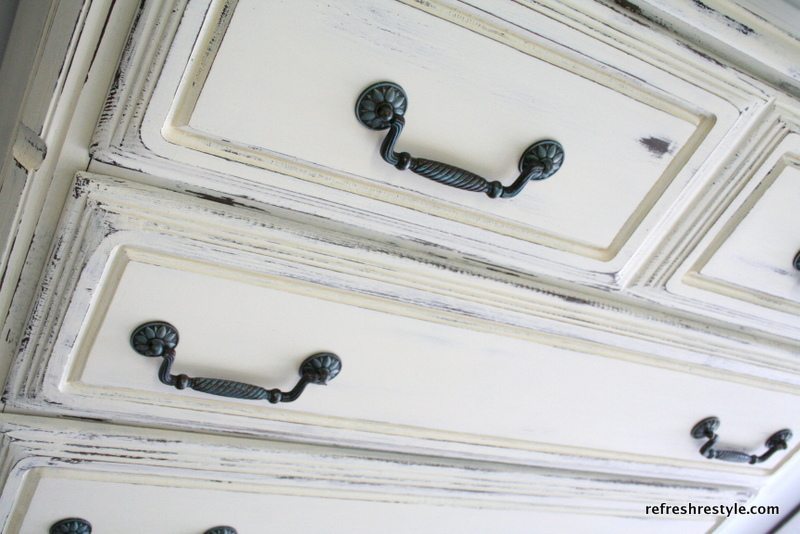
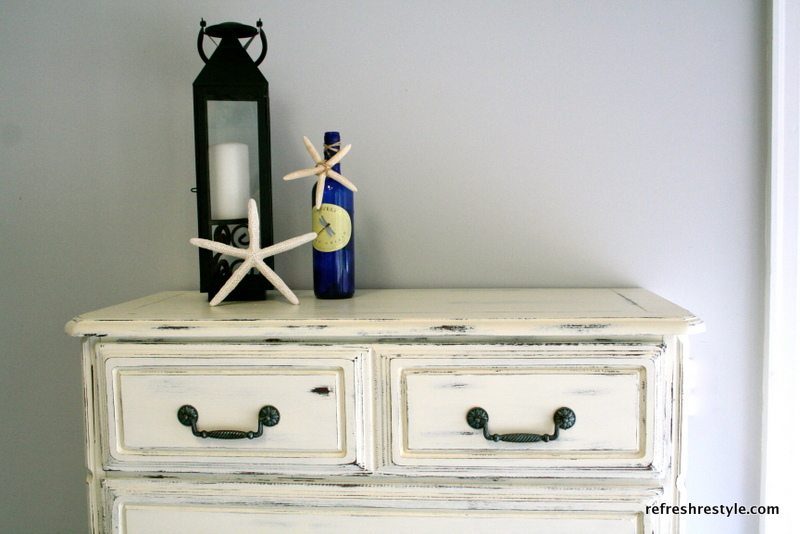
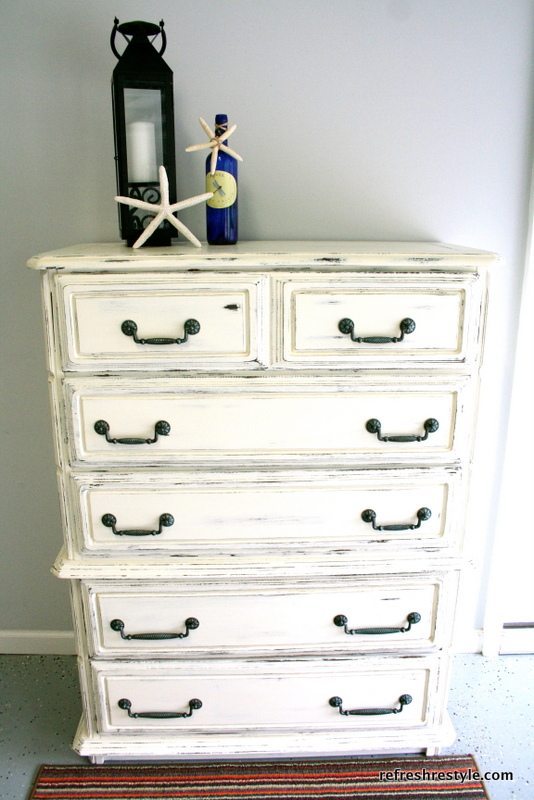
I painted it all over with Annie Sloan Old White Chalk Paint.
I always use a Purdy paint brush, you never have to worry about
the bristles coming out! They are awesome!
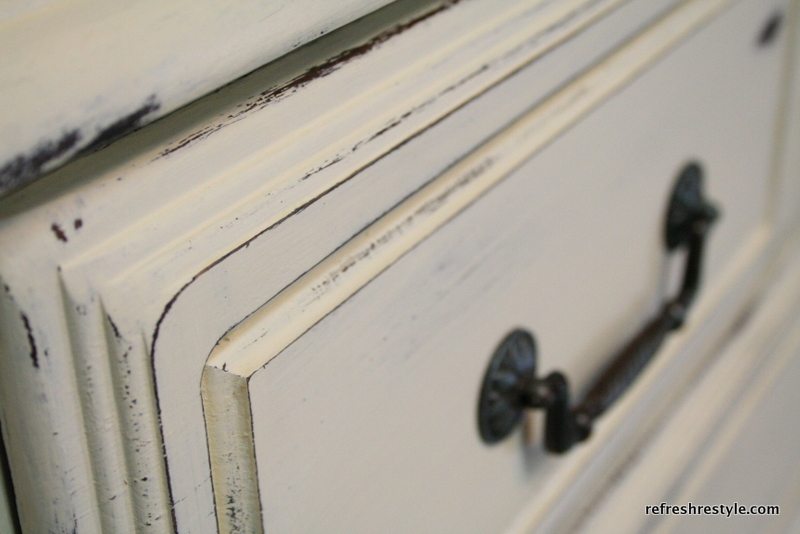
How many times have I said how much I love being able to distress with a wet cloth?
I may have to quit saying it, I don’t want you to get sick of it.
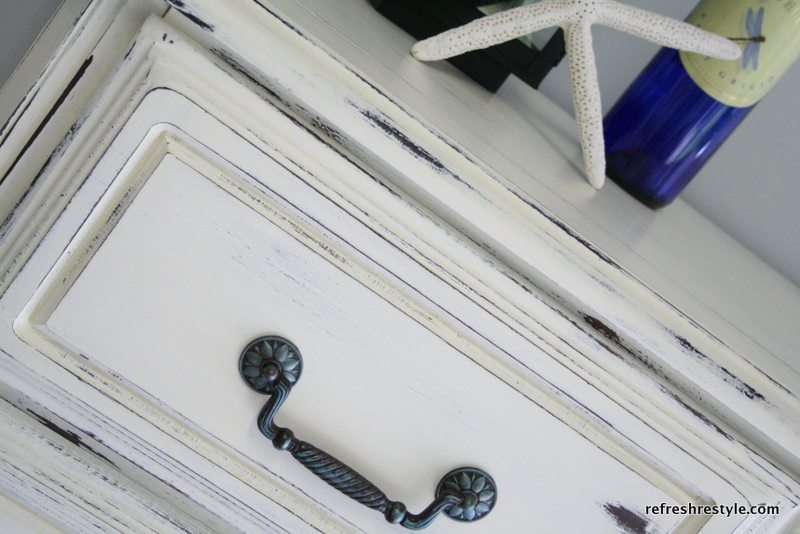
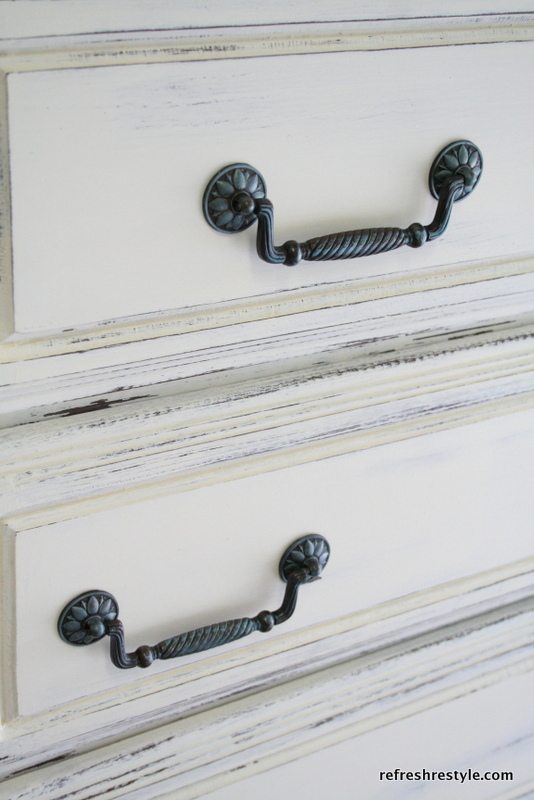
I loved the shape of the handles, to dress them up a little,
I applied Rub ‘n Buff in Turquoise.
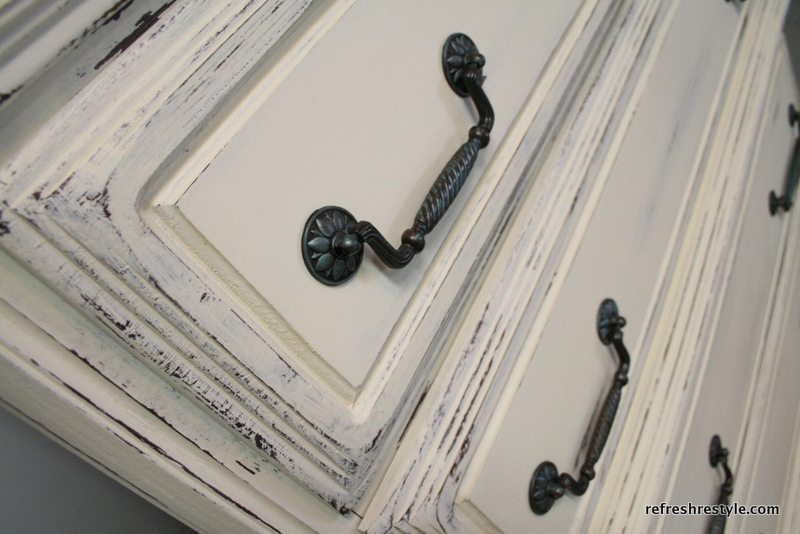
Don’t you just love being able to reuse the hardware!
A few more close-ups.
The beachy cutie turned out looking good, and she already sold 🙂
See more about wet distressing and more painting ideas:

so beautiful! What kind/size of Purdy brush do you use? I have not found a brush that doesn’t lose bristles.
You always do such a beautiful job. I would like to distress using a wet rag but need some direction! Thanks so much for all you share.
This looks awesome!! You did a great job on this dresser. Isn’t it fun to bring an old piece back to life, better than ever??
Thanks so much for joining Grace at Home!
So cute!! It has a breezy beachy feel to it now. Love it, great work!
This piece turned out fabulous! I always ignore this style but now I will take a 2nd look!
Wow, it turned out to be gorgeous! I guess I need that “vision” that so many have. Two questions please ~
1. How do you do the distressing with a wet cloth? LOVE the idea.
2.Where did you find the turquoise rub ‘n buff?
Thanks a million!
Pat
Wow, it turned out to be gorgeous! I guess I need that “vision” that so many have. Two questions please ~
1. How do you do the distressing with a wet cloth? LOVE the idea.
2.Where did you find the turquoise rub ‘n buff?
Thanks a million!
Pat
Oh my goodness what a beautiful transformation!
LOVE this dresser makeover!! Looks amazing 🙂
love what you did….it looks gorgeous !
You sure are perfecting this Debbie! Looks fantastic.
Nice to meet you Debbie! This piece is so beautiful. I’m a new subscriber!
Deb @LakeGirlPaints
I didn’t like anything about that dresser till you were finished with it. I haven’t your eye for treasures. Now I like everything about it including the hardware! You’re good!
Looks beautiful! I love using original hardware when possible. I’ll have to try this turquoise rub n buff! Didn’t know it existed. Thanks for sharing!
This is a favorite!!! Such a great job! I did a very similar piece! I love the “bones” but my hardware was not as pretty. I LOVE THE TURQUOISE!!! Love, Reb
Fabulous job with the distressing – it looks gorgeous!
I HAVE THIS EXACT DRESSER!!! It used to be my in-laws when my husband was a child. I painted it cream several years ago and used it in my bedroom in my last house. It ended up in the garage here at this house for the past few years and I JUST brought it back into my bedroom this week. I have plans to do a little distressing and to fix up the old hardware. I’ll be doing a post when I get it done.
Sharon @ mrs. hines class
Another terrific redo! So nice to see the Turquoise Rub ‘n Buff in action. I’m going to link this on our Facebook page.
Wow! Good for you seeing the potential in the dated dresser. It had “good bones” and now looks like a million $. I have a friend who is recently obsessed with rub n buff. I’ll have to tell her about your post. Robyn
I’ll bet. That is gorgeous! I never stop being amazed at what paint {and you!} can do!!
I have never rub n buffed, but turquoise??? I will have to try it out. It was perfect on this piece.
I turned out great Debbie =)
LOVE LOVE LOVE your dressers… it’s everything I want in the dresser I’m currently working on! What is this wet cloth distressing you speak of?
What a beautiful transformation! Love, love, love your use of turquoise Rub-n-Buff!! Great idea…thanks for sharing! Blessings!
Very pretty! I don’t have any turquoise, but I’ll order some now… the dresser is lucky you saved it 🙂
Gorge Manorge!!! What is rub n’ buff? Please do tell…I feel like I am missing out on something fabulous!
Jess
OMG! I didn’t know that Rub n’ Buff comes in turquoise! Running, not walking, to check out the other colors they offer! Beautiful dresser!
She looks outstanding Debbie. I have never used rub and buff…gotta get me some.
Blessings,
Linda
That is beautiful, Debbie – I love it!
I wish you lived closer, so that I could buy some of your makeovers!
You nailed that description…….. beachy cutie!
~Bliss~
I love it!! I didn’t know rub n’ buff came in turquoise– fun!
What a great dresser! Love that subtle touch of the turquoise rub n buff too!
WOAH. That is AWESOME! That would be fantastic on my sideboard! Totally ordering some rub n’ buff!
Oh my, that is BEAUTIFUL!! Great job!
wow!! great piece. never heard of rub n buff in turquoise.
Oh my Gosh! Rub n’ buff comes in turquoise 🙂 I’m doing the happy dance. Your restyle is fabulous I love the dresser! Now I’m on my way to order Rub n’ buff……..you should get commission sales are about to go up!!
Awesome transformation Debbie! I love the way paint updates a piece!
Oh gorgeous! Distressed to perfection!
You distressed this with a wet cloth, instead of sanding? Also, how do you apply the wax, with a brush or rag? Thanks!
rub n buff comes in turquoise?!?!?!? nothing is safe now…. muah ha ha!!!
love your dresser!