September 30, 2026 by Debbie Westbrooks
Chalk Couture Christmas Letter Board DIY
Live Videos · Home Interior · Crafts
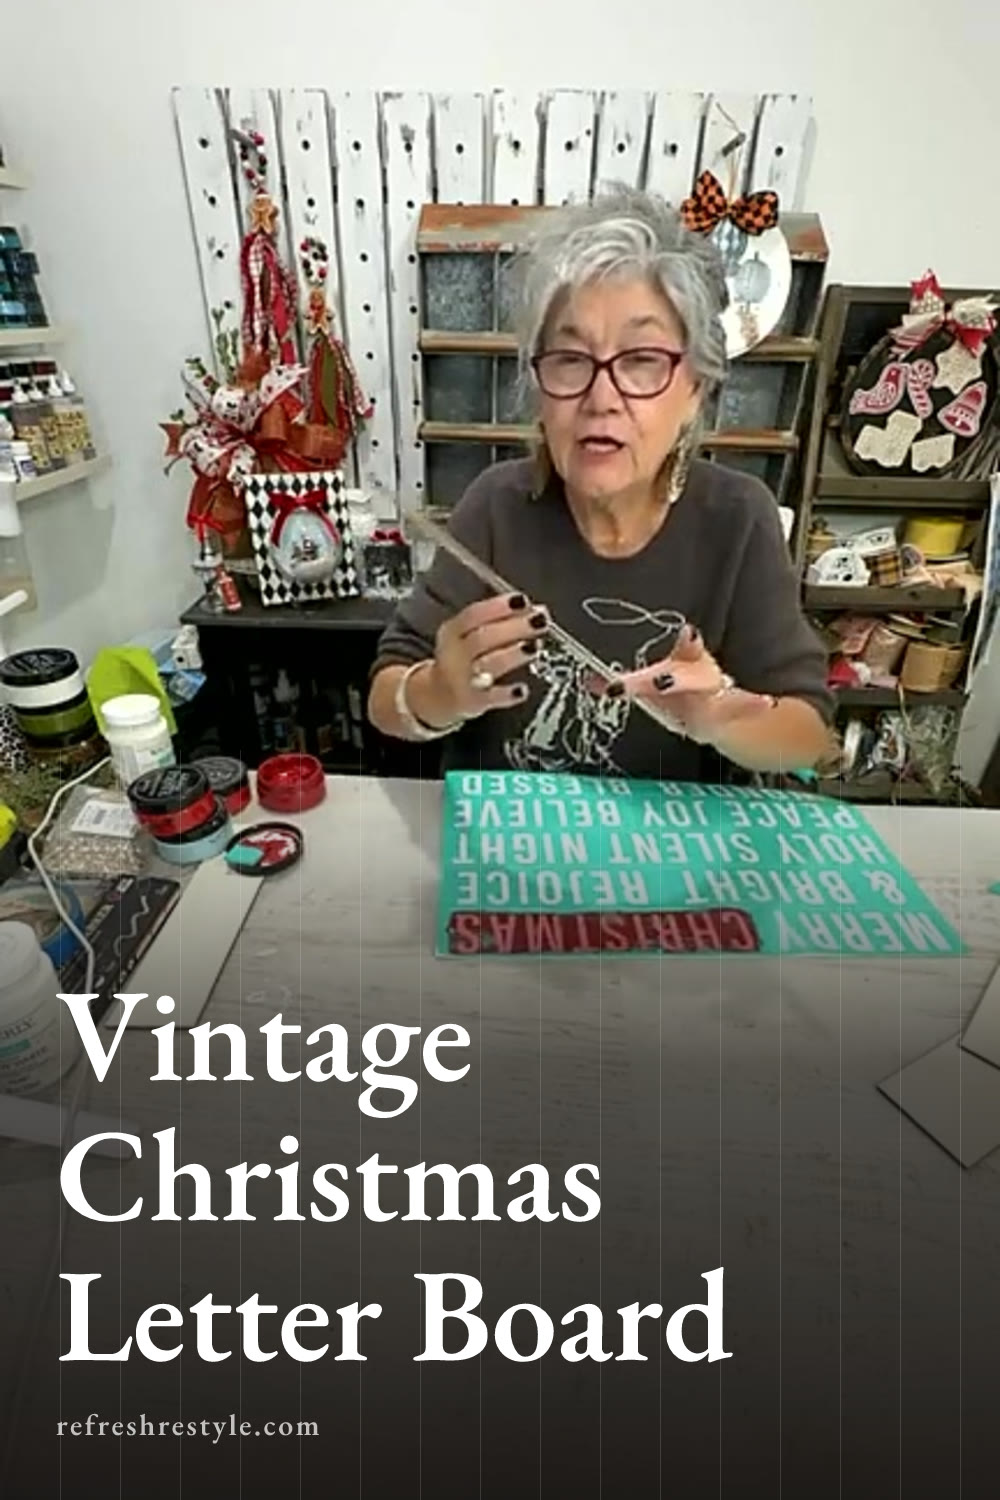
I started a vintage inspired Christmas letter board using Chalk Couture transfers, Cherry lettering and a simple candle wax distressing trick. The old church attendance boards inspired the whole look, so I wanted the finished piece to feel aged and handmade, with a matte black frame and Vanilla paint peeking through.
This project came in a Christmas letter board bundle, although the pieces could also be purchased separately. The small word boards slide into the grooves on the larger board, which makes it easy to move the words around and create different holiday messages.
Planning My Vintage Christmas Letter Board
The unfinished letter board already had a warm wood tone, and it would have looked pretty left just as it was. I wanted mine to have more contrast, so I planned a matte black finish with distressed off white areas around the edges.
Red would also be a beautiful choice for a Christmas version. You could leave the wood showing, paint the board off white or choose a color that works with the holiday decorations you already have. I liked the idea of black because it would make the Cherry words stand out and give the piece that old church board style.
I divided the project into two parts because the frame needed to be spray painted outside. During the first part, I painted the word boards, added the holiday designs and prepared the frame for distressing. Once the frame was ready for paint, I could take it outside and finish the black coat.
Painting the Small Word Boards
I painted the small boards with Vanilla, which is a soft off white. It isn’t dramatically different from the original wood tone, but it creates a lighter and more finished background for the red words.
A bright white would work too, and you could also leave the boards in their natural finish. I wanted the softer color because it fit the aged look I had in mind.
After painting them, I set the boards aside to dry while I worked on the large frame. Giving the paint time to dry matters because the reusable designs need a stable surface when it’s time to add the words.
Preparing the Frame for Distressed Paint
I used a little watered down Vanilla paint to create the areas that will eventually show beneath the matte black spray paint. I brushed it around parts of the edges and added a few random spots instead of making every side match.
Random placement makes distressed paint look more natural. I wanted the lighter color to appear as though the black finish had worn and peeled over time, so perfect lines would work against that old painted look.
I also carried some of the Vanilla onto the sides. Those spots may be less visible once the word boards are in place, but they help the frame feel finished from different angles.
The Vanilla paint needs to be fairly thick in the areas where you want it to show. Once those spots are dry, the wax goes directly over them.
Using Candle Wax as a Paint Resist
I keep an old candle in my craft supplies for distressed paint projects like this one. Any candle wax will work, and Chalk Couture wax is another option for preparing the surface.
I rubbed the edge of the candle over the dried Vanilla areas. The wax keeps the next layer of paint from sticking firmly in those spots. After the frame is covered with matte black spray paint and the paint has dried, I can use a metal scraper to remove paint from the waxed sections.
As the black paint releases, the Vanilla color underneath will show through and look like old peeling paint. Some of the original brown stain may also appear, which will add another layer to the worn finish.
You can control how much distressing you get by changing where you place the wax. A little wax along the corners gives you a softer aged effect, while more wax creates larger worn areas. I added it around the edges where a real board would naturally pick up wear.
Adding Words With Chalk Couture Transfers
Once the small boards were dry, I chose words from the reusable Christmas designs. There were plenty of choices, including Silent Night, Believe, Peace, Rejoice and Wonder.
I first considered using Silent Night, but it needed more room than one board offered. Since the pieces are separate, you can divide a longer saying between boards or choose individual words that fit the available space.
I settled on Merry, Christmas, Joy and Blessed. I used Cherry for the lettering because the rich red looks beautiful for Christmas and will stand out against the black frame.
The clear Chalk Couture transfers made it easy to see the board underneath while I lined up each word. I eyeballed the placement because I like my projects to look handmade. If a word sits a tiny bit off center, that character fits this vintage style perfectly.
I also kept the designs together rather than cutting each word apart. You can cut them if that makes placement easier, but leaving them together worked for me. Since the designs are reusable, I planned to clean the full piece after finishing the words.
I had to watch the nearby cut lines while adding the Cherry color so I didn’t accidentally pick up part of another design. If that happens on a painted board, you can touch up the background paint once everything dries.
Finishing the Letter Board
The next step is covering the prepared frame with matte black spray paint. After it dries, I can scrape the waxed areas and reveal the Vanilla paint underneath.
The finished word boards will slide into the grooves just like the pieces on an old attendance board. Since each one is separate, I can rearrange Merry, Christmas, Joy and Blessed to create different combinations.
The backs of the small boards are available for another set of words too. Painting and lettering both sides will give me even more choices without taking up extra storage space, and I can change the message whenever I want a different Christmas display.
Chalk Couture supplies I used
You can shop my full Chalk Couture store here.
I am an independent Chalk Couture designer, so I earn a commission on these links. See my disclosure for more.