LAZY SUSAN THRIFT STORE MAKEOVER
Y’all, did you hear me gasp when I found this lazy Susan at Goodwill? I did and you’re probably going to be mad that I painted it. I agree the wood is beautiful, it was a little scratched up but the thing that bugged me the most is that it was almost exactly the color of my table. 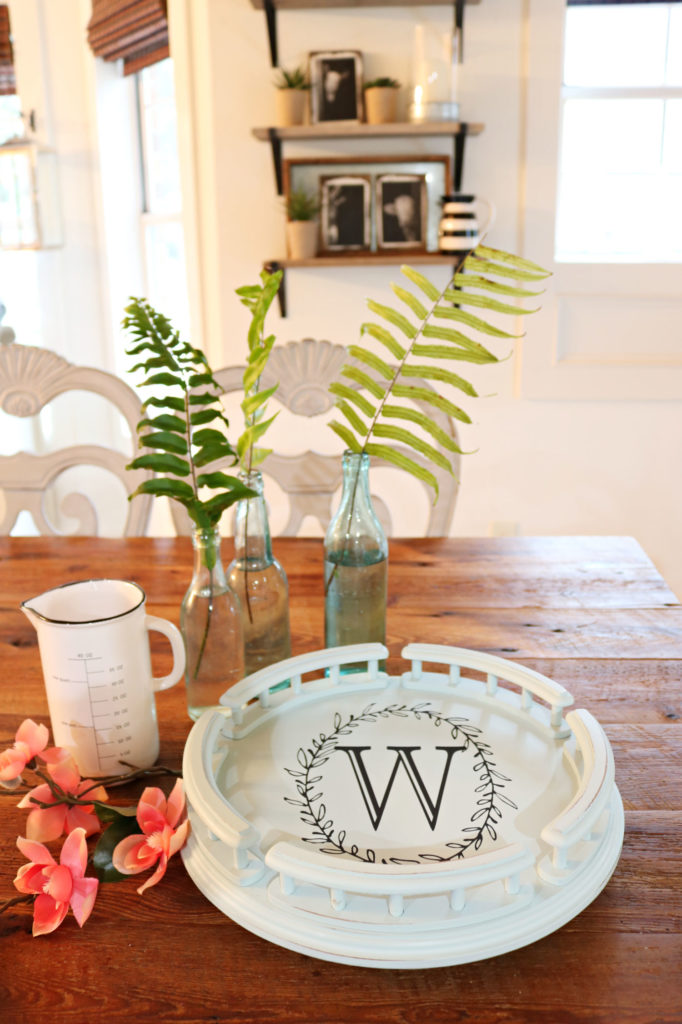 Let me show you what I did.
 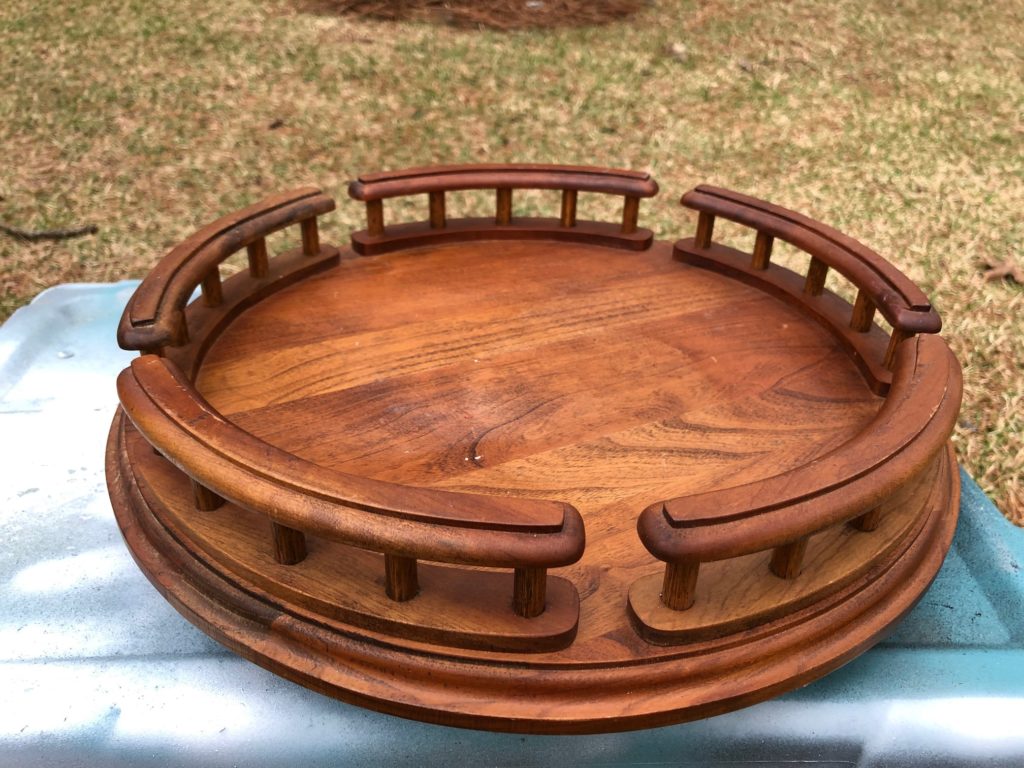 I wiped it off and used my secret DIY weapon, spray paint to cover the wood.
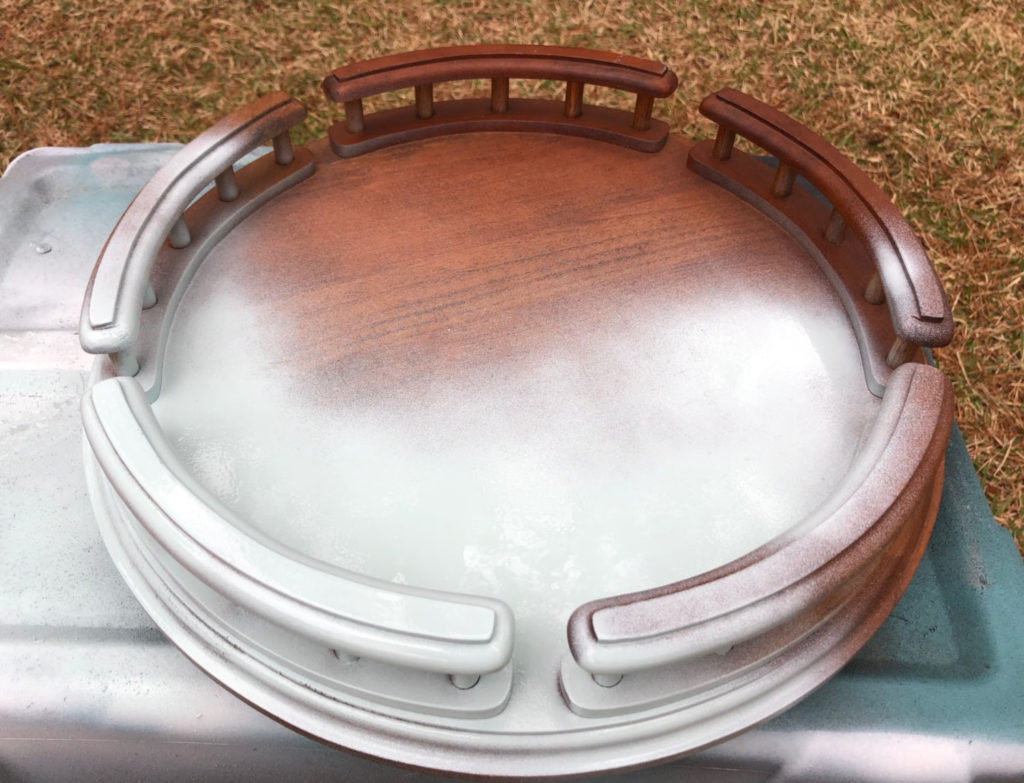
 I created this quick video to show you how easy it is to transform this Lazy Susan turntable:
 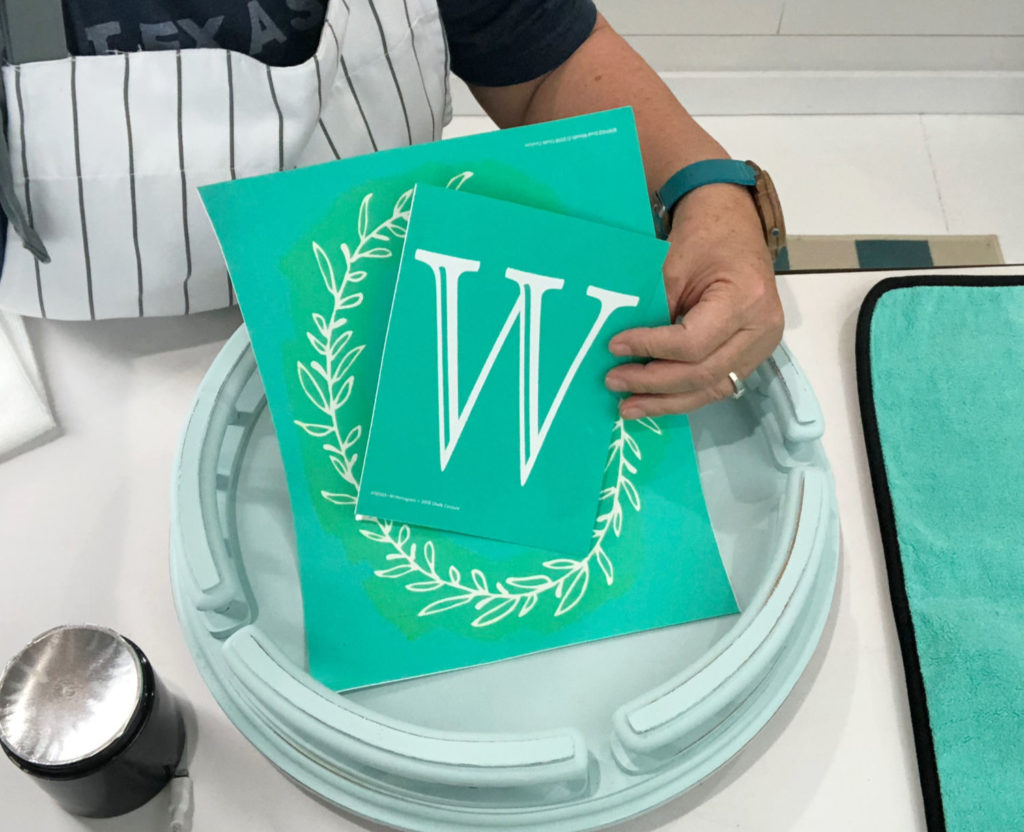 I also used 120 grit sand paper to distress the edges. I didn’t want it to look perfect, I love the aged patina that sand paper creates.
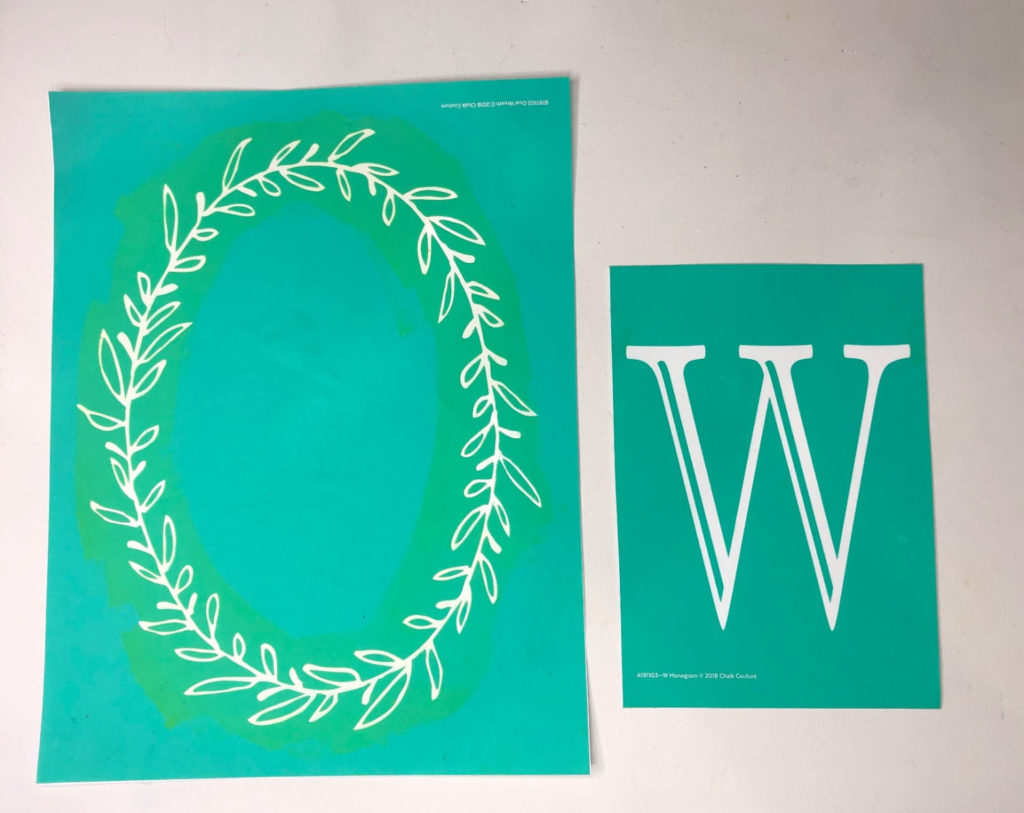
 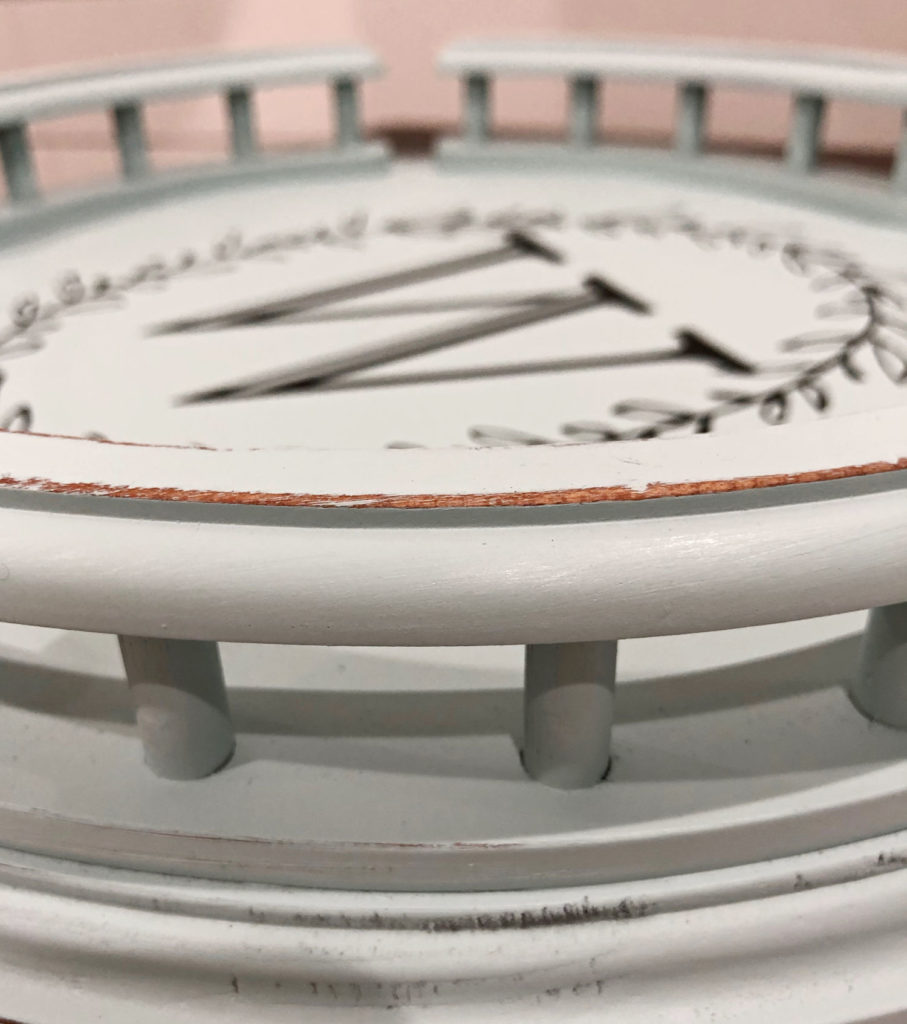 Chalkology paste is removable with water, I sealed my piece with Rustoleum lacquer. I wanted to preserve the design.
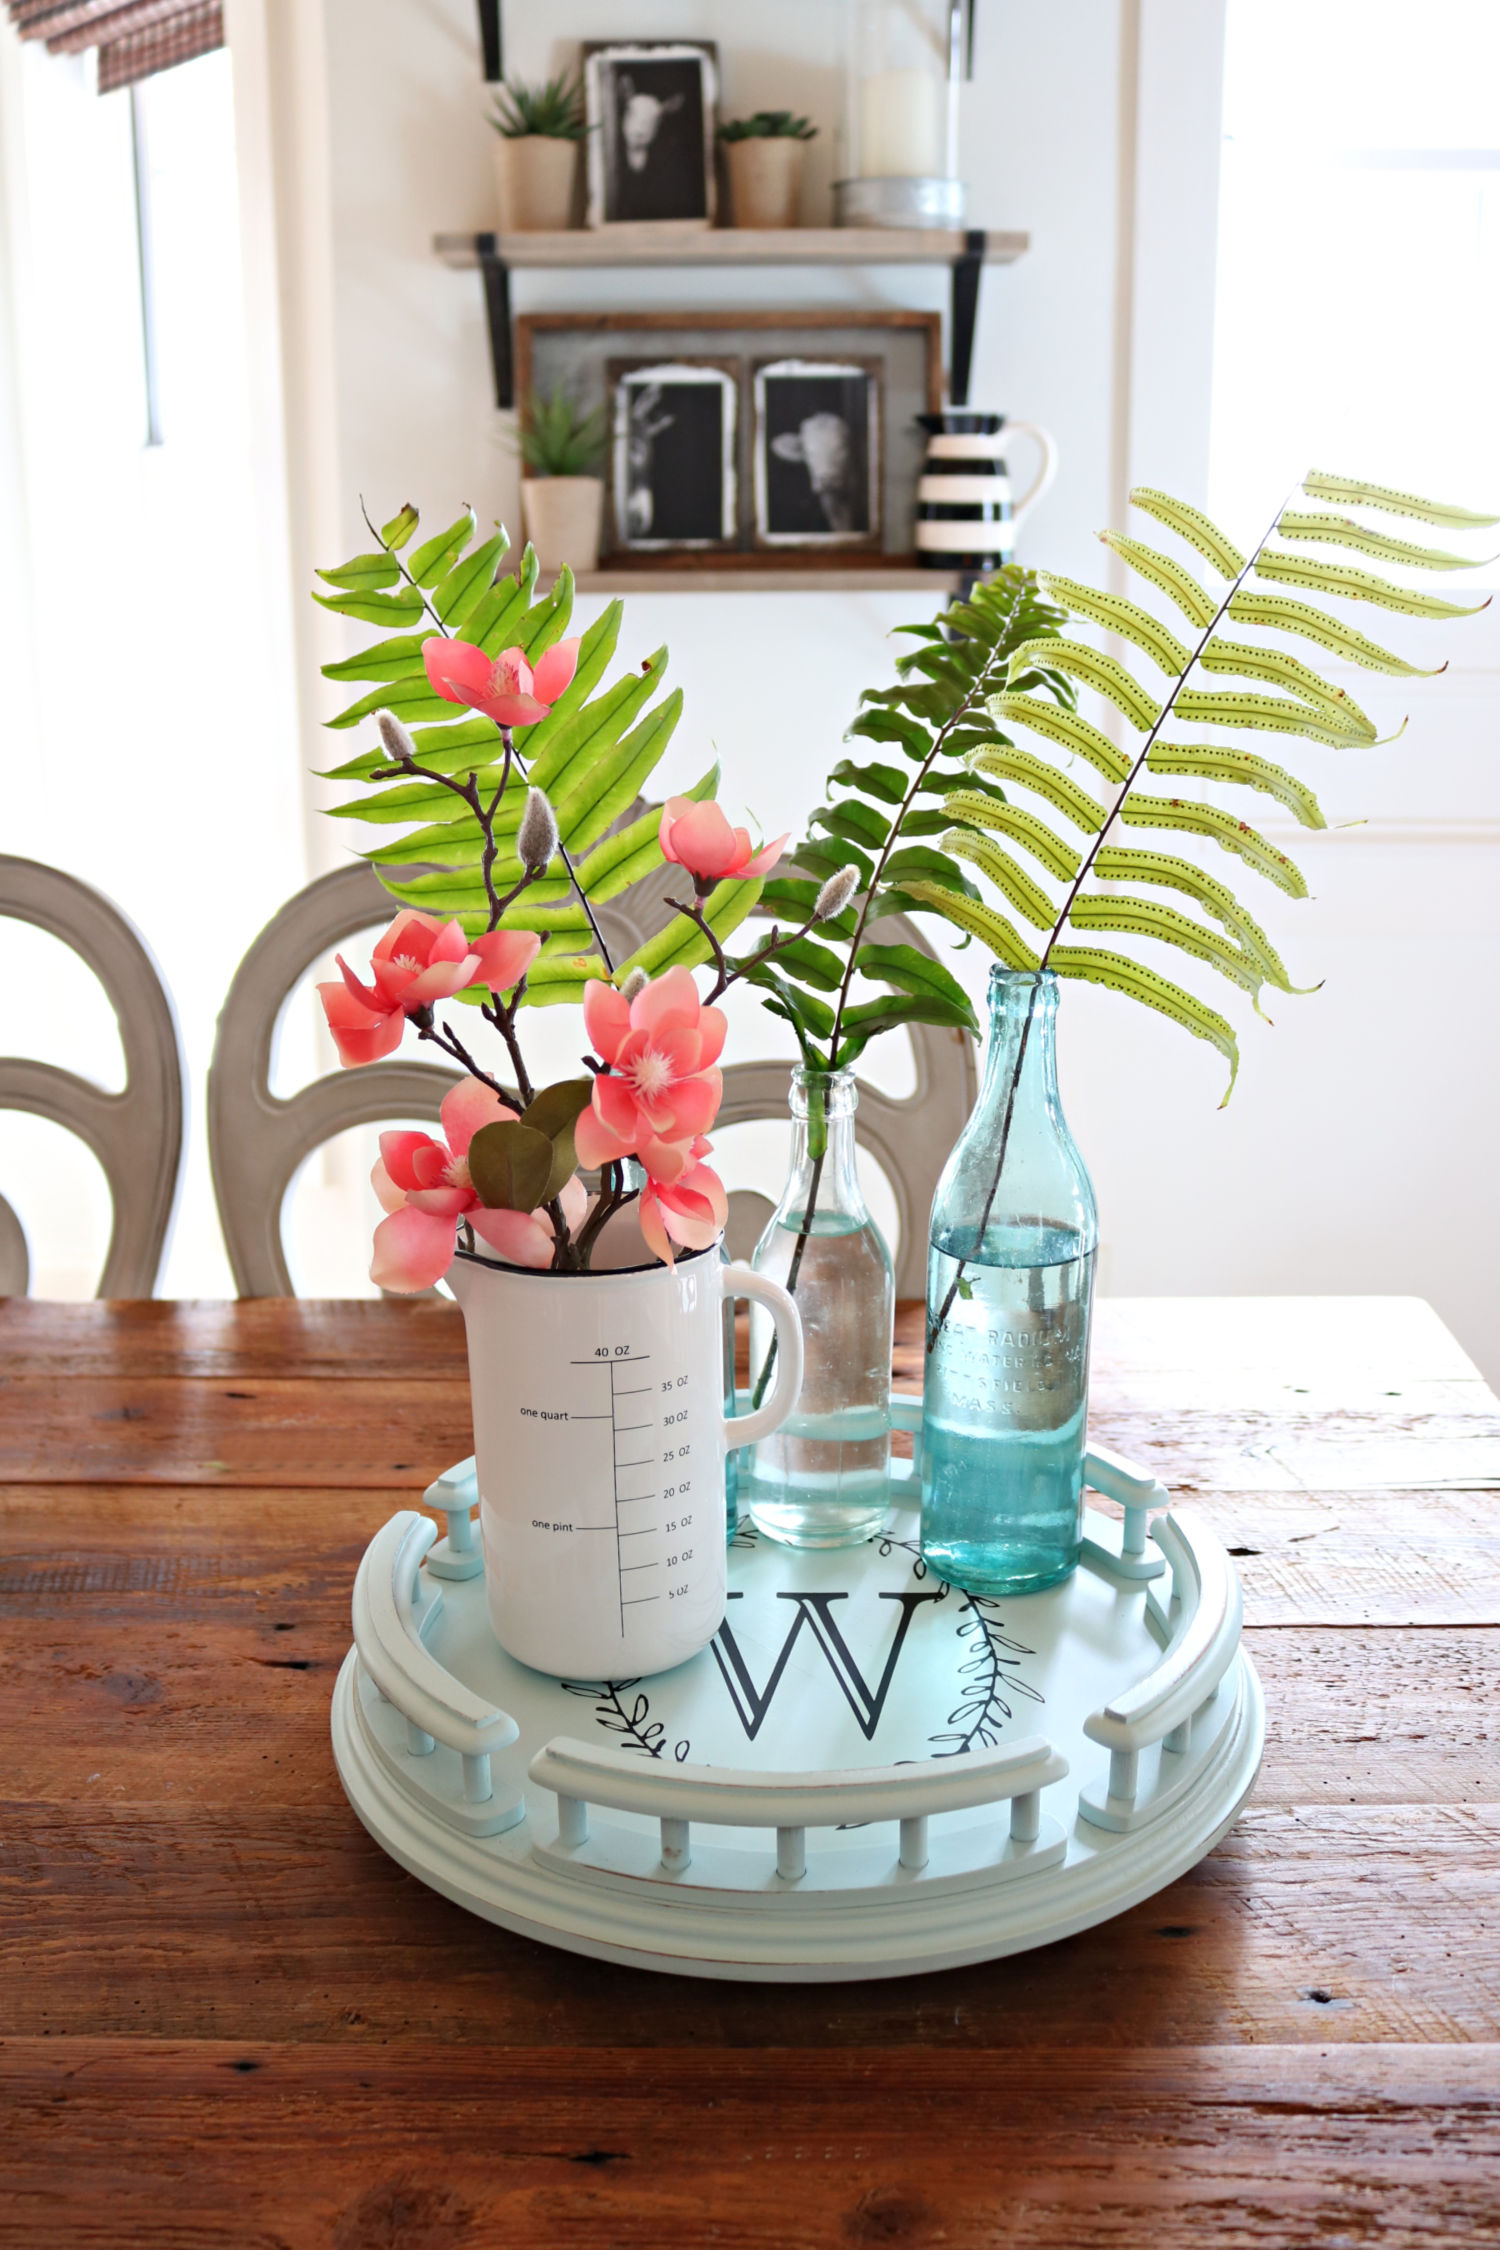
  I am loving the contrast and as you can see, the Lazy Susan would have blended in with our barn wood table. This turntable or Lazy Susan looks like it was meant for our table. It instantly elevates my simple spring centerpiece.
  For the record, there is nothing lazy about this Susan. She’s ready to carry her weight around here, whether she’s holding seasonal decor or the salt and pepper shakers. I could not help myself, I had to find out why they are called lazy Susan. There were several options, I liked this one: Thomas Jefferson invented the dumbwaiter aka lazy Susan because his daughter always complained that she was served last at the table and as a result left the table hungry. Saying that makes no sense to me but her name was Susan and I assume the lazy part is indicated by her being late to the table?
 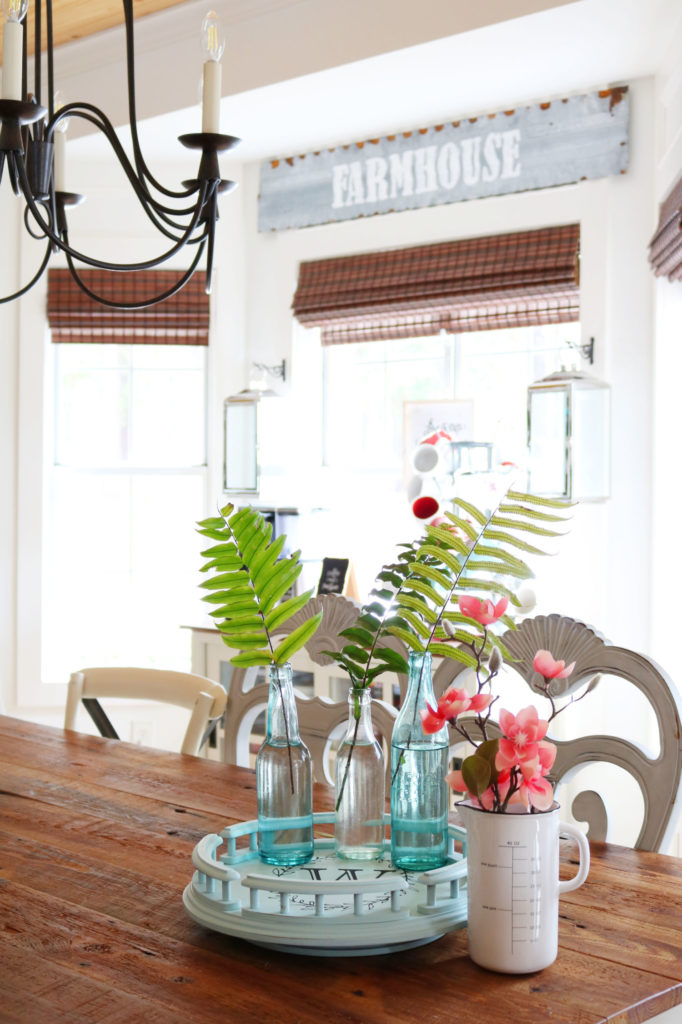 CHECK OUT THESE 8 CREATIVE IDEAS!
 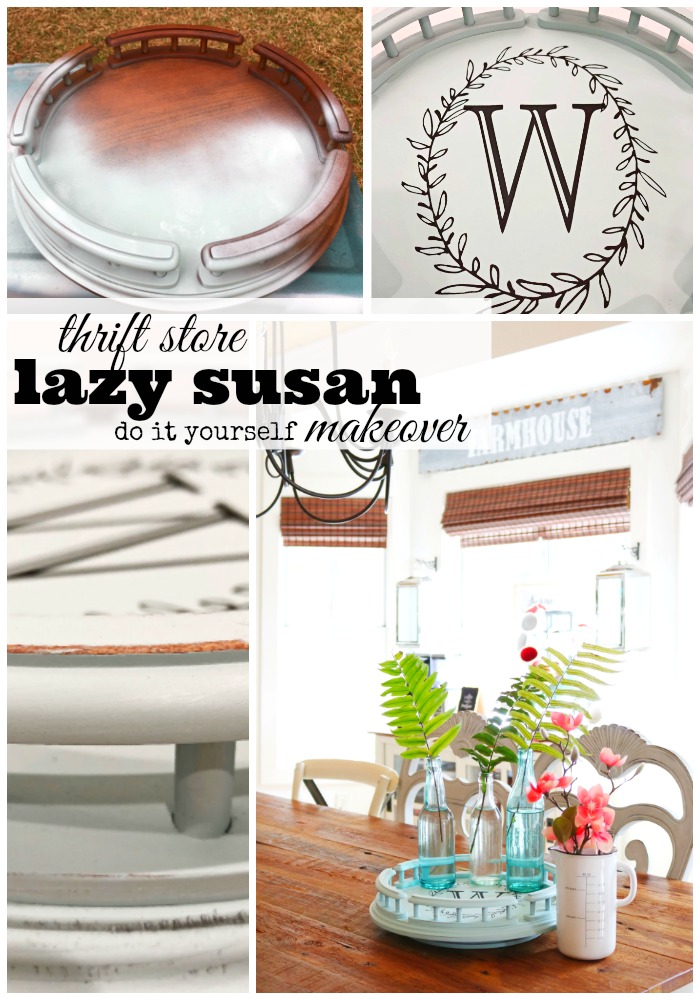 CLICK THE TITLES TO GO SEE THESE MAKEOVERS:
Vinyl Record Bowl My Uncommon Slice of Suburbia
DIY Earring Holder House of Hawthornes
Lazy Susan Thrift Store Makeover Refresh Restyle
Vintage Farmhouse Decor with Architectural Salvage Sadie Seasongoods
Folding Tray Table Stand Table Petticoat Junktion
DIY Aged Terracotta Pot Domestically Speaking
Decoupage Basket | Hydrangea Napkins My Repurposed Life
Vintage Tray Makeover Our Southern Home
 MORE THRIFT STORE MAKEOVERS: Wooden Step Stool Makeover DIY Pedestal Frame Thrift Store Tray Makeover
11 Comments
ArchiveYour photos look so dang springy I want to go out and pick up some fresh flowers today! I love your new improved Lazy Susan! And who knew Thomas Jefferson would have such a slacker for a daughter!
Ohhh, Debbie!
I love what you did with the lazy susan. it turned out perfect. I love that you added the chalk couture chalk paste monogram!
pinning!
This is adorable and I love that transfer! It beats any trendy farmhouse one you could buy today in the stores! Fabulous makeover!
Oh, this is one of my favorites!! I love that monogram with the wreath!
HI Debbie,
This looks great! I love spray paint and have refinished even large pieces of (kids) furniture with it. So many great colors and, if done right, a good hard finish. Thanks for sharing your project! Happy Valentine's Day (almost), Cheryl
What a great find & so cute how it turned out!
Awesome! Looks great!
What a great job! Lucky to find such a piece. I always thought that a dumbwaiter was a small in-house "elevator" that was usually in the kitchen/pantry to transport dishware from dining rooms located upstairs down to the kitchens where the dirty dishes would be washed by the servants/kitchen help/domestics.
Thanks Audrey!
What a great makeover! I'm inspired to find a Lazy Susan to do your makeover~
I love that little lazy Susan and that stencil looks awesome on it xoxo