June 8, 2026 by Debbie Westbrooks
Thrifted Cabinet Makeover With Hot Air Balloons
Live Videos · DIY · Home Interior
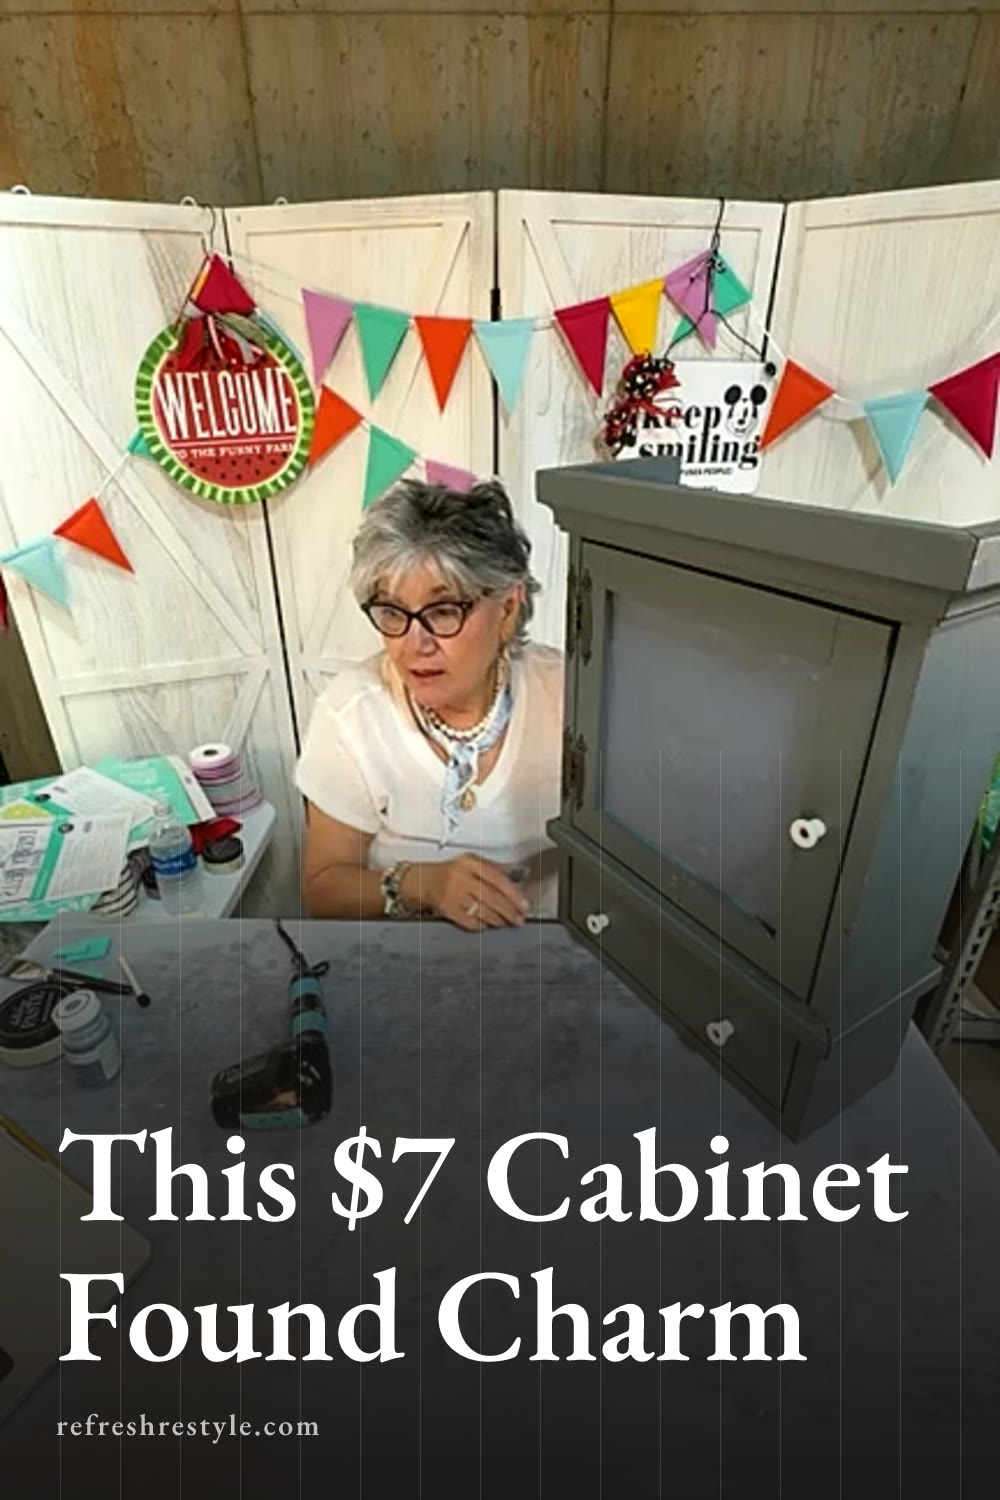
I finally pulled out one of my recent thrift store finds and gave it a fresh start. This heavy little cabinet cost around $7, and turning it upside down gave it a completely different shape before I added blue paint and a charming hot air balloon design.
Starting With the Thrifted Cabinet
This little cabinet caught my attention because it felt solid and looked handmade. It has a small drawer, a shelf and a magnetic door, and somebody put a lot of work into building it. It may have even been an old school project.
It needed a good cleaning first. I put it in the sink and scrubbed away all the dirt so I could see what I was working with. The cabinet has a hole in the back, so I still need a new piece of wood cut to fit that opening.
The biggest change came from flipping the entire cabinet over. What had been the top became a wide base, and the original base became the top. I liked the proportions much better that way because the cabinet looked more finished and substantial.
The hinges worked in the new position, and the door opened in a way that felt natural to me. That made the decision easy. I kept the cabinet flipped and planned my design with the new top in mind.
Choosing a Country Blue Paint
I wanted to work with the existing blue on the cabinet because it reminded me of the country blue so many of us used years ago. These days it often gets called farmhouse blue, but country blue still comes to mind when I see it.
For the inside door panel, I chose a chalk paint color called Night Sky. It came in a small container from Walmart and looked like a pretty blue gray. The shade varied a little from the blue already on the cabinet, but the two colors worked well together.
I kept the door attached while I painted the inset panel. The first coat covered the center and gave me a good idea of how the color would look. It needed a second coat for fuller coverage, so I dried the paint before going over it again.
I hurried the drying process a little too much, and the panel stayed warm while I added more paint. That caused one area to get thicker than I wanted and created a small bubble. I smoothed it as much as I could and kept going because a little worn texture fits the rustic country style of this cabinet.
If you use heat to dry paint between coats, give the surface time to cool before adding more. That short wait helps keep the fresh coat from getting thick or pulling away.
Picking the Hot Air Balloon Design
I considered two patterns for the painted panel. One was the Wallflower pattern with stripes and flowers, and the second featured hot air balloons. Both looked pretty with the blue, but the hot air balloons won.
The balloon artwork reminded me of toile, which is one of my favorite looks for country and farmhouse decor. It has enough detail to make the cabinet interesting while still feeling soft and classic.
I chose Vanilla chalk paste for the design instead of bright white. Vanilla gave me a warm contrast against the Night Sky paint and worked nicely with the older finish on the cabinet.
Placing the Transfer Off Center
Before putting the transfer on the panel, I pressed it against my T shirt to add a little fuzz. This helps reduce the grip, especially when you’re working over a freshly painted surface.
I positioned the hot air balloons a little to the right instead of centering the entire design. The offset placement felt more relaxed and allowed different parts of the balloons to fill the panel.
The painted surface still had some warmth, so the transfer lifted a little paint in places. Fresh paint can do that when it hasn’t had enough time to dry and cool. The small worn areas blended into the rustic finish, and the Vanilla design pulled everything together.
Once I lifted the transfer, the hot air balloons looked beautiful against the blue gray background. The two blue shades varied, but they coordinated well and gave the cabinet the collected country look I wanted.
Ideas for Using the Finished Cabinet
This cabinet could work in several spots around my home. I can picture it sitting on a kitchen table or one of the smaller tables I have throughout the house. The drawer and shelf offer space for a few useful items along with some fun decorative pieces.
It could also sit on a long bathroom vanity. I have open space in the middle of mine, and this cabinet would provide a pretty place to keep makeup and other small items.
The inset door panel is screwed in, so I can remove or change it later if I want a different look. That makes this type of thrift store piece even more useful because one small update can give it a whole new style.
For now, I’m leaving the design without a topcoat. A water based poly could protect a similar design on an end table, coffee table or bar stool, especially if the surface will get regular use.
The Final Details Still to Come
I still plan to add a new back panel and work on some of the worn areas. A little sanding around the existing finish followed by dark stain will help those spots blend with the aged character of the cabinet.
This project reminded me why I enjoy bringing thrifted pieces home. A good cleaning, a better orientation and one detailed design turned this sturdy little cabinet into something I can use and enjoy instead of leaving it tucked away in a closet.
Chalk Couture supplies
Browse Chalk Couture Chalkology Paste, or shop my full store here.
I am an independent Chalk Couture designer, so I earn a commission on these links. See my disclosure for more.