Thrift Store DIY Recipe Box Makeover
Welcome friends, we’re back with a thrifty find for a DIY recipe box!
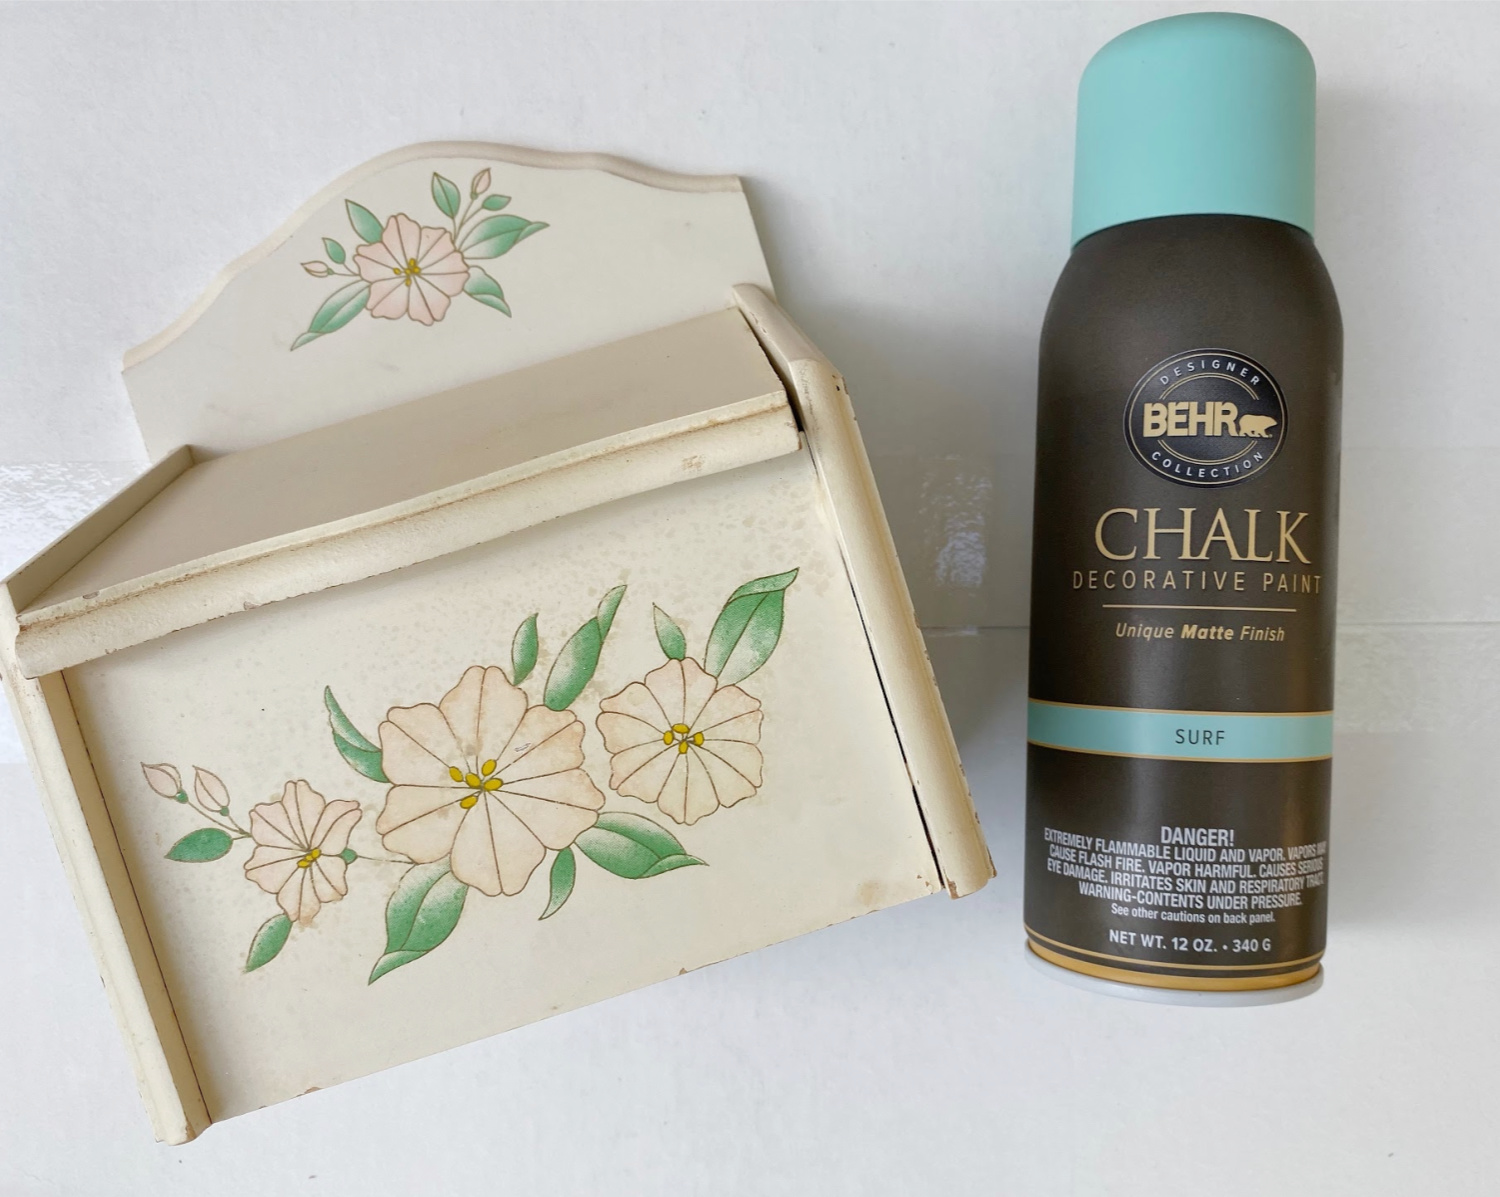
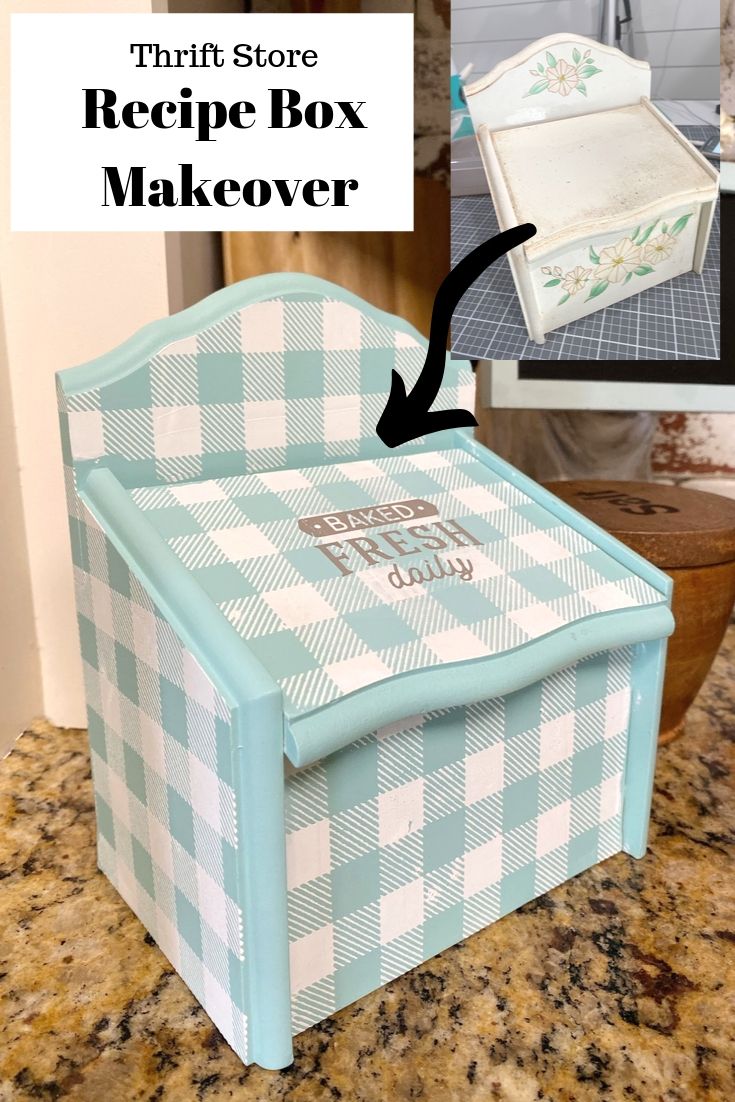
If this recipe box hadn’t been 69 cents, I would have walked away. Ha! Ok you know I would have bought it anyway. I really needed a place to put a few tried and true recipes and it’s perfect.
There ain’t nothing more frustrating than wanting to whip up Granny’s famous biscuits and not being able to find the dang recipe. That’s where recipe boxes come in handy – they keep all your cherished recipes in one place, so you can find ’em in a jiffy.
Now, some folks might say, “Why not just use Pinterest or a recipe app on your phone?” But let me tell you, there’s something special about having a physical recipe box. It’s like a little treasure trove of family recipes and memories that you can hold in your hands.
And let me tell you, there’s nothing better than a DIY project, am I right? A DIY recipe box is the perfect way to put your own spin on this classic kitchen essential. You can paint it with your favorite colors and add your own patterns.
The DIY Recipe Box Makeover
Not only is a DIY recipe box a fun project to work on, but it’s also a great way to make sure your recipe collection is truly unique to you. Plus, it makes for a darn good conversation piece when you have friends and family over.
So, whether you’re a seasoned chef or just starting out in the kitchen, a recipe box is a must-have for any southern kitchen. And a DIY recipe box? Well, that’s just the cherry on top, y’all.
Alright, y’all, let’s get down to business and talk about how to make your very own recipe box. It’s a piece of cake, I tell you!
Step 1: Clean the Recipe Box
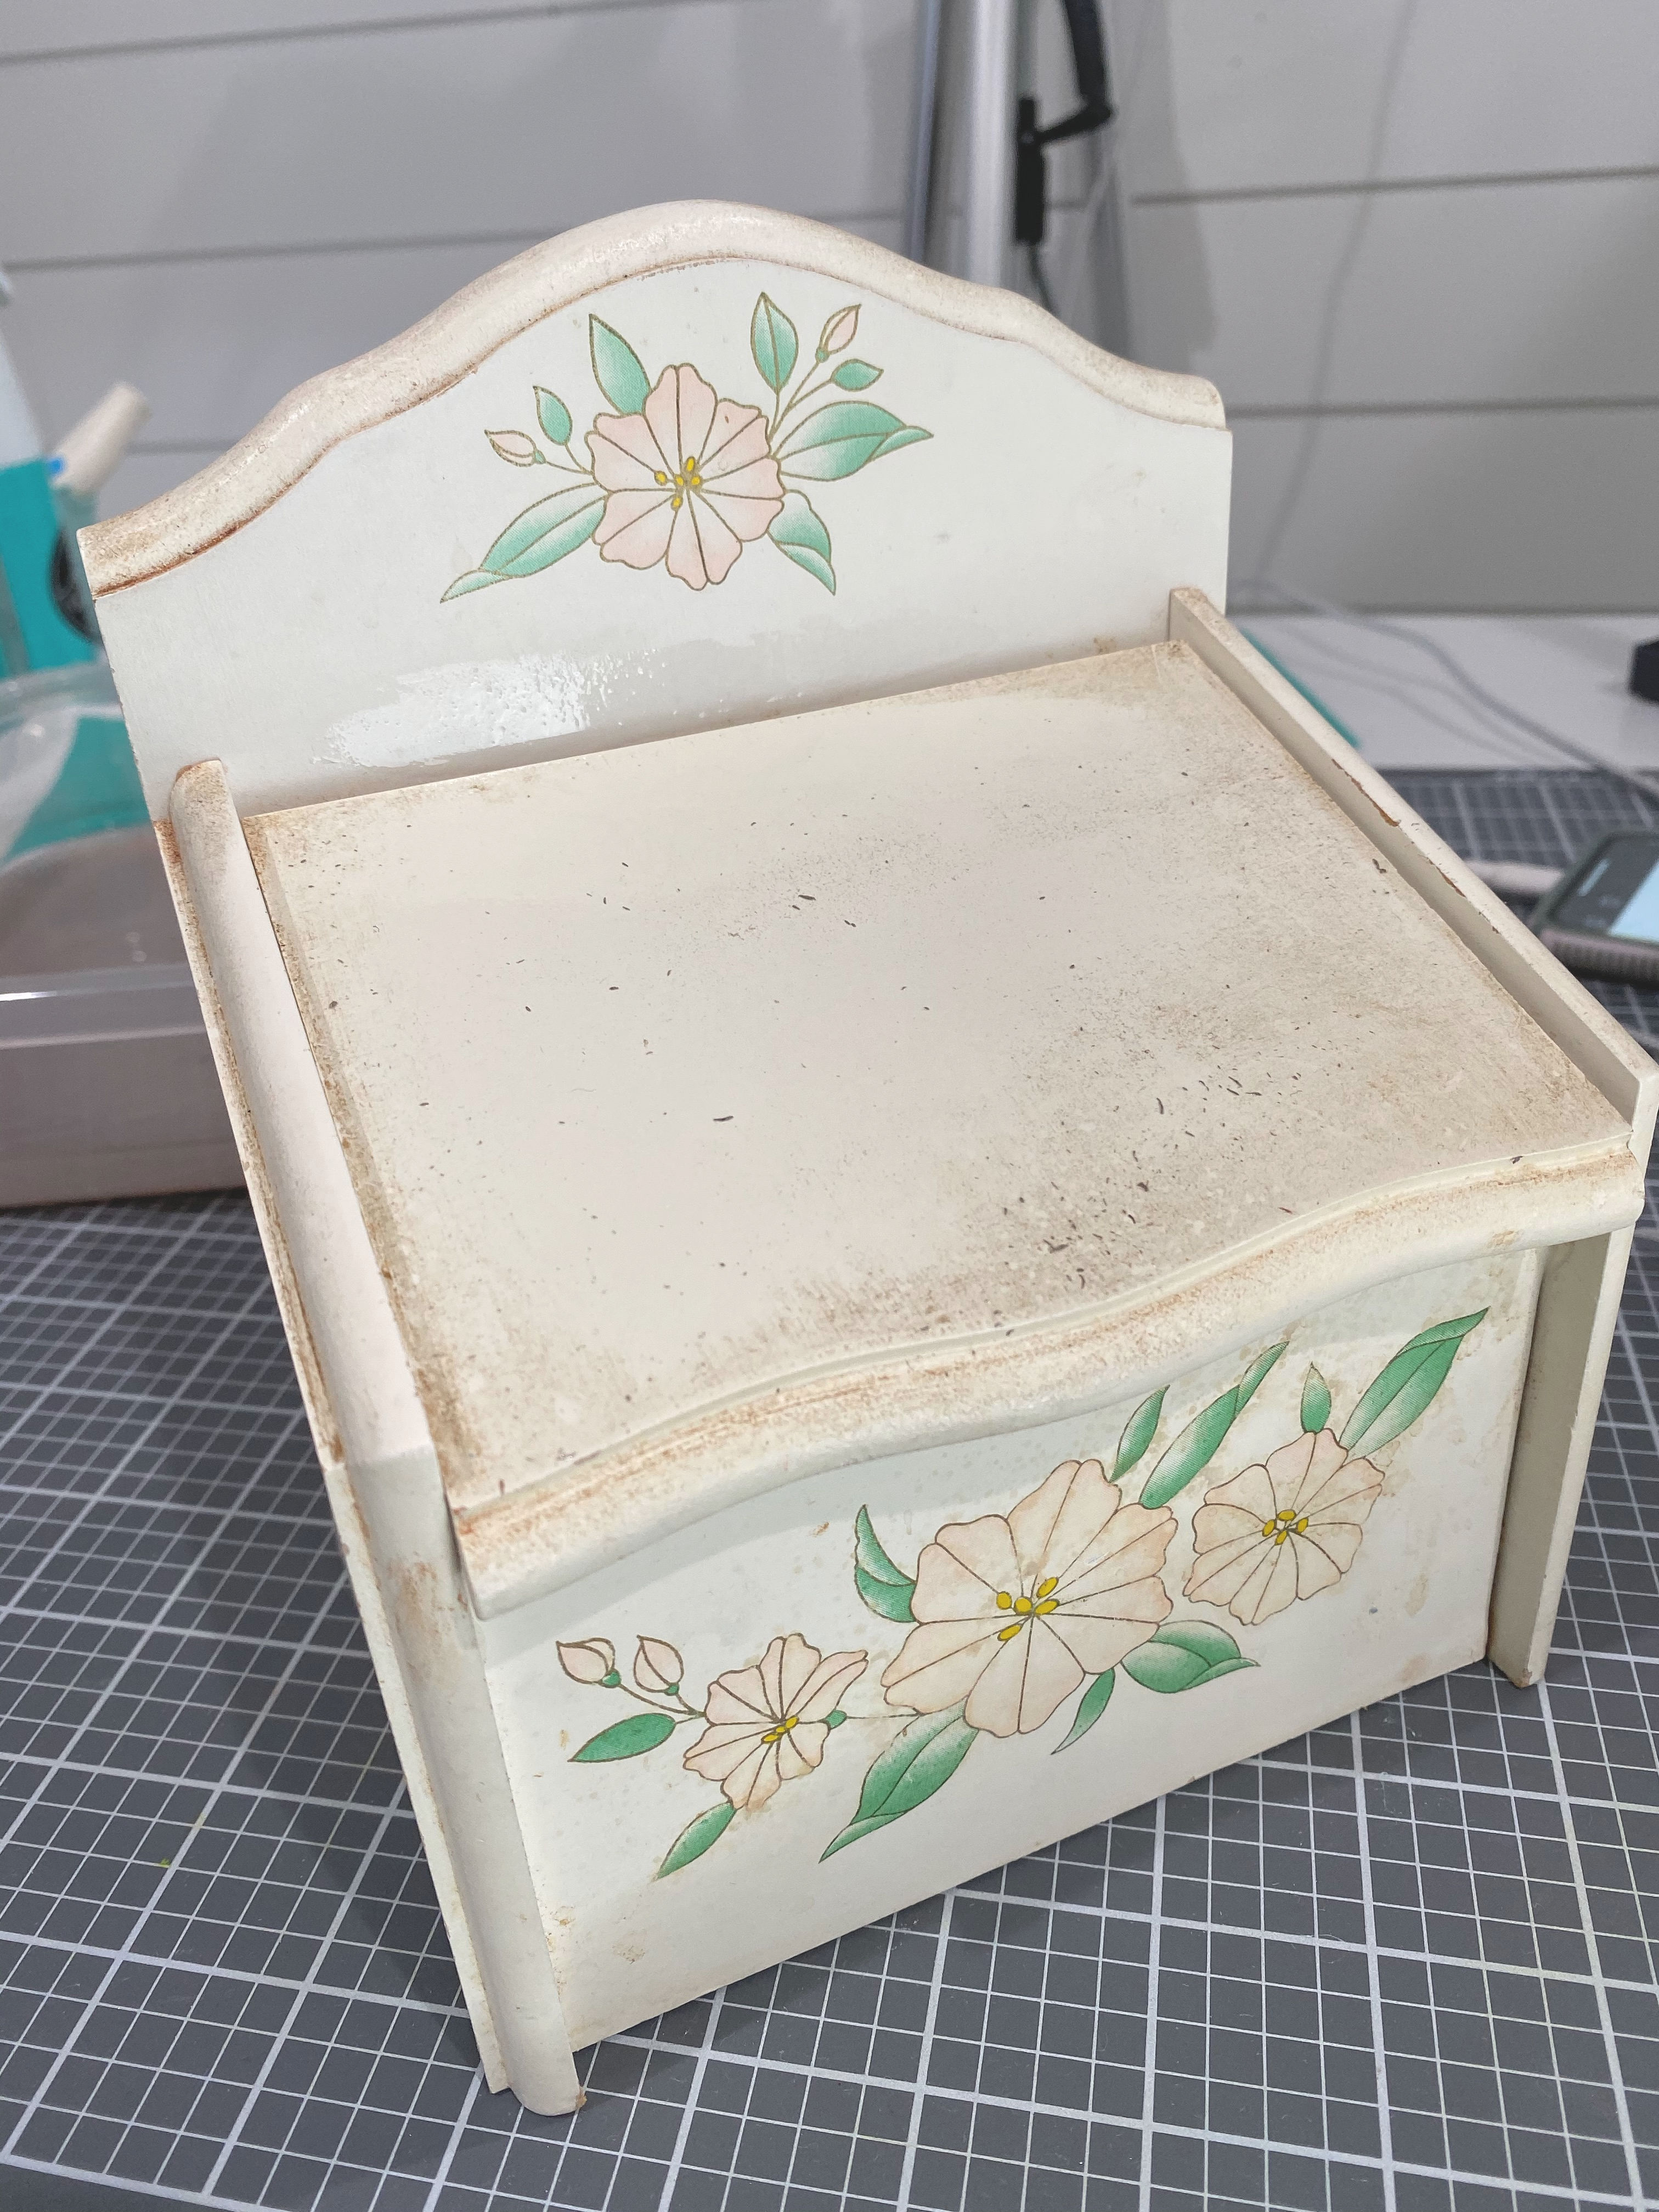
The inside of the box was a lot cleaner than the outside, which leads me to believe that it lived in a spot above a busy stove at some point. I cleaned it really well before I painted it and wiped away a bit of chicken grease I’m sure.
Step 2: Spray Paint Your Recipe Box
Now, let’s talk about spray painting your DIY recipe box.
Personally, I recommend using Behr Chalk decorative paint, it was part of my swag bag from the Haven Conference. I am really loving this paint, the coverage is great! Not only is it easy to use, but it also dries quickly and gives your box a lovely matte finish.
First, make sure you’re working in a well-ventilated area (preferably outside) and that your work surface is covered with newspaper or a drop cloth to protect it from any overspray.
Shake your can of Behr chalk spray paint well before you start, and then begin spraying your recipe box in smooth, even strokes. It’s important not to spray too heavily, as this can lead to drips and clumps. Remember, less is more!
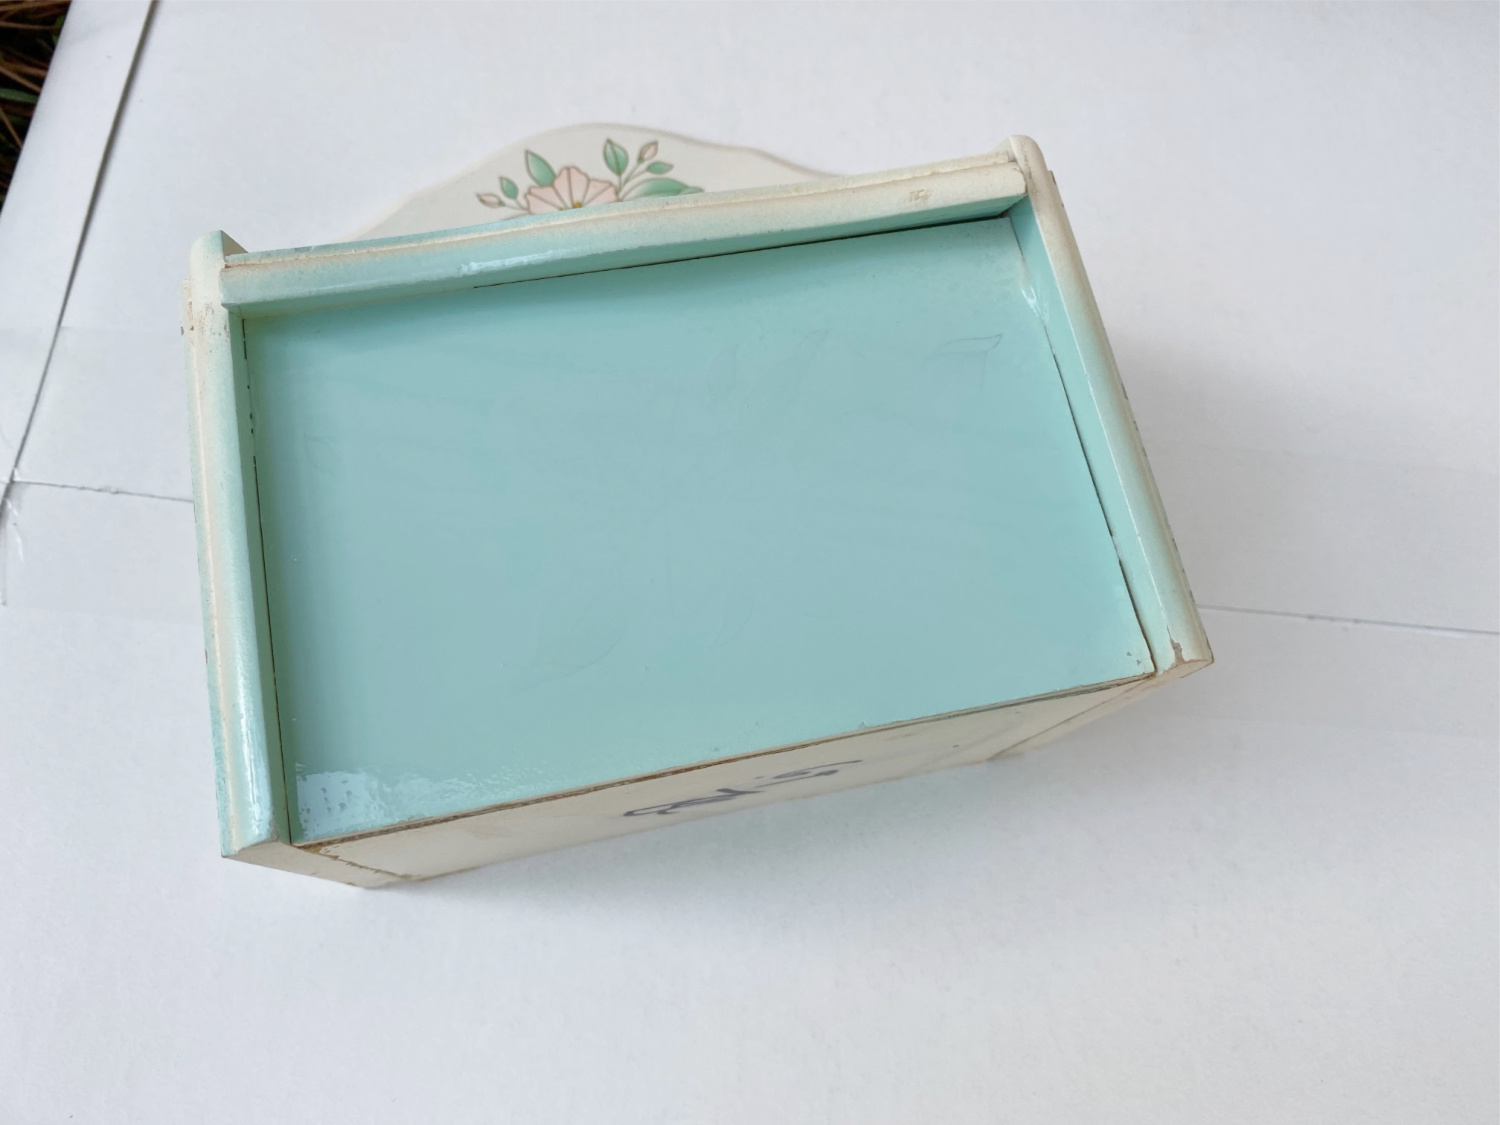
When spray painting this DIY recipe box, use several light coats, as you can see here.
Allow your recipe box to dry for a few hours, and then give it a second coat if needed. For an extra touch of flair, you can even distress your box with sandpaper or a damp cloth to give it a vintage, shabby-chic look.
And voila! You now have a beautiful, chalky-finished recipe box that looks like it was made by a professional. Your friends and family will be impressed, and you’ll have a stylish and functional way to store all your favorite recipes.
Step 3: Personalize Your Recipe Box
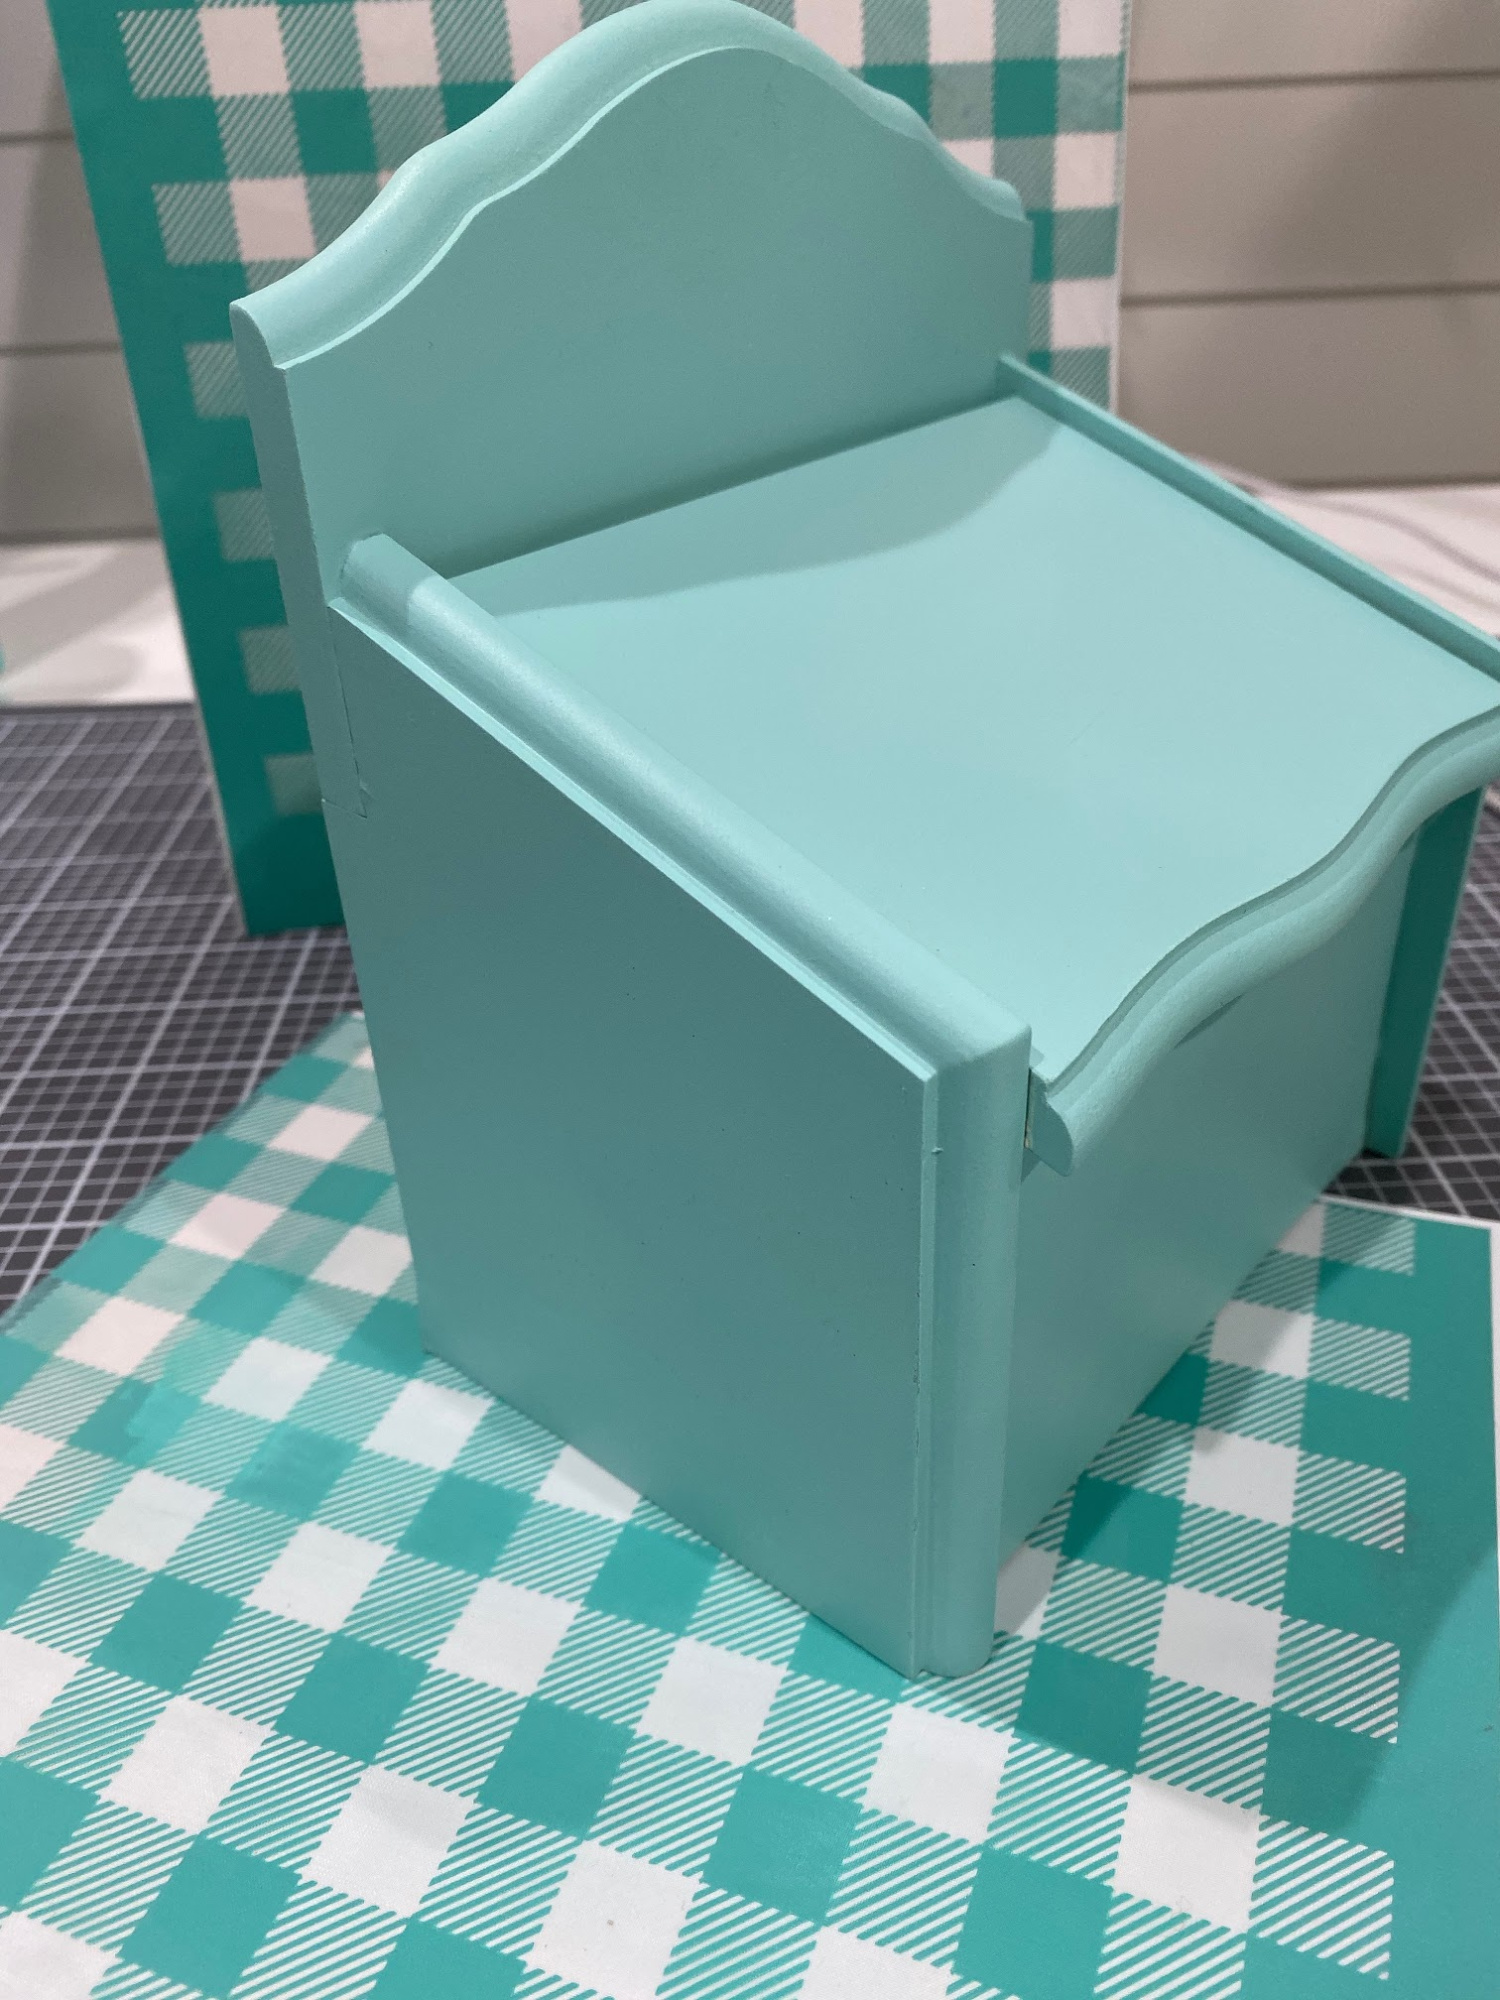
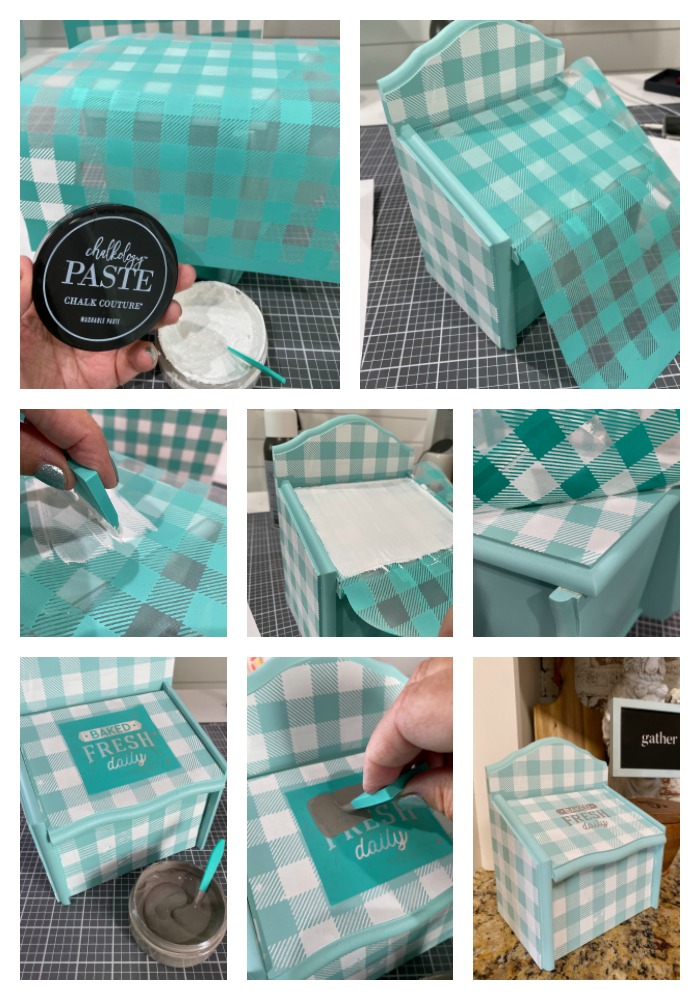
You can use anything to personalize your recipe box. As you can see here I used Chalk Couture adhesive, reusable transfers and Chalk Paste. The Mini Buffalo check transfer is large, I cut it apart to make the fit better. I did one section at a time, the process was pretty fast. The chalk paste dries quick. To make the design permanent, just spray with a clear poly spray. (You can find all the items used in my shop: Chalk Couture Transfers and Chalkology Paste.
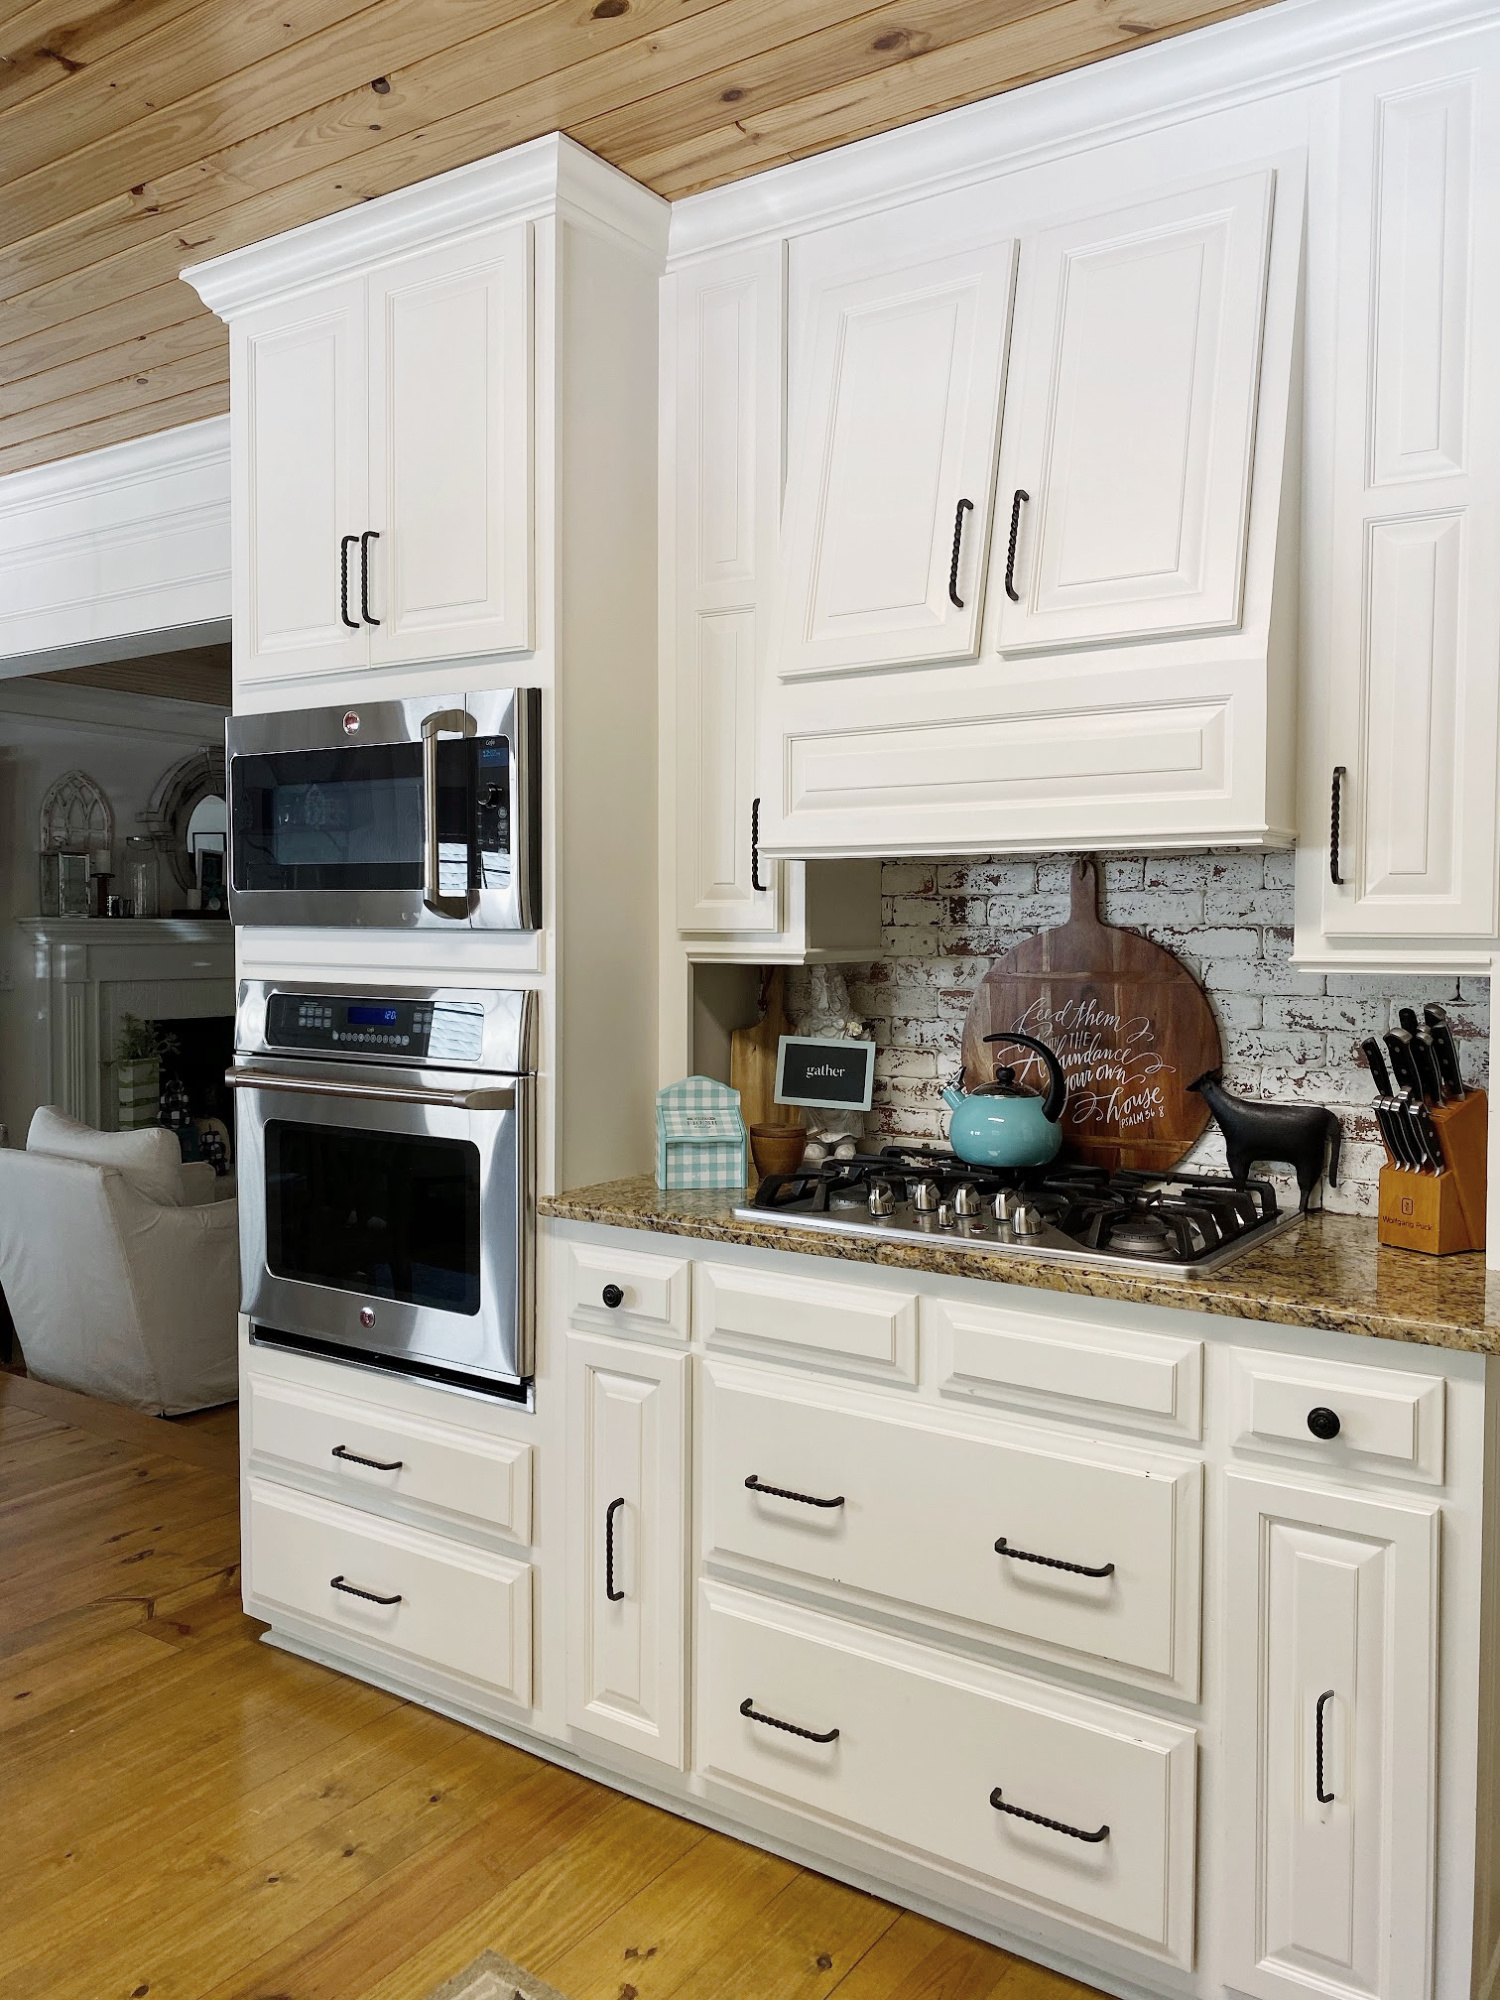
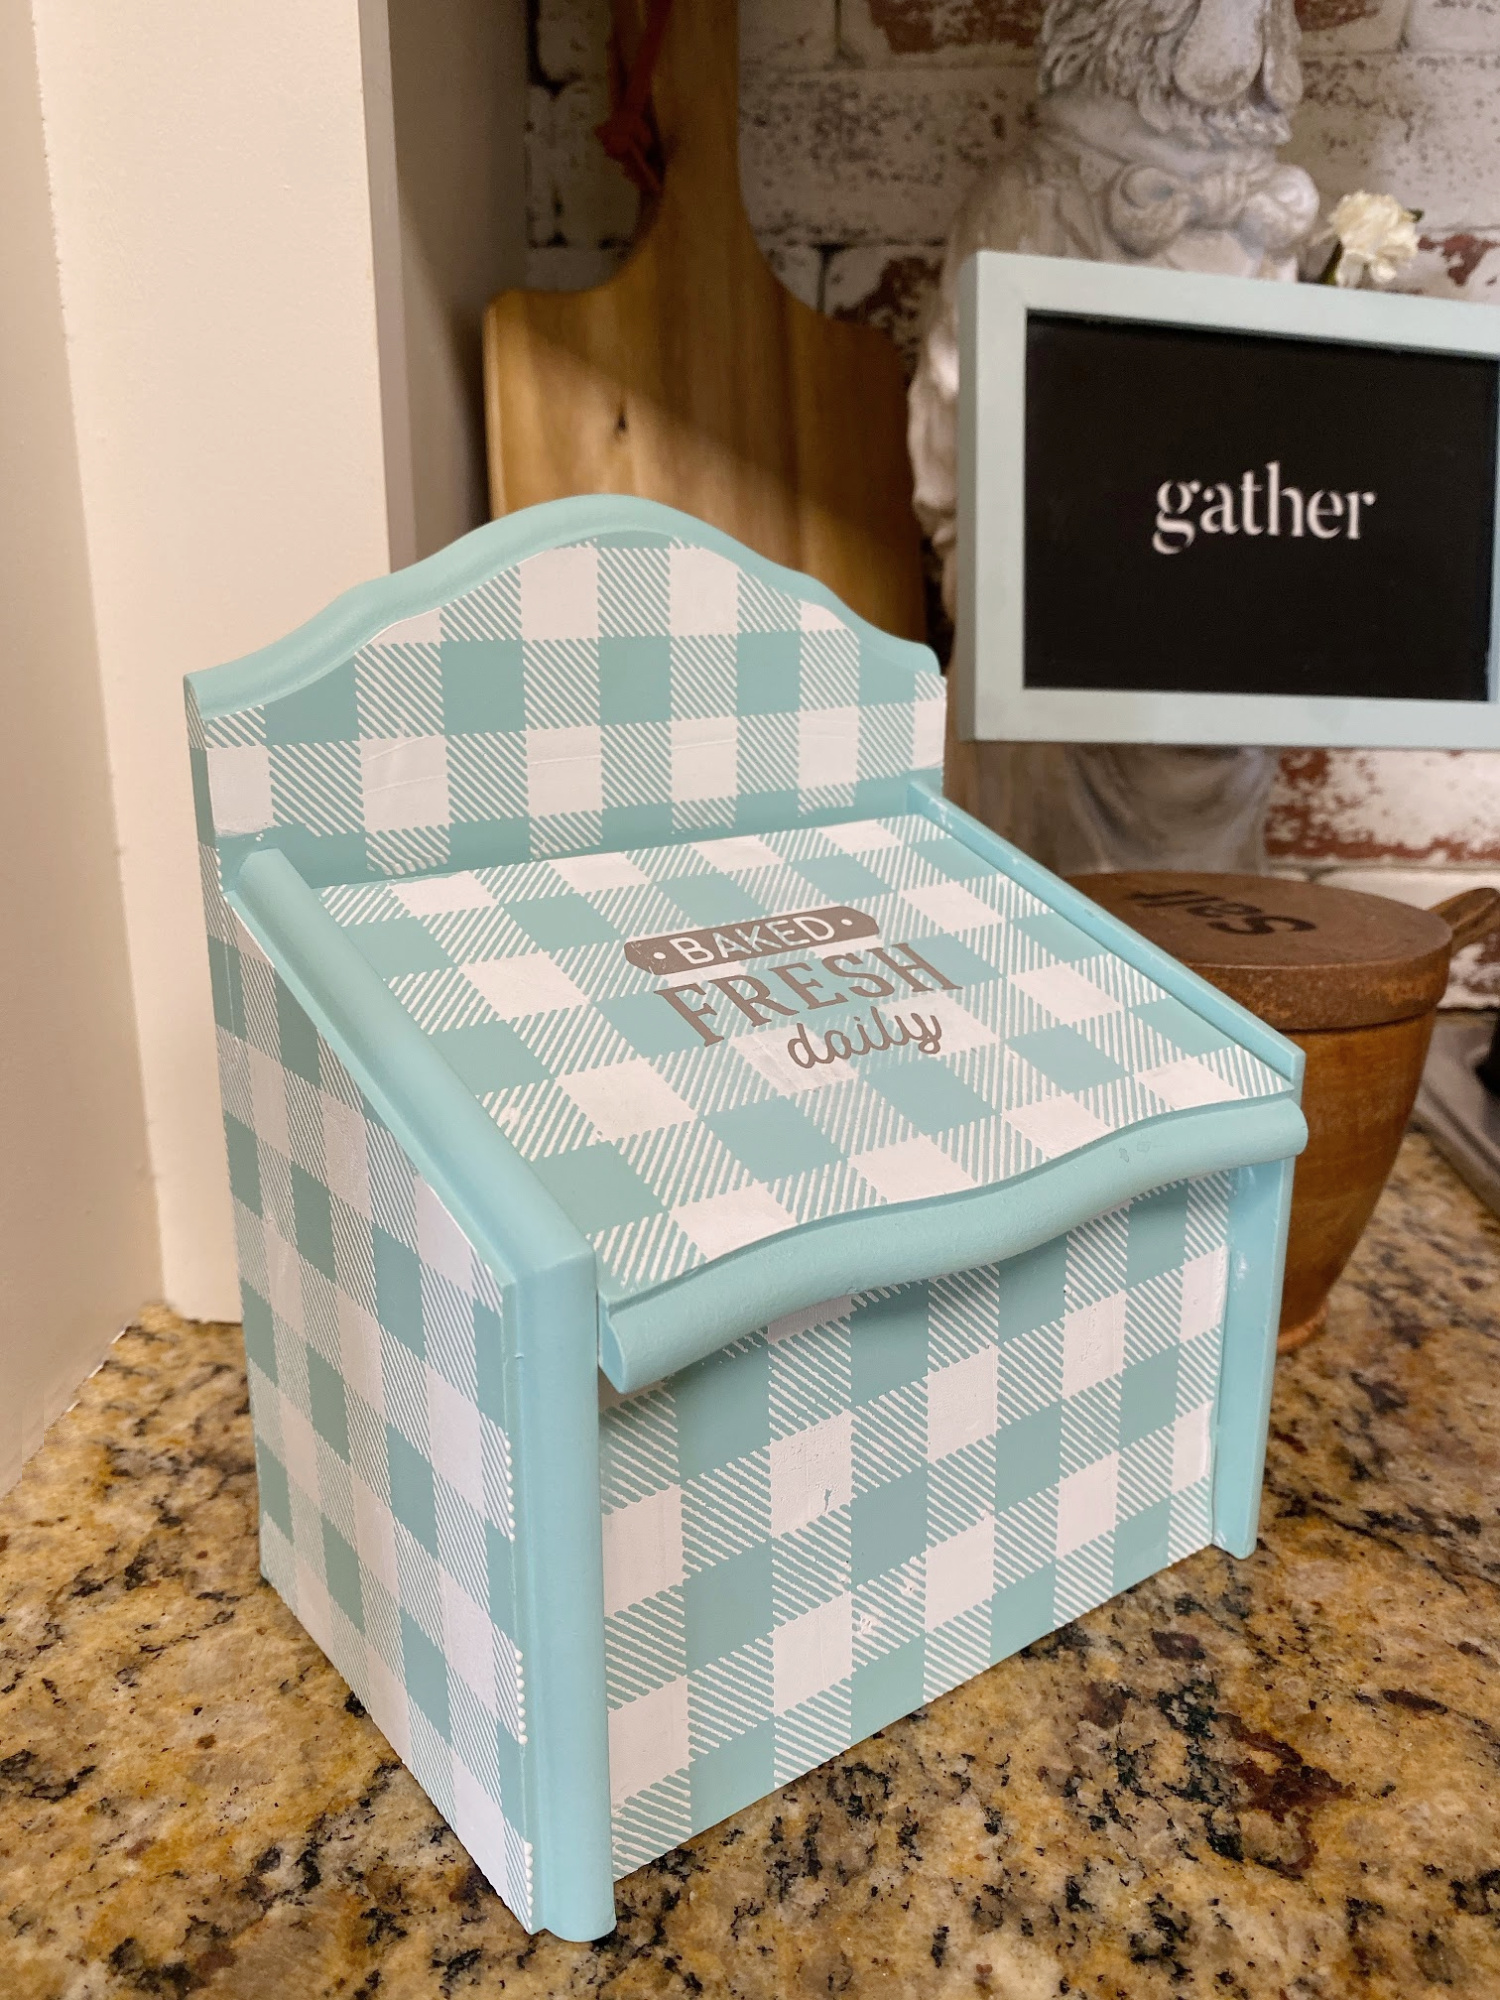
I am very happy with my recipe box, it’s the perfect pop of color in the kitchen. The color matches my Rooster Chalkboard and tea kettle perfect.
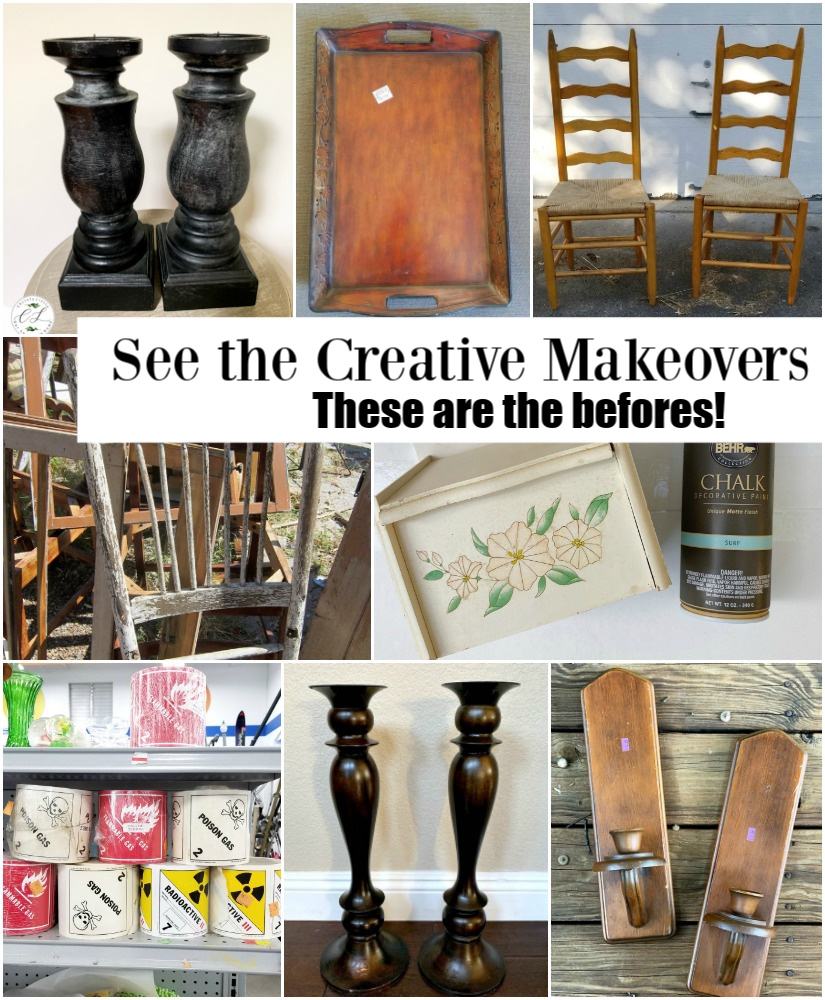
YOU WILL LOVE ALL THE OTHER THRIFT STORE MAKEOVERS, CLICK EACH ONE TO SEE:
DIY Rustic Candle Holders Our Southern Home
Buffalo Check Fall Tray Domestically Speaking
Ladder Back Chair Makeover My Repurposed Life
Shabby Chic Wreath The Petticoat Junktion
Recipe Box Makeover Refresh Restyle
Creepy Halloween Craft with Hazard Labels Sadie Seasongoods
How to Create a Driftwood Finish Uncommon Slice of Suburbia
Copper Wall Sconce House of Hawthornes
PIN it for later:
Love the Recipe Box Makeover, you may like these ideas:

Your recipe box makeover is simply beautiful. What an up-grade. Love the buffalo checks and the stencil.
Lovely upcycle. Fits into your color scheme so nicely. It is always good to have favorite recipes at hand!
SO CUTE!!! The colors are perfect… I need to watch for a recipe box in my thrift store visits.
It is SO ADORABLE!! I love the aqua and white buffalo check combo!
This turned out perfectly! I need to get that transfer….so many possibilities! You truly are the chalk master!
Love that pop of color, looks awesome in your kitchen!
Such an adorable makeover! I’m all for anything and everything plaid! I need to get one of your mini buffalo check stencils, because that is going to come in handy over the next few months with all the crafting I’m thinking of in my head (whether it actually gets out of my head is another matter). .
Debbie
ewww that was gross! But for that price I probably would have picked it up too.
Who wouldn’t love it now though? You really did a fabulous job on this sweet recipe box makeover.
pinning!