May 21, 2024 by Debbie Westbrooks
Painting Waxed Furniture: A Step-by-Step Guide for DIY Enthusiasts
Home Interior
Painting waxed furniture involves both challenge and opportunity. Waxed surfaces can be resistant to new paint, making it essential to approach the task with care and proper preparation. Thoroughly cleaning and sometimes even removing the existing wax layer are critical first steps. Picking the right primer and paint can also make a significant difference in the outcome, ensuring that the new finish adheres well and stands up to use.
Once the surface is prepared, specialized painting techniques come into play. The key is to apply the paint evenly and smoothly to achieve professional-looking results. After painting, applying a fresh layer of wax can protect the new paint job and add a beautiful sheen to the furniture. Regular maintenance, including gentle cleaning and occasional re-waxing, can keep the furniture looking great for years to come.
Key Takeaways
- Proper preparation is essential for painting waxed furniture.
- Specialized painting techniques ensure a smooth finish.
- Regular maintenance preserves the furniture’s appearance.
Preparing the Furniture
The first step before applying a fresh coat of paint on waxed furniture is ensuring the surfaces are clean and ready for new paint adherence. Proper preparation prevents peeling and flaking, resulting in a beautifully refreshed piece.
Cleaning and Stripping
Before sanding or priming, thoroughly clean the furniture to remove any dirt, grime, or residual wax. Use a cleaner specifically designed for pre-paint preparation, like Krud Kutter Prep-Paint Cleaner, ensuring all surfaces are clean. After cleaning, if the piece has a thick layer of wax, you might need to strip it using odorless mineral spirits. Apply the mineral spirits, let it sit briefly, and then scrub with a rag. Putty can be used to fill in any gouges or deep scratches.
Sanding and Priming
Sanding is crucial for creating a surface that primer and paint can adhere to effectively. Start with a medium-grit sandpaper and then progress to a finer grit for a smooth finish. Attach sandpaper to a sanding block for even pressure.
- Sandpaper Grits:
- Start: 100-150 grit
- Finish: 220-320 grit
After vacuuming away all dust from sanding, prime the furniture with a layer of high-quality primer to ensure a good base for painting. It’s important that each coat of primer is thin to prevent caking and allow for even drying.
Choosing the Right Materials
When painting over waxed furniture, selecting high-quality materials is crucial to ensure a long-lasting and attractive finish. Proper preparation can dramatically enhance the adherence of paint to a previously waxed surface.
Selecting Paint
Chalk Paint: An ideal choice for painting waxed furniture due to its excellent adherence properties. No prior sanding or priming is necessary, and it offers a velvety, matte finish. Available in a wide range of colors, chalk paint can be sealed with wax or a sealant for added durability.
Latex Paint: A versatile option that comes in various sheens from flat to high gloss. It’s important to choose a high-quality latex paint, as it adheres well to surfaces when combined with the right primer. Latex paint is known for its ease of cleaning and its resilience.
Milk Paint: With its all-natural ingredients, milk paint provides a unique, vintage finish, perfect for achieving an antique look on pine furniture. Milk paint comes in powder form and needs to be mixed with water before application.
Gathering Tools
- Brushes: A high-quality paintbrush or round brush is essential for a smooth application. For larger surfaces, a wide brush can cover more area.
- Wax Brush: Specifically designed for waxing, with natural bristles that are firmer and more densely packed to apply wax evenly.
Tool Type
Purpose
Recommended for
Paint Brush
Paint application
Chalk, latex, and milk paints
Round Brush
Detailed work
Tight spaces and corners
Wax Brush
Applying wax
Sealing chalk or milk paint
By carefully selecting the right type of paint and gathering the necessary tools, one can effectively paint furniture. Accurate selection ensures a high-quality finish that complements the visual aesthetic of any piece.
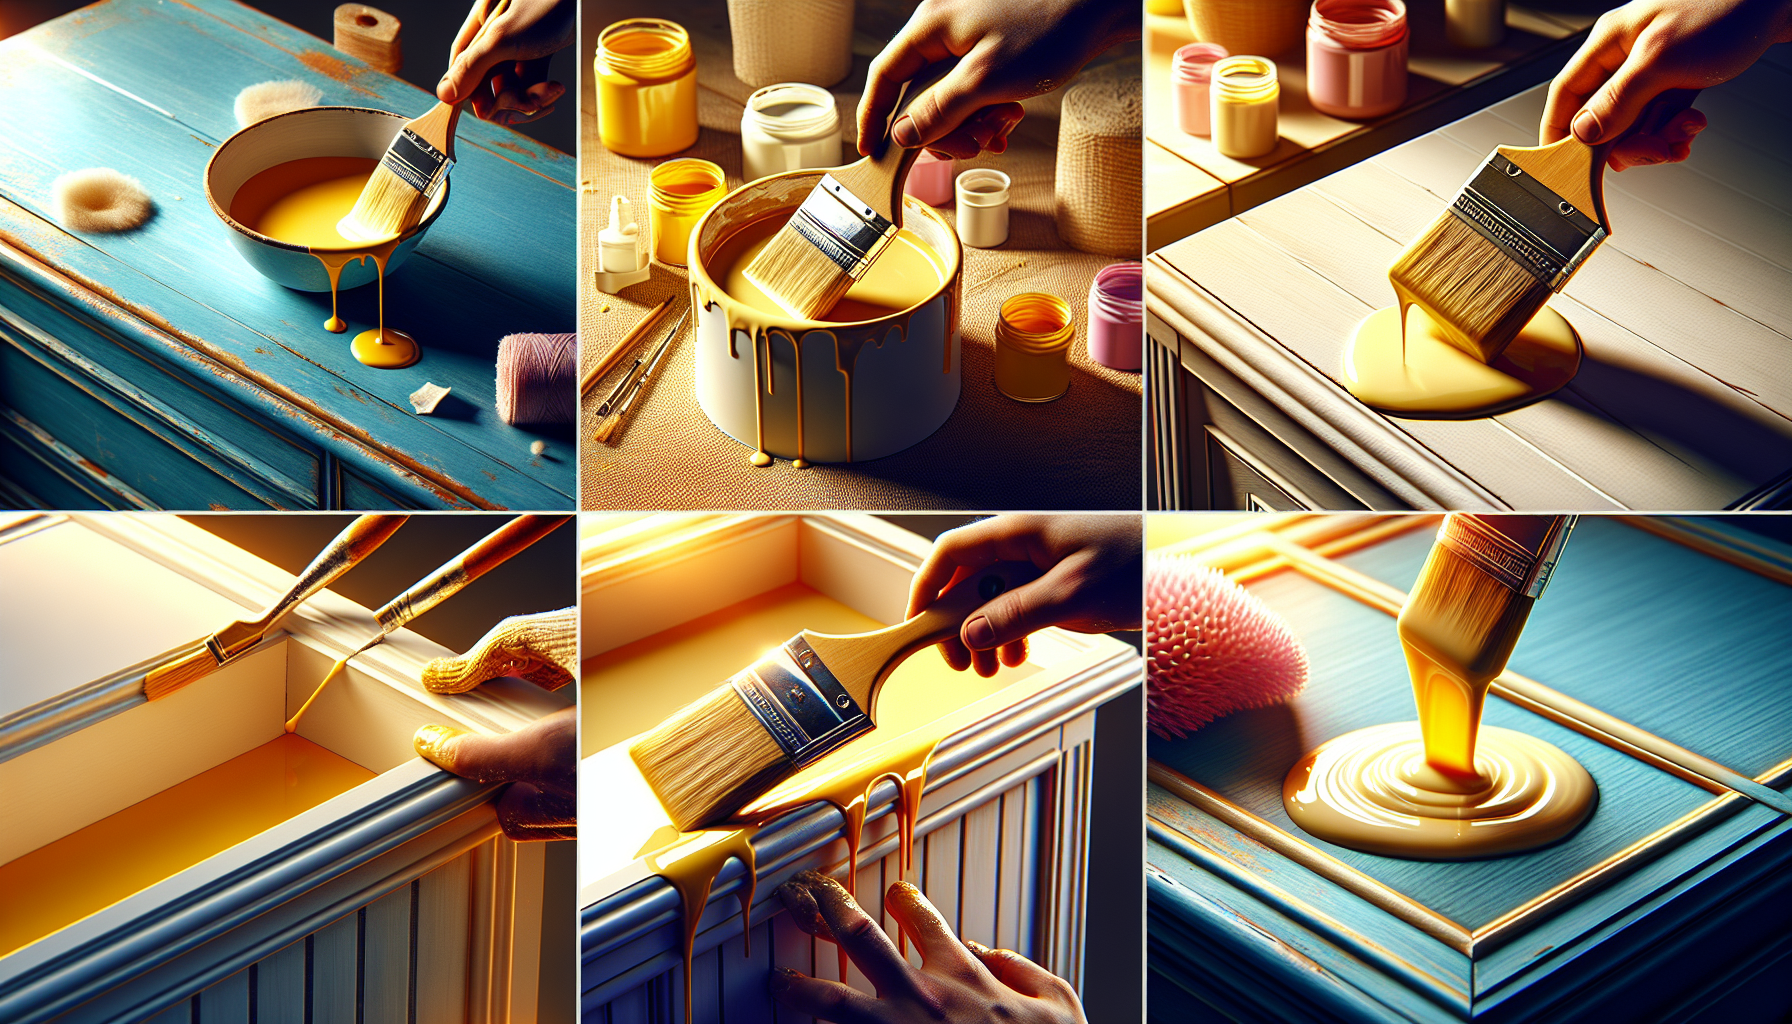
Painting Techniques
When tackling a DIY project involving painting over waxed furniture, it’s crucial to approach the process with precision and patience to achieve an appealing finish and proper adherence of the new paint.
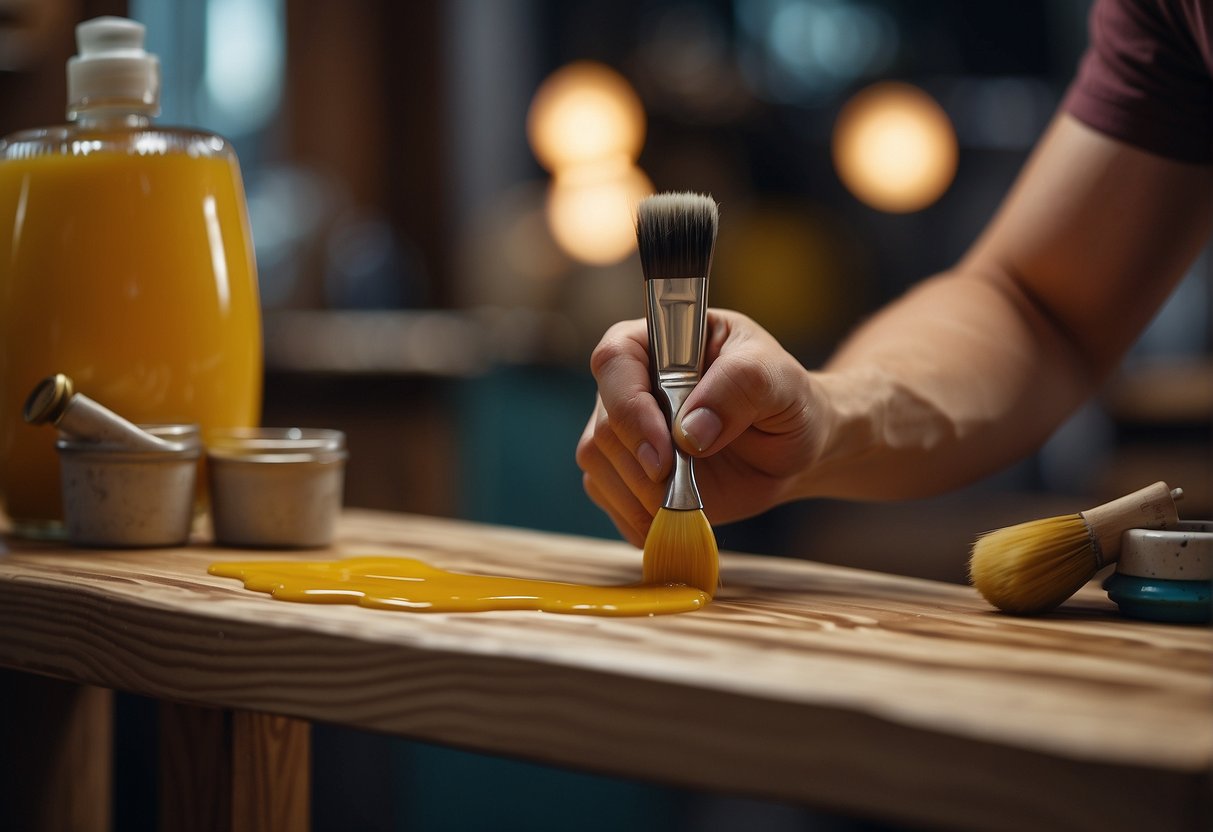
Applying Coats
First Coat: Start by applying a thin, even coat of paint using a high-quality paint brush. This foundational layer is critical for achieving an even coverage in later stages. For waxed surfaces, a special primer may be necessary to ensure the paint adheres correctly.
It’s often advisable to apply painter’s tape to edges and details that you wish to protect from paint. Apply the paint using long, smooth strokes to minimize brush marks, maintaining a wet edge to avoid lap marks.
Subsequent Coats: Additional coats may be required to achieve full coverage and the desired color richness. Allow adequate drying time between coats, as advised by the paint manufacturer. Usually, drying overnight is recommended before adding another coat.
Creating Textures
Textured Finish: To create a distressed look or a shabby chic effect, use a dry brush technique. Dip just the tip of your brush in paint, wipe off most of the paint, and then lightly brush over the surface. This technique leaves a faint hint of color, accentuating the furniture’s natural charm.
Alternatively, for a smoother texture, use a paint brush in a circular motion to softly blend the paint on the furniture’s surface. This technique can help to mask imperfections and create a more consistent finish.
Applying Wax for Finishing
After painting furniture, applying wax is an essential step to protect the surface and enhance its appearance. This section outlines the considerations for selecting the right wax and the correct methods for wax application to ensure a strong, durable finish.
Choosing Wax
Selecting the correct wax for your furniture project is crucial. Clear wax is versatile and works well with any color, providing a layer of protection without altering the hue of the paint. For a more antique look, some may opt for Annie Sloan dark wax, which can age a piece and highlight details. Beeswax and hemp oil waxes are natural options, revered for their consistency and ease of application. Regardless of choice, ensure the wax is compatible with your painted surface for the best results.
Waxing Methods
The process of waxing involves a few steps to create a durable finish. Begin by applying a small amount of wax onto a soft cloth or wax brush. Work in circular motions to distribute the wax evenly across the surface. It’s important to remove excess wax to avoid a tacky feel; a second clean cloth can be used for this purpose. After application, the piece should be left to dry. Once this is complete, buff the surface with a cloth to achieve the desired sheen. Regular waxing maintains the furniture’s aesthetic appeal and protective layer.
Detailing and Finishing Touches
In the final stages of revamping waxed furniture, the focus is on ensuring a flawless and durable finish. Precision is key when giving attention to any imperfections and reattaching hardware to breathe new life into the piece.
Addressing Imperfections
Furniture pieces often accumulate minor damage over time. Marks, scratches, and dings can be corrected with wood filler. Apply the filler to the affected area and ensure it’s smooth with the surrounding surface by lightly sanding with fine-grit sandpaper. After the filler has set and is curing, a final light sanding ensures that the surface is perfectly smooth and ready for finishing.
Attaching Hardware
Once the paint has cured and the intricate work is complete, it’s time to focus on the hardware. Handles on drawers and doors are not just functional but also contribute to the furniture’s aesthetic. Affix the hardware carefully to avoid damaging the new paint. Ensure each piece of hardware is aligned correctly for uniformity. Finally, for long-term protection, it’s important to seal the hardware in place, preventing future loosening or wear.
Maintaining Waxed Furniture
Ensuring the longevity of waxed furniture involves routine care and adherence to specific preservation methods. These practices are essential to protect the finish and keep the furniture looking its best.
Regular Cleaning
For routine maintenance, it’s crucial to clean waxed furniture surfaces with a damp cloth to remove dust and small debris. Immediately follow with a soft, lint-free cloth for drying, to prevent any moisture damage. This should be done gently to avoid eroding the wax layer. If a deeper clean is needed, a solution of sugar soap and water can be used sparingly to tackle more stubborn spots.
Preservation Tips
To preserve the waxed finish and combat wear and tear, avoid placing the furniture in direct sunlight or near heat sources, as this can cause the wax to soften and become sticky. Regularly buff the surface with a soft cloth to enrich the finish and increase its resistance to damage. For those undertaking an upcycling or furniture project, reapplying a layer of quality furniture wax every few months provides an additional barrier and maintains the furniture’s resilience.
Styling and Inspiration
When embarking on a furniture project, considering the final visual appeal is crucial. It’s about selecting a style that reflects your personality while ensuring that the newly painted piece complements your interior space.
Choosing Decorative Styles
Picking the right decorative paint style for your furniture can dramatically alter its appearance and mood. Shabby chic, characterized by its distressed look and sense of romantic charm, can bring a cozy feel to a chest of drawers or a studio space. On the other hand, aiming for a sleek and modern finish, achieved by utilizing smooth wood grain techniques, can transform pine furniture into a statement piece that resonates with contemporary aesthetics.
- Shabby Chic: Apply a thick layer of chalk paint and distress the surface for a time-worn appearance.
- Modern and Sleek: Focus on highlighting the natural wood grain with fine sanding and a clear protective finish.
Incorporating Into Interiors
After selecting a style, incorporating the piece into your interior space is the next step. In a room with minimalistic decor, a brightly painted surface on a piece of furniture can serve as an inspiration and focal point. For those who prefer a harmonious atmosphere, they should consider the color palette of their surroundings to ensure their DIY projects complement the existing environment.
- If the piece is meant to stand out, opt for bold, contrasting colors or unique patterns.
- For a blended look, use subtler hues that align with your current interior color scheme.
By carefully choosing styles and thoughtfully incorporating them into living spaces, painted furniture can bring new energy and personal touch to any room.
Frequently Asked Questions
Before repainting waxed furniture, it’s essential to understand the preparation required and the effective methods for achieving the best results.
What is the best method for painting over waxed wood furniture?
The optimal method involves thoroughly cleaning the surface, removing the existing wax layer, and applying a suitable primer before painting to ensure proper paint adhesion.
How can I remove wax finish from wooden furniture before applying paint?
Removing wax from furniture typically requires the use of mineral spirits or fine steel wool to dissolve and strip away the old wax coating, followed by a clean, soft cloth to wipe the surface clean.
Can chalk paint effectively cover waxed furniture surfaces?
Chalk paint can cover waxed surfaces but only after the wax has been removed. Applying chalk paint directly onto the waxed surface without preparation will not provide a durable finish.
What techniques are recommended for painting waxed pine furniture?
For painting waxed pine furniture, technicians suggest using a gentle hand-sanding technique, followed by a primer suitable for waxed and oily woods, ensuring better paint adherence and longevity.
Is there a specific paint that adheres well to previously waxed surfaces?
Paints specifically formulated for adhesion, such as oil-based paints or bonding primers, can adhere well to surfaces that were previously waxed once the wax has been adequately removed.
What steps are necessary to properly prepare waxed furniture for painting?
Proper preparation steps include cleaning the piece, removing all wax residue meticulously with mineral spirits, sanding the surface lightly, and applying a primer designed for slick surfaces to secure the new paint.